The Cordova is a platform to build Native Mobile Applicatons using HTML5, CSS and Java Script. Cordova is tipically used from the command-line runs on Node.js and is available on NPM. Technically the User Interface of a Cordova Application is effectively a WebView that occupies the entire screen and runs in a native Container. So, it is the same web view that is used by the Native Operating systems (i.e the default browser). With Cordova we can, through a web application built by you and contained by the web view of cordova, access native functionalities of the Mobile Operative System (like dialogs, the filesystem, the camera etc) with Javascript through the famous plugins of Cordova.
In this article, you are going to learn how to implement from scratch a cordova application in a Windows Environment and how to deploy your app in an Android Device.
1. Install required tools
You will need to install 3 tools in order to create your first cordova app in Windows:
- Java Development Kit (JDK): we need the development kit of Java installed in our computer.
- Android Studio and the Android SDK: although we won't use Android Studio, is recommendable to download the full package that includes Android Studio and the SDK, this SDK includes the build tools, AVD Manager and the SDK Manager. The installation filesize is about 1.6 GB.
- Node.js for Windows: download a pre-built installer for your platform of Node.js with the architecture of your system (x64 or x86). The installer can be either MSI or a EXE file.
As the installation of each of these tools doesn't need any special configuration but only to follow the installation wizard in the system, take care of the installation and proceed to the step 2 when everything has been installed. If you want to verify if everything was correctly installed, you can check the installation directories:
JDK Installation
Locate the folder of installation (that is usually ) and check that the jdk[version] folder exists:

Besides, the JAVA_HOME environment variable needs to exists. In case that it wasn't automatically created, you'll need to create it. Once you have the JDK installation path (with /bin at the end):
- Right-click the My Computer icon on your desktop and select Properties.
- Click the Advanced tab, then click the Environment Variables button.
- Under System Variables, click New.
- Enter the variable name as JAVA_HOME.
- Enter the variable value as the installation path for the Java Development Kit (in this example would be
C:\Program Files\Java\jdk1.8.0_111\bin). - Click OK.
- Click Apply Changes.
Android SDK
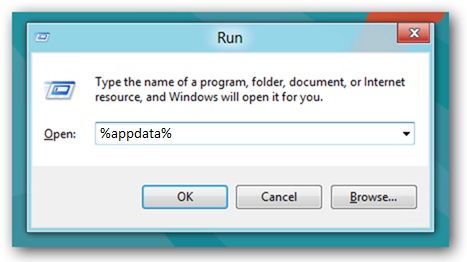
Open the AppData folder typing %appdata% in the windows search bar or by pressing WIN + R:
Navigate then into the Local folder and then the android folder should exist and inside should be located the sdk folder, the sdk folder should have the following content (or similary):

Node.js
To check if node.js was correctly installed, there should be a direct access named Node.js Command Prompt executable in the start menu:
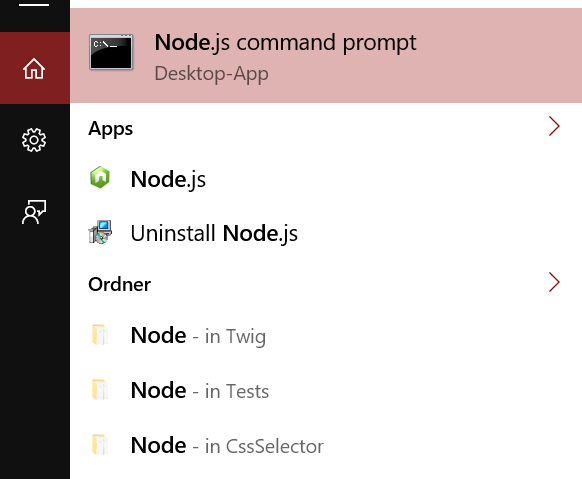
This executable is the same cmd.exe of windows, however it runs the following command to start : C:\Windows\System32\cmd.exe /k "C:\Program Files\nodejs\nodevars.bat". Therefore if the executable for some extraordinary reason, you can execute the previous command to start in a cmd window. The Node console should look like:

In this console you will run every node and cordova command later.
2. Install Cordova in Node.js
Proceed with the installation of Cordova executing the following command in the Node.js Command Prompt:
npm install -g cordovaAs cordova will be globally installed, you can execute the command from wherever you are in the console. Once the installation has been completed, verify the version of cordova executing:
cordova -v
REM or the long version
cordova --version
That should generate the following output in the console (note that the cordova version may vary):

3. Create your first project
Now that the cordova CLI is available for its usage, we can start with the creation of our project. Navigate with the console to a folder where you want to store all your cordova projects using the CD command, in this case the folder will be located in the Desktop and will have the name dev-desktop:
cd C:\Users\sdkca\Desktop\dev-desktopProceed with the creation of the project using the cordova create command, this command has the following structure:
cordova create <PROJECT_FOLDER_NAME> [PACKAGE NAME OF THE APP] [App Name]In this example, our test app will be sandbox and we'll create it executing the following command (change the package name according to yours):
cordova create sandbox com.mycompany.sandbox SandboxThe creation of the project shouldn't take much time, the command will create a folder with the name sandbox and the content of our cordova project will be inside. Now navigate to the sandbox folder using:
cd sandboxWith this instruction, you are located with the console in C:\Users\sdkca\Desktop\dev-desktop\sandbox , every cordova command for your project should be executed only when you are located in the folder of your project with the console.
4. Add a platform to your project
Your cordova project has been succesfully created, however it won't run on any platform without any. You can use the cordova platform command to add the first platform to your application, in this case and as said in this article we are going to create our first app to be used in Android, therefore we are going to add the android platform using the following command:
cordova platform add android --saveThe output in the console will be similar to:

After the installation of the platform, your project structure should be similar to:

Important: as you can see in the image, with the latest version of cordova, the android version target is 24. That means that you need to check that this API version is installed in the SDK Manager of android.
Open the SDK Manager (usually located in the Android SDK folder i.e C:\Users\<YOUR-USERNAME>\AppData\Local\Android\sdk\SDK Manager.exe) and verify which versions are installed:

If the target version isn't installed, proceed to install it and wait till the installation is completed.
5. Build and test
You can deploy your cordova application in 2 ways:
Emulator
To emulate your cordova app in an Android Emulator, you need to configure as first the Emulator. Open the AVD (Android Virtual Device) Manager (usually located in the Android SDK folder i.e C:\Users\<YOUR-USERNAME>\AppData\Local\Android\sdk\AVD Manager.exe) and create a new one in case you don't have any created.
Before continue with the creation of an emulator, we recommend you (better said, you need to) to install the Intel HAXM. This can be automatically installed by the Android SDK manager (C:\Users\<YOUR-USERNAME>\AppData\Local\Android\sdk\SDK Manager.exe):

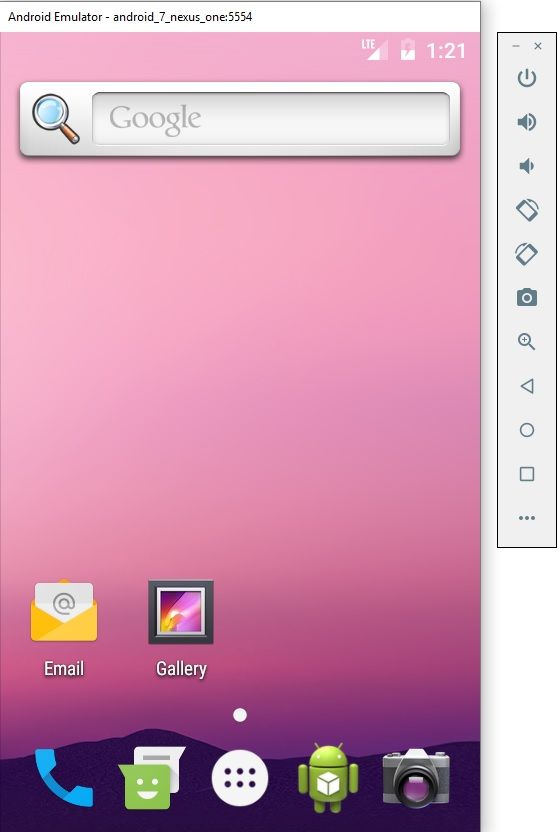
If you already have the Intel HAXM installed, then you can continue with the creation of a new device with a valid target (an existent API version of Android installed i.e Android API 19 - 4.4.2) and a custom name. The following configuration shows an emulator with Android 7 (API 24), 768MB RAM as recommended in Windows and a low resolution device in order to make it work faster in our computer (or change the resolution if you have an awesome computer).

In case you have a video card, check the Use Host GPU option. Finally click on save to create the emulator, once created start it. Our emulator with Android 7 looks like:
Let the emulator window active and as final step, build the app and set the emulator as target using the following command:
cordova run android --emulatorIf you execute the command and the emulator is not open, then it will start automatically the default emulator available in the AVD Manager (therefore to boost your development time, let the emulator open :-) ). The build of the app will start and you app should start in the emulator, producing:
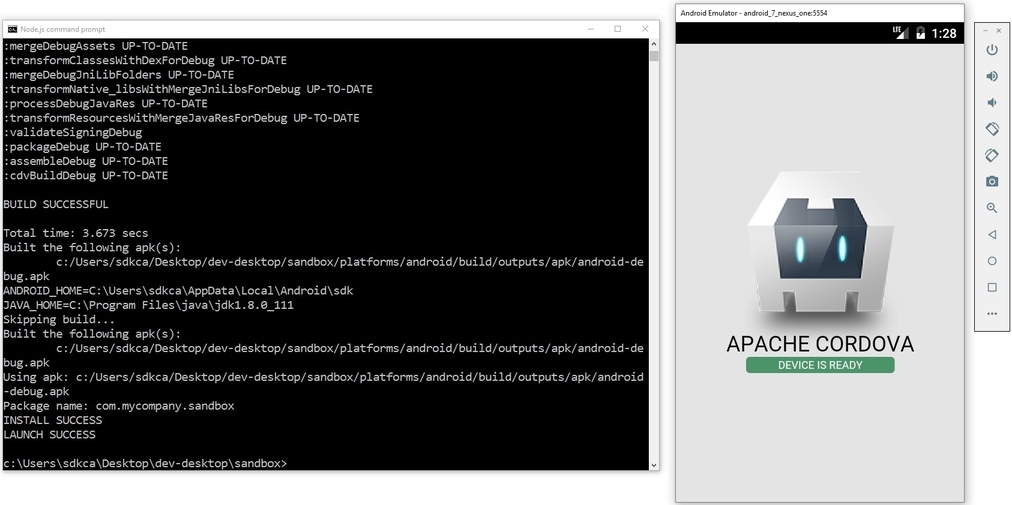
Pretty easy, right?
Device
To deploy your app on your device, you'll need (worth the redundancy):
- A mobile device with Android (obviously with at least the minimum Android Version required by a cordova app, tipically Android 4.1.2 API 16).
- A USB Compatible cable for your device.
Note: some devices need a driver in order to allow the connection between the device and the computer (for example with the Moto G X1040, you'll need the Motorola drivers installed on your computer). You can try without the driver, but in case that the console persists with the error message "No devices found" and your device is connected, then install the correct drivers.
Connect the device to your computer with the USB cable and execute the following command to build your app and execute it in the device:
cordova run android --deviceThe build process will start and the app will be deployed on your device. Congratulations, you've just created and deployed your first cordova application, we recommend you finally to read the documentation of cordova for more information.
Extras
There are a couple of tips that can make your development experience even better:
Debug your index.html using Chrome
As everybody knows, there's no way to debug a cordova page directly in the device. Although the debug on android application using Android studio (a native android app) is quite easy, debugging on a cordova application can become a big nightmare if you don't have the correct tools. You can use Google Chrome to debug your cordova app in the way you debug a website on the Browser.
Debug native code in Cordova
In case that you are working with native code, in this case with Android to create a plugin or something like that, you can use the ADB utility of the Android SDK to debug. ADB, Android Debug Bridge, is a command-line utility included with Google's Android SDK. ADB can control your device over USB from a computer, copy files back and forth, install and uninstall apps, run shell commands, and more.
Happy coding !