

Imagick is the most famous PHP extension to create and modify images using the ImageMagick library. It's known on other platforms due to its difficult installation process, however in Ubuntu, installing it is pretty easy thanks to the php-imagick package that installs ImageMagick and Imagick as well. If you want to install Imagick in your server in just a couple of minutes, follow these steps:
1. Install PHP Imagick
To use Imagick with PHP 7 in your server, you can easily achieve it with the following command:
sudo apt-get install php-imagickThe source of the package is the original package of Imagick from pecl. The installation takes about 1-2 minutes.
2. Verify if imagick has been loaded as an extension (optional)
You can verify if imagick has been loaded as an extension with the following command:
php -m | grep imagickThis should output imagick in your terminal.
3. Restart apache
As last step, you will need to restart the apache service after the installation of Imagick, otherwise you won't be able to use the Imagick class in your PHP code. Restart the apache service using the following command:
sudo service apache2 restartAfter restarting apache, you should be able now to use Imagick from PHP easily (try to execute any script of the demos shown in imagemagickphp). To verify it you can either try to run your own code or create an empty file that executes phpinfo() to see if Imagick has been loaded or not:
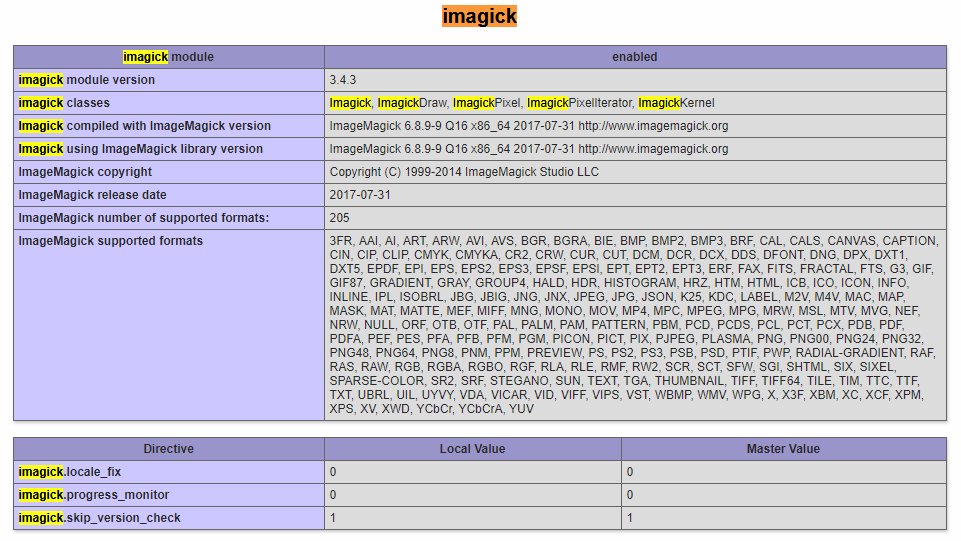
Happy coding !

