
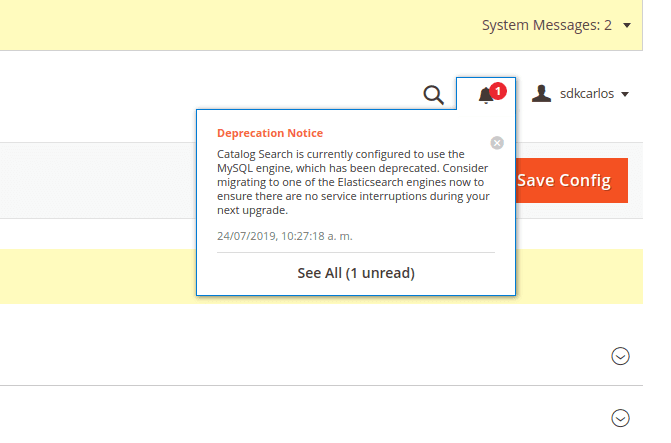
This deprecation warns you about the usage of the MySQL version of the search engine used in the catalog of products of Magento. In Magento 2, Elastic search is encouraged to be the default one. Using Elasticsearch as a search engine for the Magento 2 catalog brings the following benefits:
- Quick and advanced searches on products in the catalog.
- Support for multiple languages.
- Support for stop words and synonyms.
- Indexing does not impact customers until reindex is completed. Elasticsearch returns search results based on the last generated index until the new one has been completely indexed so there is no disruption to customers.
- Accurate, performant, and scalable.
- Works well out of the box.
- Easy to horizontally scale.
- Supports real-time data and analysis.
- Can be used as a document-oriented data store.
- Applications in framework beyond search, including reporting, personalization, performance, and storage.
Elasticsearch will allow you to improve the default Magento search results, enhancing the relevancy of the products that will appear on the search. So it's a must, to upgrade from the default search engine (based on MySQL) to the Elastic Search implementation. Doing this will remove the mentioned warning from your Magento administration panel.
In this article, we will explain you how to solve this deprecation moving your default search engine from MySQL to Elastic Search easily in Ubuntu 19.04.
1. Install Java (JRE and JDK)
As first requirement to solve this issue, you will need to install Java in your machine. You can verify if it's already installed typing java -version in your terminal. If it outputs the version of Java, then it's obviously already installed. However if the command is not recognized, you will need to install it. Proceed to install updating as first the repositories with:
sudo apt-get updateThen, install the apt-transport-https package with the following command:
sudo apt-get apt-transport-httpsThis package enables the usage of 'deb https://foo distro main' lines in the /etc/apt/sources.list so that all package managers using the libapt-pkg library can access metadata and packages available in sources accessible over https (Hypertext Transfer Protocol Secure). Now that you can download packages over HTTPS, install the Java Development Kit with the following command:
sudo apt-get install openjdk-8-jdkThis will install the JRE along. After installing Java, you will be able to print the version of the OpenJDK installed with:
java -versionThe command should print the version of the tools in the terminal:
openjdk version "1.8.0_212"
OpenJDK Runtime Environment (build 1.8.0_212-8u212-b03-0ubuntu1.19.04.2-b03)
OpenJDK 64-Bit Server VM (build 25.212-b03, mixed mode)
Now that we have Java, we can proceed with the installation of Elasticsearch.
2. Install Elasticsearch
Elasticsearch is is an open-source readily-scalable, enterprise level search engine. Accessible through an extensive and elaborate API, Elasticsearch can power extremely fast searches that support your data discovery applications. It's pretty easy to get started with the installation in Ubuntu, as first add the GPG Key of elasticsearch in your machine with the following command:
wget -qO - https://artifacts.elastic.co/GPG-KEY-elasticsearch | sudo apt-key add -Then, add the elastic search repository to the sources.list of your system with:
echo "deb https://artifacts.elastic.co/packages/6.x/apt stable main" | sudo tee -a /etc/apt/sources.list.d/elastic-6.x.listYou can change the 6.x with 5.x if you have any problem with Magento 2, however the latest version works pretty fine.
And finally install Elastic Search with the following command:
sudo apt-get install elasticsearchThe size of the package in this case with Elasticsearch 6 is of ~350MB, so the download will take a while. Once it finishes, proceed with the next step.
3. Configure Elasticsearch service
By default, Elasticsearch doesn't install itself as a service, so you will need to enable it as a service with the following command:
sudo systemctl enable elasticsearch.serviceThen, start the service itself with the following command:
sudo systemctl start elasticsearch.serviceThis will be enough to make elasticsearch work properly. You can know the status of the service with the following command:
sudo systemctl status elasticsearchNow that Elasticsearch service is available, you will need to know if it works or not.
4. Test if Elasticsearch is working
To test if Elasticsearch is working you will only need to execute a basic GET request to the port 9200 of localhost. You can do this with CURL, in case you don't have Curl installed, install it with the following command:
sudo apt-get install curlThen, run the request on the terminal:
curl -X GET "localhost:9200/"You will see the following output in your terminal:
{
  "name" : "ourcodeworld",
  "cluster_name" : "elasticsearch",
  "cluster_uuid" : "Gate_3X_3X_3X_3X_3X_3X",
  "version" : {
    "number" : "7.2.0",
    "build_flavor" : "default",
    "build_type" : "deb",
    "build_hash" : "508c38a",
    "build_date" : "2019-06-20T15:54:18.811730Z",
    "build_snapshot" : false,
    "lucene_version" : "8.0.0",
    "minimum_wire_compatibility_version" : "6.8.0",
    "minimum_index_compatibility_version" : "6.0.0-beta1"
  },
  "tagline" : "You Know, for Search"
}
This means that Elastic search is working properly !
5. Use Elasticsearch as search engine
Finally, after almost all the technical aspect has been configured, you need to define in your administration panel of Magento that the Elasticsearch engine should be used instead of MySQL. For this, go to Stores, then click on Configuration, search for Catalog and on the menu go to Catalog Search. In this form, choose Elasticsearch 6.0+ as default search engine and click on the Test Connection button:

If the button displays "Succesful!", everything has been configured as expected. Don't forget to save the configuration as well. Done this in the administration panel, you will only need to clear the cache of your store with command line, once you are located in the root directory of the application:
php bin/magento cache:cleanAnd then, update your indexes with:
php bin/magento indexer:reindexRunning the mentioned actions on your server will output something like the following in the terminal:
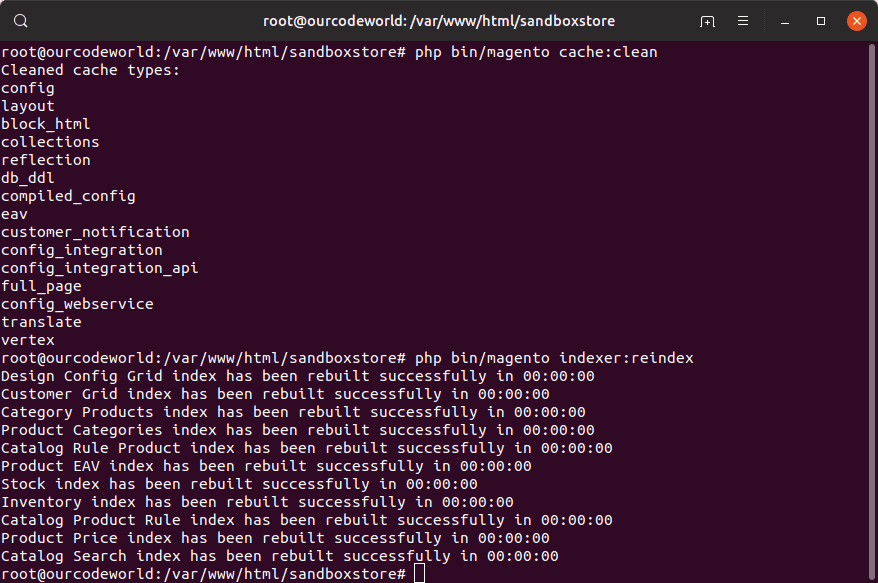
And that's it ! You are now using Elastic search as search engine and the warning shouldn't appear anymore (after checking it as marked).
Happy coding !

