
I'm always learning new stuff and working as well with new tools, one of those tools is a new 4K UHD monitor of HiDPI, with a max resolution of 3840x2160. As regular, with a higher resolution, the font size specified in px (pixels) decreases until it becomes quite difficult to read for the human eye (at least a normal one). So, in Windows 10 is necessary to adjust the scale at the system level, so everything will be X% bigger.
Unfortunately, not every program accepts this configuration and remains working as usual, in this case NetBeans, which on the mentioned screen, it becomes totally unusable until you tweak it correctly.
In this article, we will show you how to optimize Apache NetBeans to work properly on your 4K monitor.
A. Increasing menu, editor font size
The first option to make NetBeans optimal for its usage, is to increase the font size of the menu and the editor. This approach has a disadvantage however, as the icons will remain small, but the text won't feel blurry at all as long as you increase the font size enough, most of the UI remains sharp.
A.1. Increase font size menu
As first step, you will need to modify the netbeans.conf file that is usually located in the installation directory of NetBeans at /NetBeans/netbeans/etc. You will need to add at the end of the string value of the netbeans_default_options the --fontsize parameter with the value of the new font size, in our case 32 was enough, however you are free to customize the size according to your needs:
# Add the --fontsize parameter inside the same key
# personally, 32 was enough, however you are free to test what suits better for you
netbeans_default_options="<The rest of options ...> --fontsize 32"
Now you can close the netbeans.conf file and save the changes. Then restart NetBeans and you will be able at least to click properly.
A.2. Increase editor font size
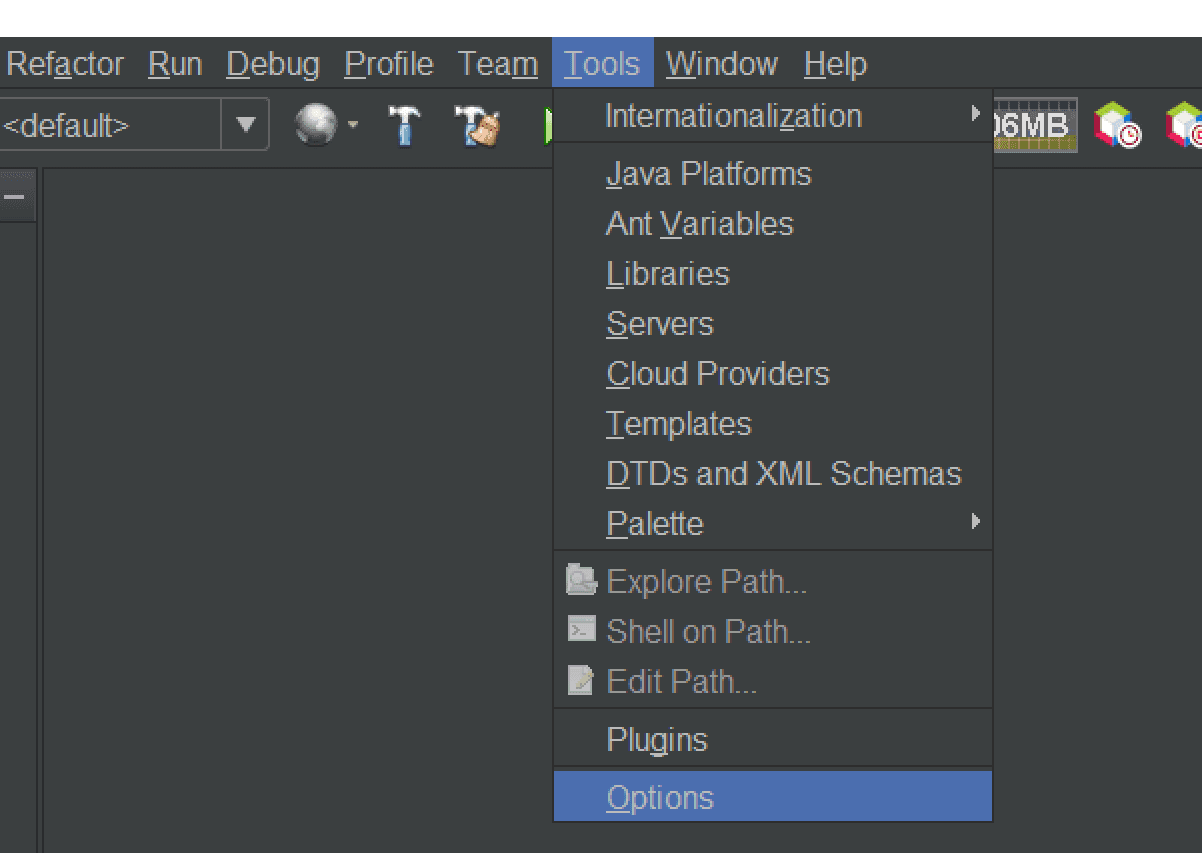
Don't forget to increase the font size of the code editor so you can read the code. You can do this through the configuration of NetBeans, so open NetBeans (netbeans64.exe) and go to the Options toolbar:
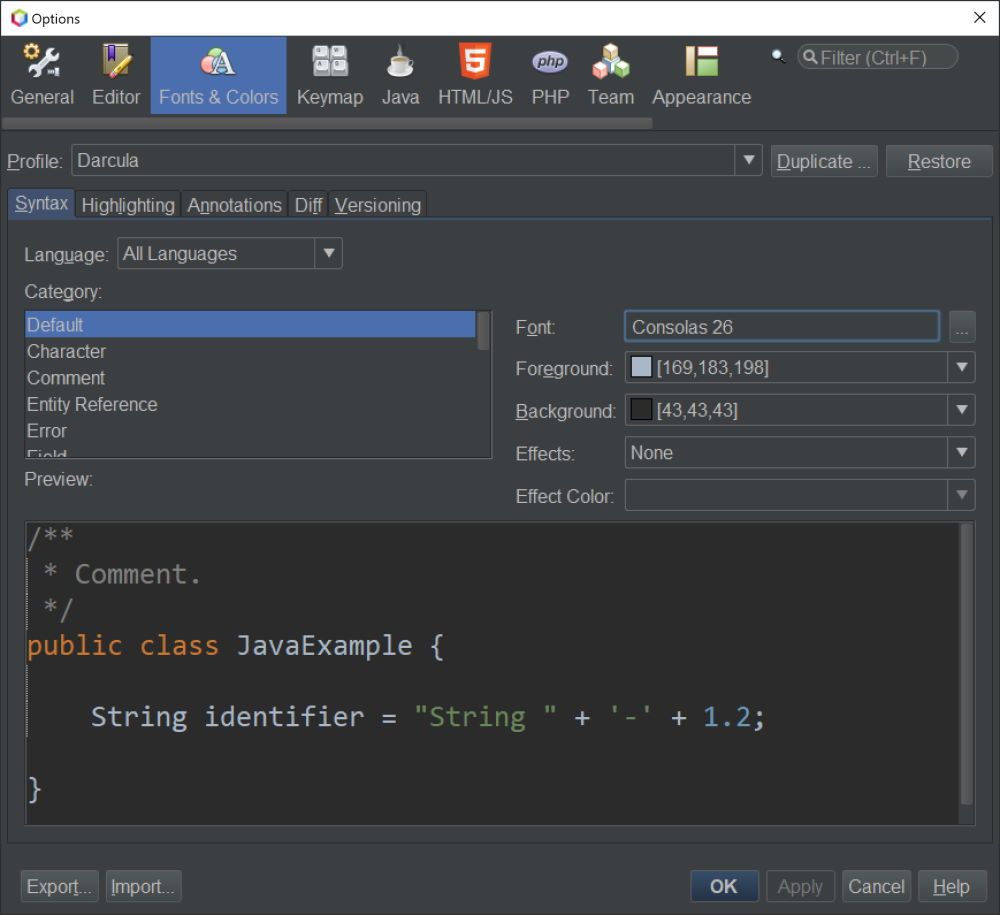
On the emergent dialog, go to the Fonts & Colors tab and change the font size with the value that you want, in our case, we love the consolas font at a size of 26, which makes pretty comfortable to code, however you can set the value as you want:
A.3. Adjust scale and layout of Windows
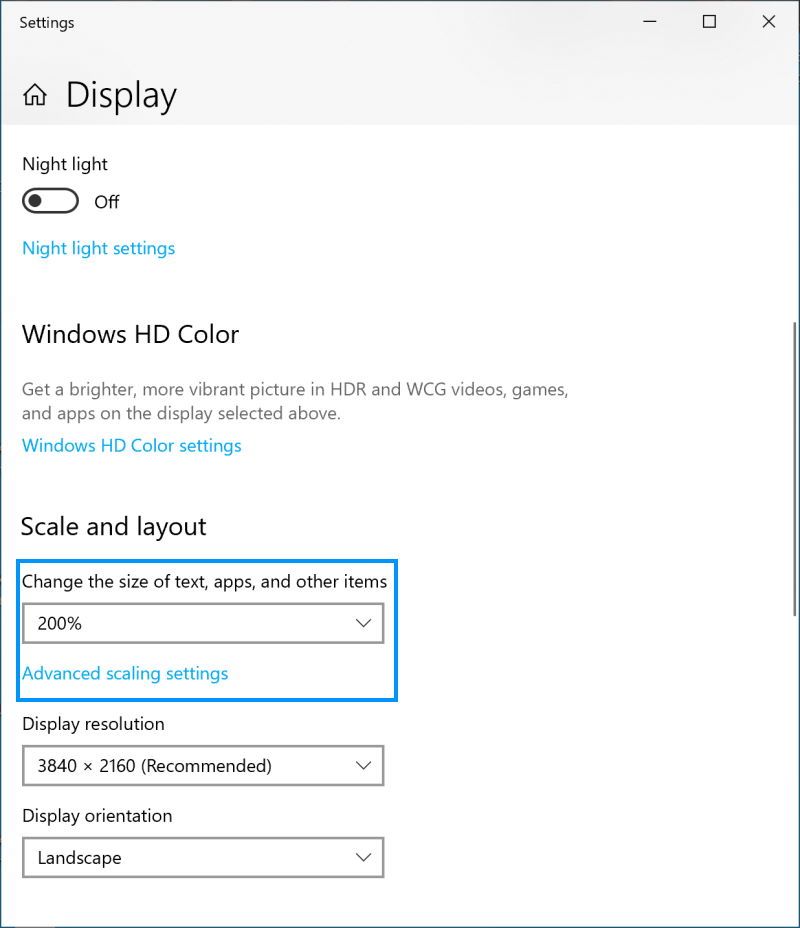
Lastly, this should be already configured on your system unless you want really tiny icons around your desktop on the traditional interface of windows working at a 4K resolution, however just to be sure, verify that the scale and layout of windows is higher than 100%, to do this, do right click on your Desktop and select Display settings:

On the emergent dialog of settings on the system, go to the Scale and layout option and increase the value according to your needs, personally in a monitor of 3840x2160, a scale of 200% makes it pretty comfortable, so be sure to update the value:
Keep the changes and start NetBeans, which should be way more comfortable to use now with this option.
B. Using Windows High DPI scaling
The second option, allows you to scale the NetBeans application using the windows scaling, this will make everything look bigger, but it will have some blurry components as the icons and the splash loading screen.
B.1. Disable DPI Awareness
To get started with the solution of the scaling problem in NetBeans, you will need to tweak some parameters to the netbeans.conf file of your NetBeans distribution. The netbeans.conf file is usually located in the installation directory of NetBeans at /NetBeans/netbeans/etc:
- For example for Apache NetBeans 11.1 (<e.g inside the > C:\Program Files\NetBeans-11.1\netbeans\etc)
Open the file with your favorite text editor (one that you can read from by now ð like vscode, sublime etc.) with administrator rights. On this file, search for the netbeans_default_options option that looks something like:
netbeans_default_options="-J-XX:+UseStringDeduplication ....."Inside its string value, search for the dpiaware property and set it to false, as it will be by default set to true:
-J-Dsun.java2d.dpiaware=falseSave the changes, but don't close the file as you will need to add an extra option to the same property in the next step.
B.2. Increase font size menu
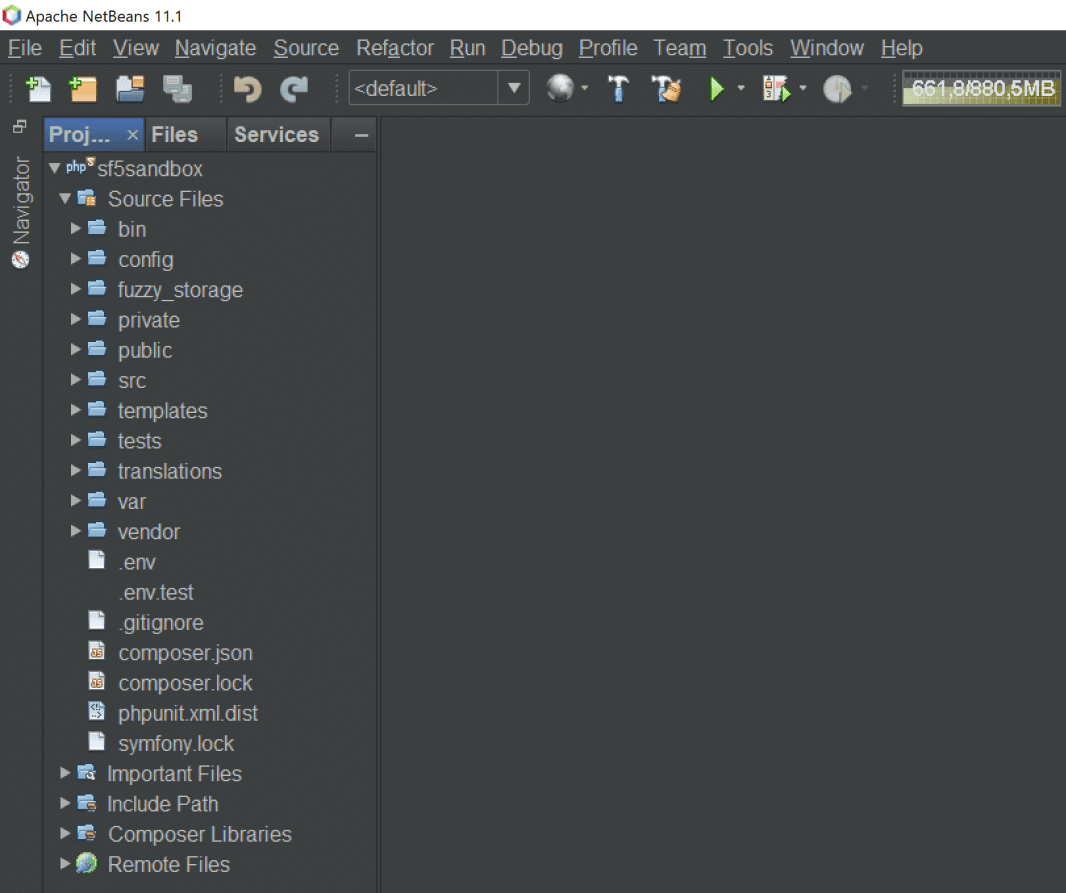
The next step will allow you to switch from a tiny menu:
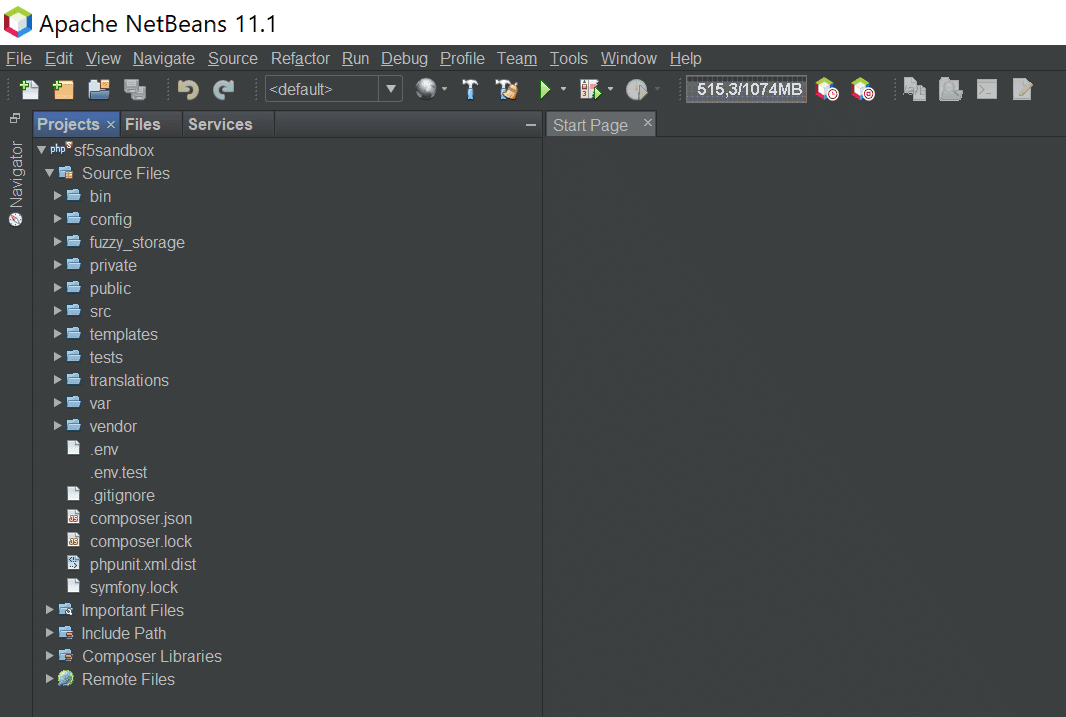
To a readable one (this will be noticeable by people with a 4K monitor):
To achieve this, you will need to add at the end of the string value of the netbeans_default_options the --fontsize parameter with the value of the new font size, in our case 16 was enough, however you are free to customize the size according to your needs:
# Add the --fontsize parameter inside the same key
# personally, 16 was enough, however you are free to test what suits better for you
netbeans_default_options="<The rest of options ...> --fontsize 16"
Now you can close the netbeans.conf file and save the changes.
B.3. Override high DPI scaling at system level
Now, with the previous settings it won't be enough to bring NetBeans into a decent use, so we need to follow some extra steps at the Windows 10 level. As first, we will override the HDPI scaling using the system option, to do this, search for the NetBeans executable (netbeans64.exe), usually located at C:\Program Files\NetBeans-11.1\netbeans\bin, do right click and select properties:
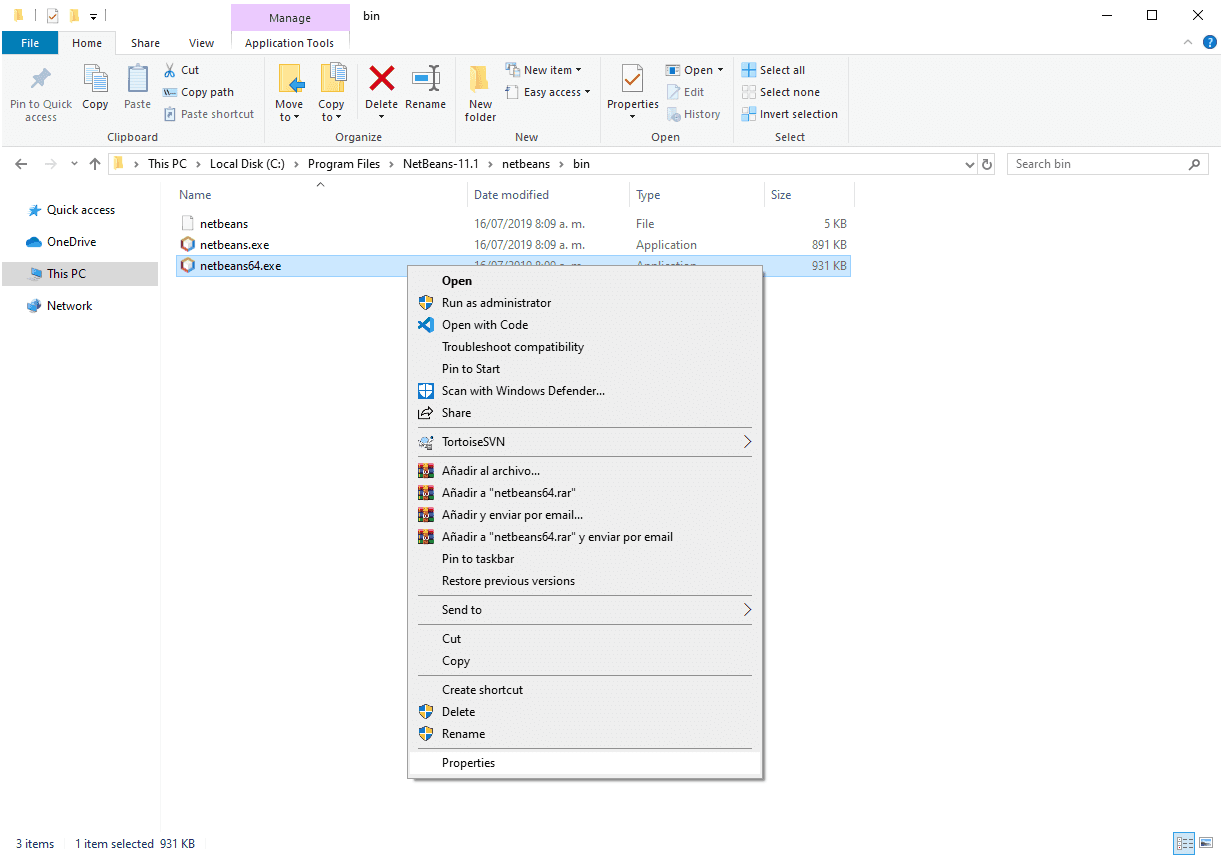
Then on the properties dialog, go to the compatibility tab and select Change high DPI settings:
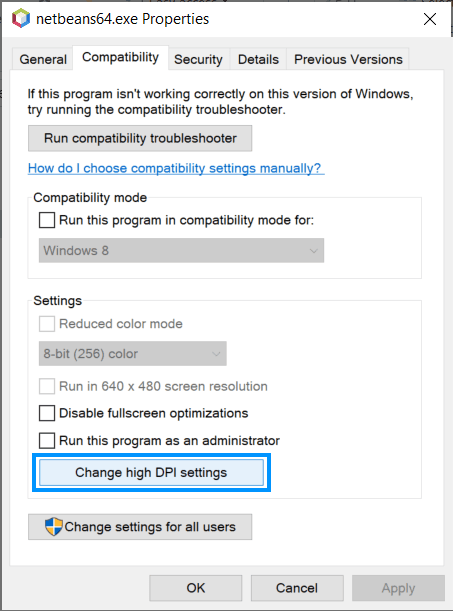
On the emergent dialog, check the "Override high DPI scaling behaviour" option. And set "Scaling performed by" to System:
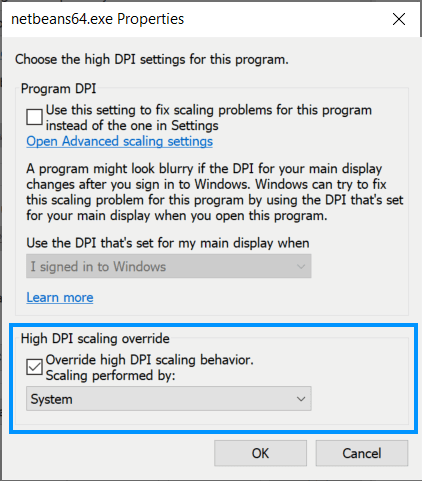
Click on ok, and finally on the NetBeans properties dialog click on Apply.
If until this point, it isn't enough for you the current size of the interface of Netbeans, you will need to increase as well the scale and layout of Windows at the entire system level and not only for netbeans, to do that, follow the step B.4.
B.4. Set scale and layout of Windows (optional, but recommended)
You should increase as well the scale and layout of the interface of Windows as mentioned on the first option. This should be already configured on your system unless you want really tiny icons around your desktop on the traditional interface of windows working at a 4K resolution, however just to be sure, verify that the scale and layout of windows is higher than 100%, to do this, do right click on your Desktop and select Display settings:
On the emergent dialog of settings on the system, go to the Scale and layout option and increase the value according to your needs, personally in a monitor of 3840x2160, a scale of 200% makes it pretty comfortable, so be sure to update the value:
B.5. Increase IDE code editor font size
Finally, but not less important, don't forget to increase the font size of the code editor so you can read the code. You can do this through the configuration of NetBeans, so open NetBeans (netbeans64.exe) and go to the Options toolbar:
On the emergent dialog, go to the Fonts & Colors tab and change the font size with the value that you want, in our case, we love the consolas font at a size of 26, which makes pretty comfortable to code:
Following the mentioned steps should configure NetBeans in an optimal way, allowing you to use finally the IDE on Windows 10.
Happy coding ❤️!

