

Every developer knows about the Homebrew package manager that makes it really easy to install, update applications, and utilities on a Mac. The installation of homebrew remains the same for the new macOS version BigSur, but we will explain how to it anyway in this article.
Note for ARM processors users
If your Mac uses the Apple Silicon (M1 Chip), you will have a problem with the installation till the date of publication of this article. You can read in this another article how to solve the issue of Homebrew that doesn't run on the M1 chip.
If your processor has an Intel-based processor, then you can follow the tutorial without any inconvenience (which is short anyway).
Installing Homebrew
Start by opening the Terminal and start the homebrew setup by simply downloading the installation script of homebrew with curl and then running it with bash. You can easily do this with a single command like this:
/bin/bash -c "$(curl -fsSL https://raw.githubusercontent.com/Homebrew/install/master/install.sh)"The installation script does a variety of stuff as setting the installation directory and so on. After running the command, the terminal will probably prompt for your password if it's required. Then, the installation will take a while and once it finishes, you can easily verify if it works running the following instruction:
brew --versionThe command should generate the following output:
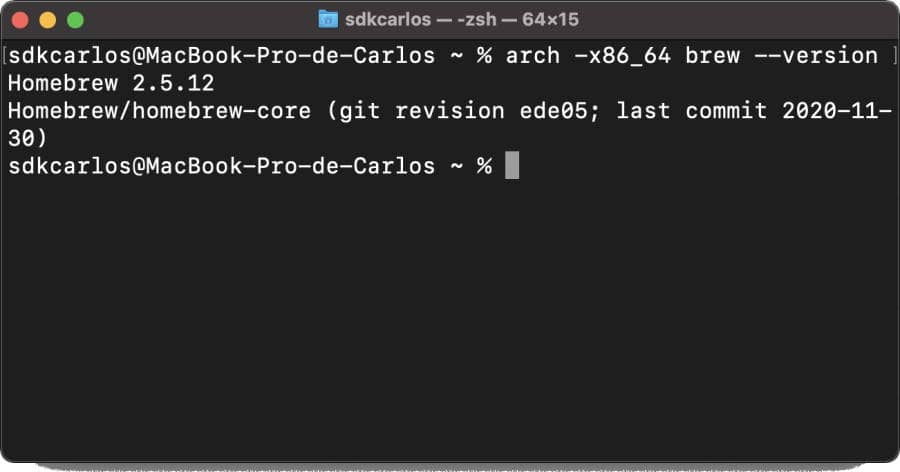
Happy coding ❤️!

