
Windows as we knew it a couple of years ago, could only run on PCs with processors of 86 and 64 bits. Now, thanks for the Fall Creators Update, Windows 10 will be able to run on the ARM CPU architecture, providing you with great application compatibility, allowing you to run existing x86 windows applications without modification of the source code. If you are one of those lucky persons that own one of the brand new Macbooks with an M1 chip and work with virtual machines, you may have encountered yourself that the traditional way with VM-Ware doesn't work or you need to configure a lot of stuff that you may probably not want to understand.
If you want to get the Windows 10 running easily in a few steps on your Mac with an M1 chip, follow these steps.
1. Download Insider Preview Windows 10 for ARM (Windows10.VHDX)
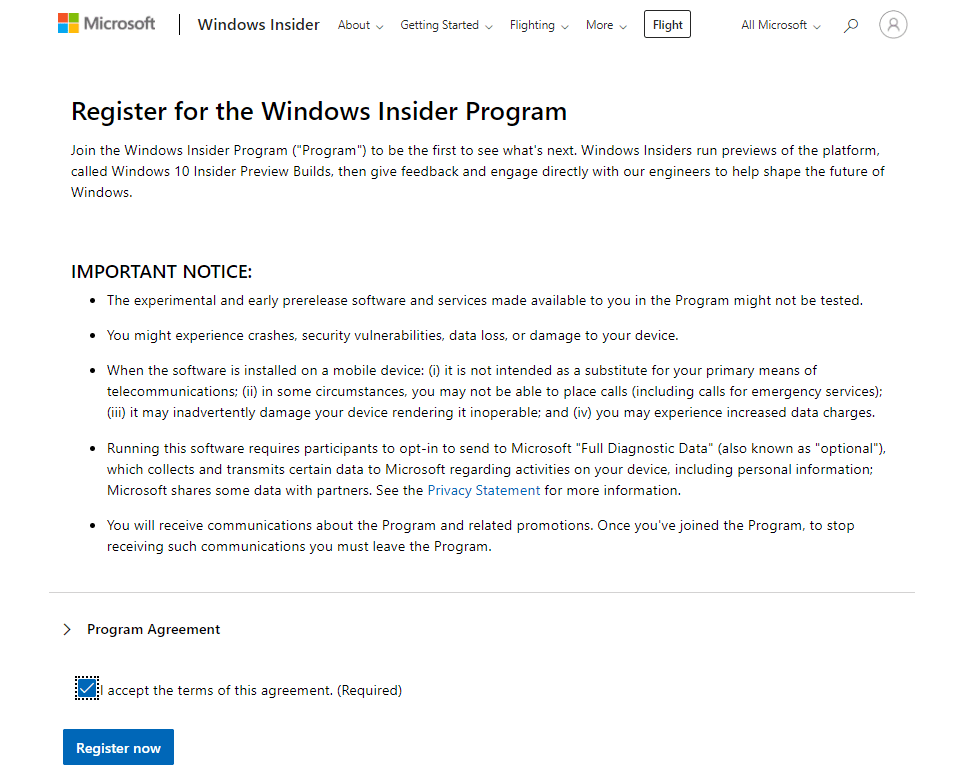
You need to download the ARM64 Windows 10 Insider Preview, however, you won't be able to access it if you are not part of the Windows 10 insider preview. Go to the Windows Insider Preview page here and register yourself on the program with your Microsoft account:
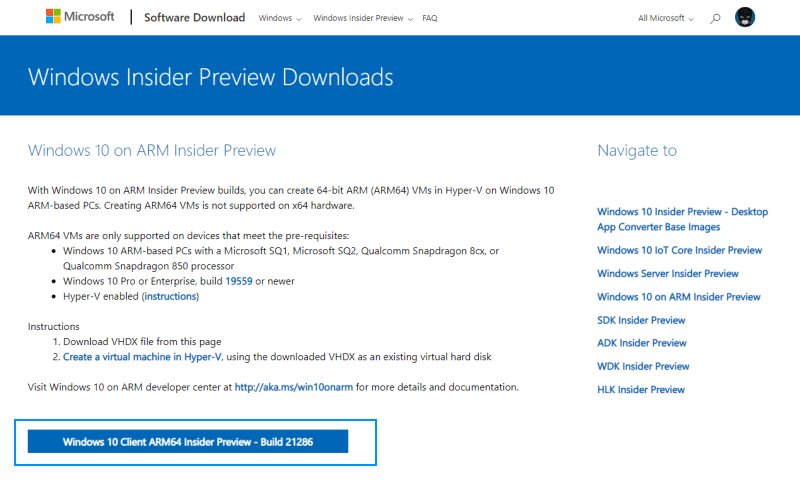
After registering, you should be able to download the Windows 10 Insider Preview on this page here (or search for the Windows 10 on ARM Insider Preview on the Downloads Page):
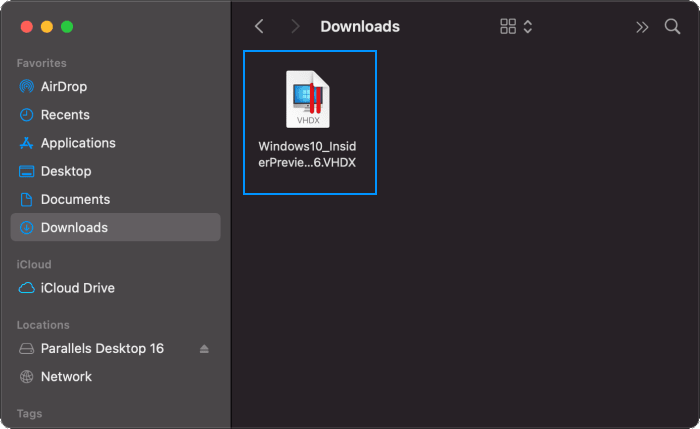
Download the Windows10.VHDX file that in your Mac and keep it there for the next step:
2. Download Technical Preview Parallels Desktop 16
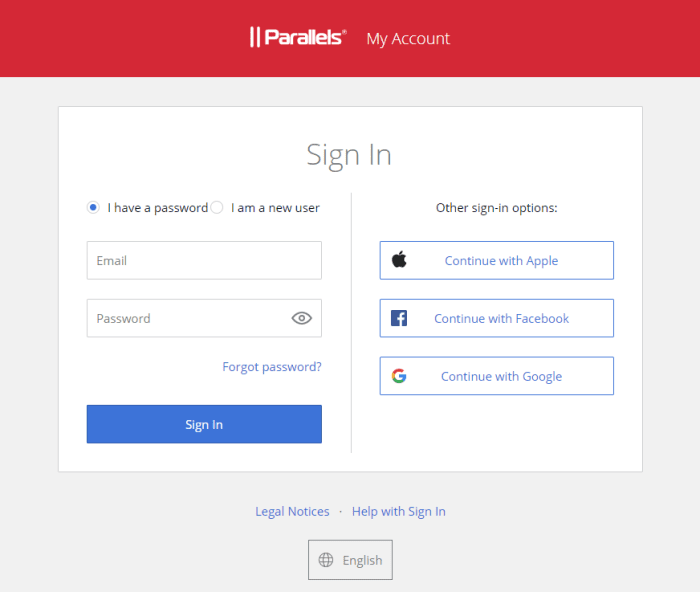
As the first step, you will need to sign-up and login to the beta of Parallels for Mac on this page. In our case, we had access with our google account:
In this technical preview, there are some new features:
- Added support for suspending and resuming a virtual machine.
- Support for installing Parallels Tools in the following Linux distributives: Ubuntu 20.04 or later, Debian 10.7 or later, and Fedora Workstation 33-1.2 or later.
- Compatible Linux installation images are now automatically detected in the Installation Assistant.
And other improvements as:
- Improved overall stability.
- Resolved the issue with ARM-based Linux ISO images being recognized as Intel-based ones.
- Resolved the issue with missing sound when a virtual machine is created from a VHDX image.
- Resolved the issue with not being able to select an ISO image as an installation source when VHDX is specified in the drop-down menu.
There's as well a known bug during the tools update, where the virtual machine's screen may freeze for several minutes, you may just simply wait until it works.
After registering on the parallels website, you will land on the technical preview page where you will find information about the tool, as well as the important part, the download link, and the activation key that you will use to activate the product (proceed with the download, the installer size is about 340MB):
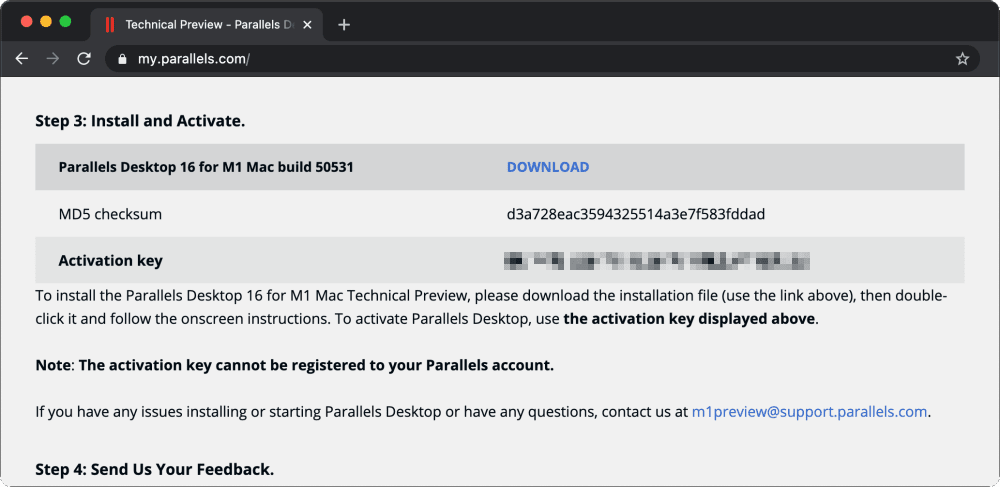
Keep the activation key somewhere as you will need it in the next step.
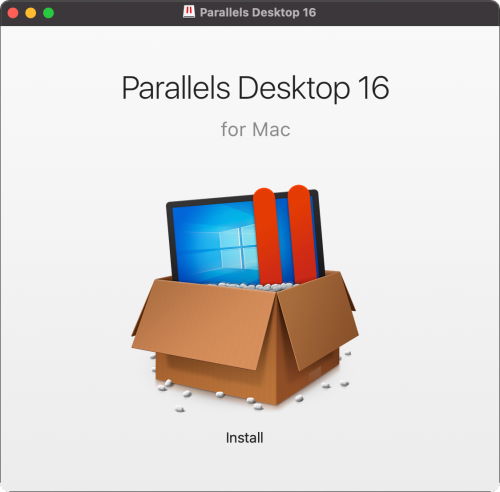
3. Install Parallels Desktop 16
Run the installer of Parallels and proceed with the installation:
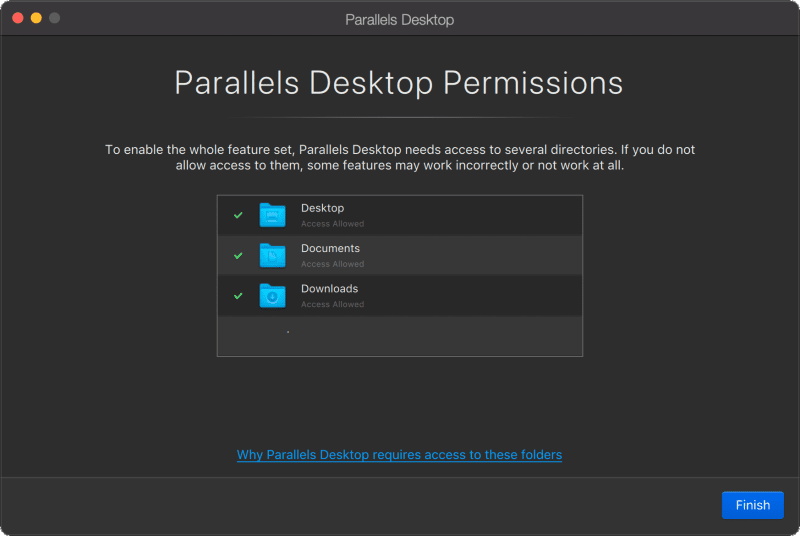
Follow the setup and grant access to parallels to access the required directories. It needs access to several directories, if you do not allow access to them, some features may not work:
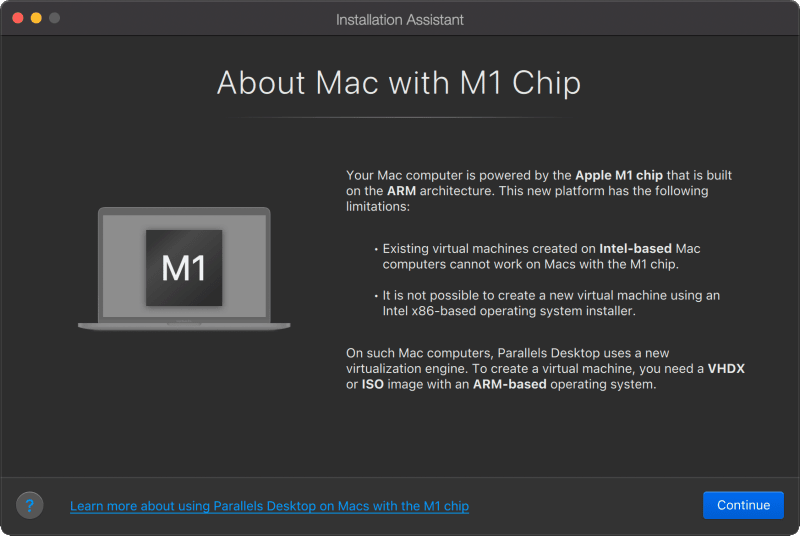
You will see as well a dialog that will provide some information about the virtualization on your Mac:
4. Create Windows 10 VM
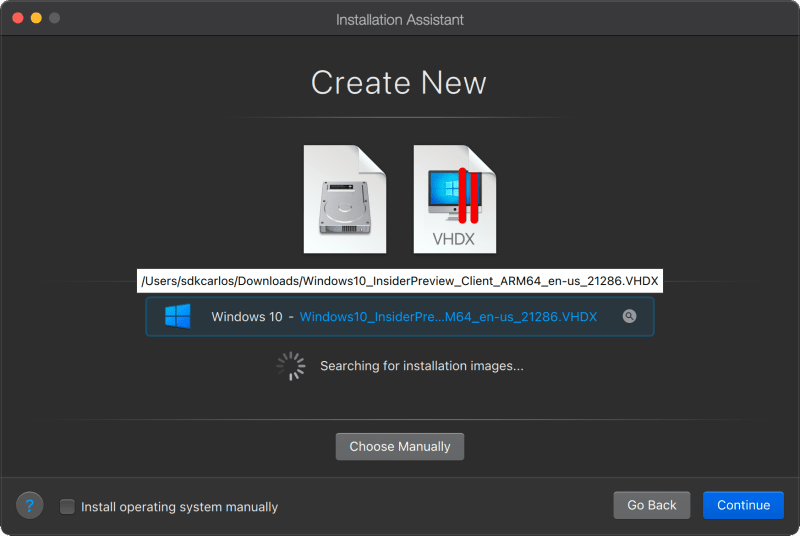
Then, the installation assistant will help you to create the virtual machine with the Windows 10 VHDX file that you downloaded:
And that's it! With Windows running on your Mac with an M1 chip, you should be able to test software for Windows that runs exclusively under the ARM64 architecture. Specify the directory to store the virtual machine and continue with the setup until you see that Windows 10 is starting:
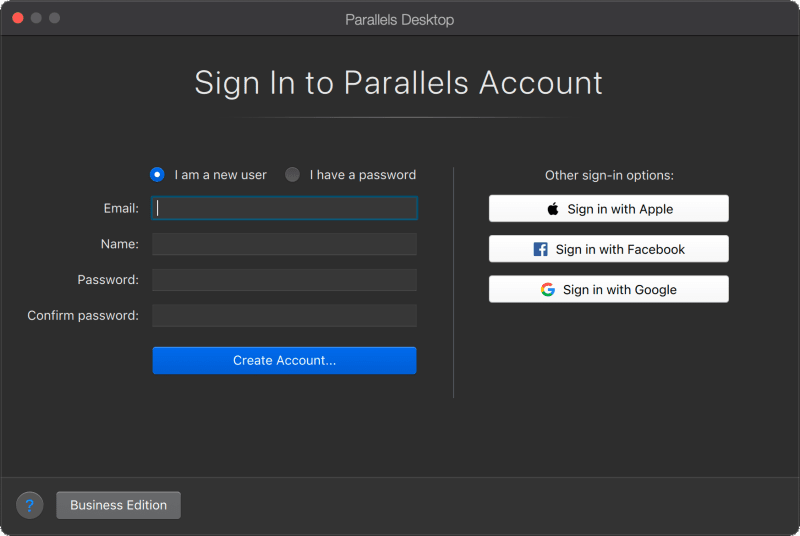
Once the machine boots, you will need to login to parallels to continue:
You will need as well to provide the activation key obtained from step #2 to activate the pro edition of Parallels desktop:
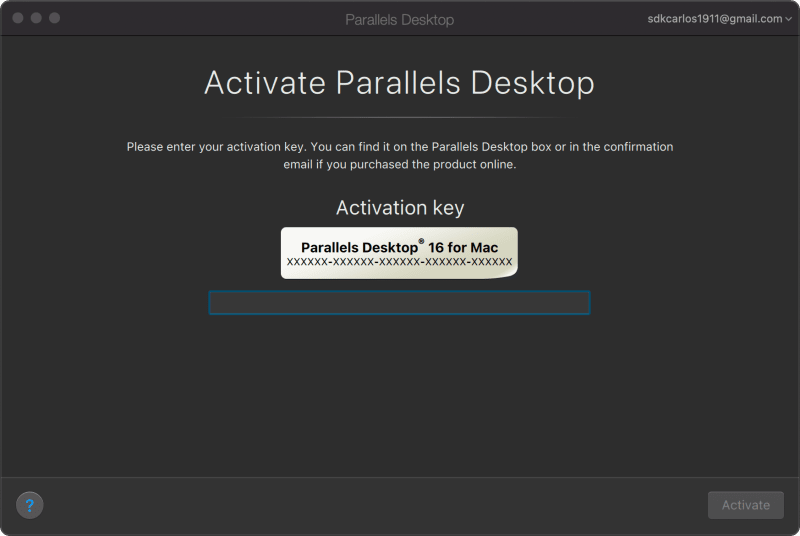
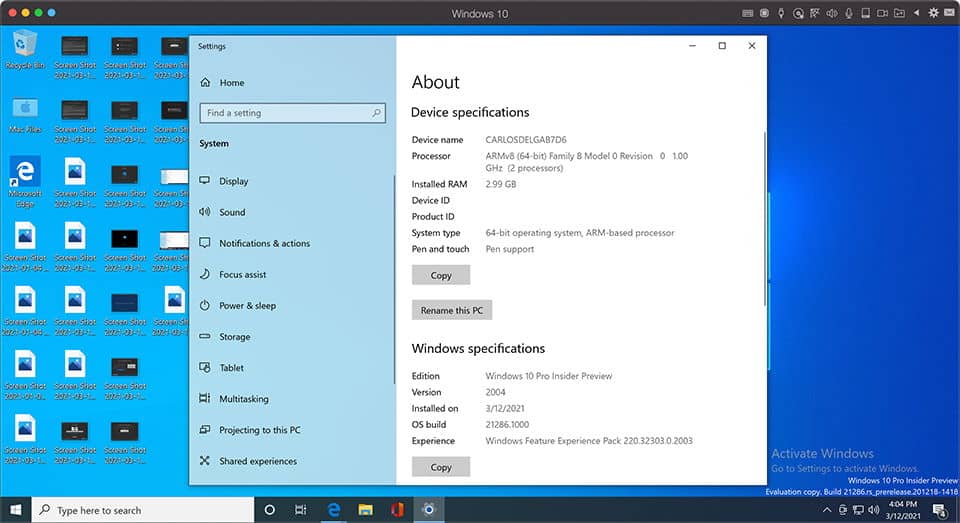
After enabling this, you will be able to finally see and use the ARM64 version of Windows 10 running in your Mac with an M1 chip:
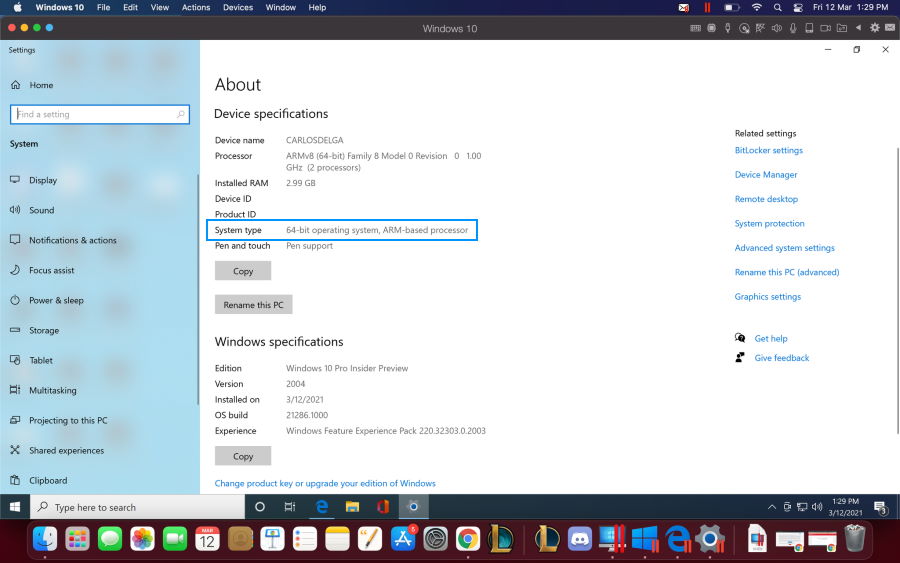
Happy coding ❤️!

