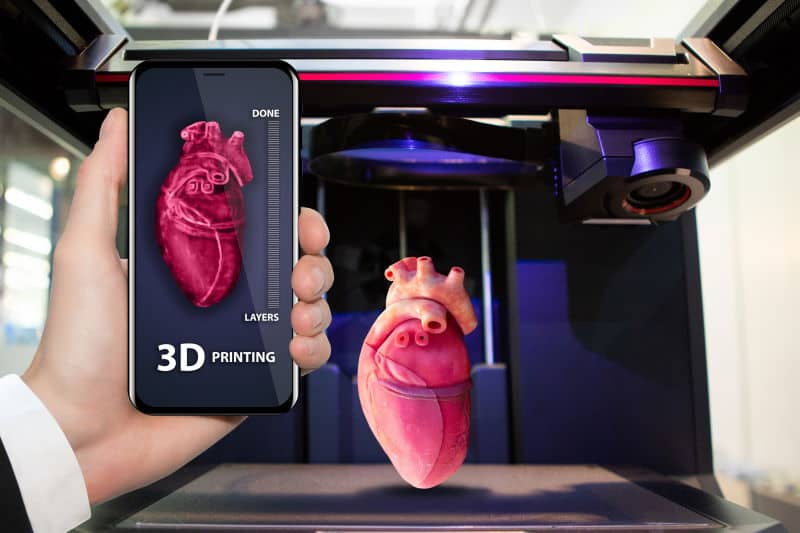
Creating three-dimensional objects is made possible through 3D printing. From anatomical models, product prototypes, branding merchandise, to electronic components, 3D printing can make your creative ideas come true, while large format printing Sydney can help bring your designs to life on a larger scale for stunning visual impact. If you’re a first-timer in 3D printing, this article is highly recommended for a quick read. Learn amount 3D printing and how it works below.
What Is 3D Printing?
Three-dimensional (3D) printing refers to creating a physical object by laying thin layers of materials, such as plastic, cement, or metal, based on a digital design. This additive manufacturing process involves computer-aided design or CAD models. CAD pertains to the use of computers and software programs to create, modify, analyze, and optimize designs.
While CAD increases the designer’s productivity and creates a manufacturing database, 3D printing produces functional shapes using less materials, as compared to traditional manufacturing methods. Depending on the object you want to print, you’ll need to know your 3D printer filament options in Australia, for instance, to achieve the properties you desire.
How 3D Printing Works
Here’s the step-by-step process on how 3D printing works:
1. Design Creation
For many businesses, delivering better quality products is crucial in establishing long-term customer relationships and a profitable business. So, it’s essential to think about the product specifications and features that will greatly benefit the target audience. For this reason, a design must be carefully planned.
The first step in the 3D printing process is the creation of a blueprint or the 3D digital file of the object you want to print. CAD is commonly used for this purpose. Other entry-level and professional software programs can also produce a file applicable for 3D printing.
Check the following design file creation options:
- Use A Design Software Program: The most common 3D modeling software programs used nowadays to create printable files include SketchUp, AutoCad, Blender, SolidWorks, PhotoShop, Maya, and ThinkerCad. These programs are widely used by designers to create their preferred 3D design.
- 3D Scanning: This technology is used in analyzing a real-world object to create an instant digital replica, widely used by industry professionals. Digitized existing objects can be modified before printing, and a 3D scanner is used for this process.
- Download: You can also readily download printable 3D designs online from platforms such as Thingivers, CrabCad, MyMinifactory, Shapeways, or YouMagine.
2. Convert File To STL
When the CAD design has been finalized, it’ll be converted into the appropriate file format and sent to the printer. File formats should meet certain parameters, such as the following the maximum polygon count, proper physical size, water-tightness, and minimum wall thickness.
Stereolithography (STL) is the commonly used format in 3D printing. This usable file extension contains triangular mesh data, describing the layout or surface of a 3D object. STL alternatives include .OBJ and .3MF (don’t contain color information). Full color file formats include .X3D, .DAE, and .WRL.
3. Slicing
This process translates the desired object’s 3D file into concrete instructions that will be followed by the 3D printer. Slicing divides the 3D model into horizontal layers to direct the 3D printer on what to do, step by step.
Once files have been sliced, G-code is generated, a new file format or .gcode, which is required for the machine to work and print the desired object. This numerical code programming language is used in computer-aided manufacturing (CAM) to control 3D printers, computer numerical controls (CNCs), and other automated tools.
Slicing isn’t required if you’ve hired a 3D printing service provider because they’ll do it for you. Just upload the correct file format, wait for the completion of the 3D printing process, and see the results.
4. 3D Printing
Most 3D Printers don’t need special monitoring once 3D printing has begun. A 3D printer follows the automated G-code instructions. Make sure there are enough raw materials for a problem-free printing process.
5. Finished Parts Removal
The removal of finished parts depends on the 3D printer you’ll use. Desktop machines usually involve separating the finished part from the build platform. Industrial 3D printers involve a technical process, requiring specialized equipment and professional skills.
6. Post-Processing
Post-processing is imperative to ensure the finished part’s aesthetic and functionality. In most cases, finished 3D printed parts don’t have a finished feel. The finishing can be improved through sanding, polishing, or painting. Many 3D printers have more advanced features, requiring less time-consuming 3D print post-processing.
Conclusion
Now, you’ve learned how 3D printing works, from designing your desired object into a digital file until it’s ready for 3D printing. Different file formats and software programs can be used. Depending on the material and 3D printer used, post-processing of finished products might be necessary. Always choose the best tools to ensure high-quality outcomes.


