
I've been working with Android Studio for a couple of years and there's always a new bug, error or something that happens when I start working with the same technologies over and over again. This time, the exception was related to the Android Emulator that seems to have a problem with AMD processors. I have a AMD Ryzen 9 3950X running under an Aorus x570 board.
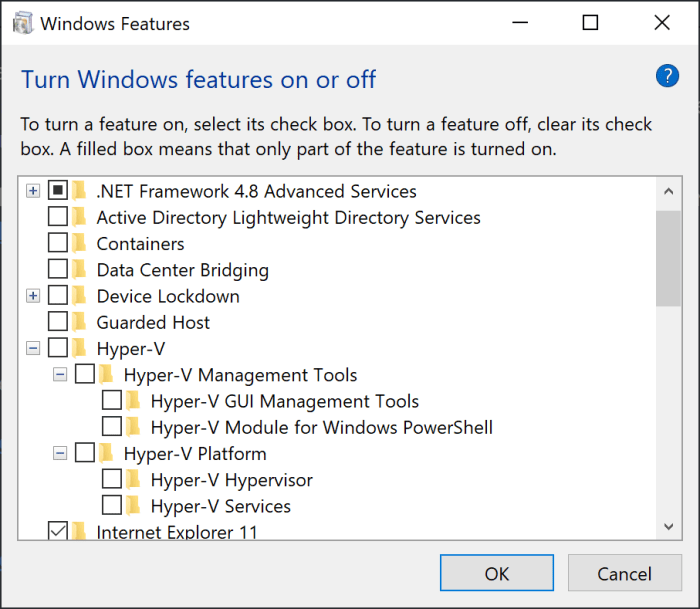
As the problem mentions, it's something related to the processor type, so as always with virtualization, you need to have it enabled in your BIOS. I wrote an article about how to enable virtualization on this type of board through the BIOS a year ago. Curiously, the virtualization (Secure Virtual Machine Mode) was already enabled in the BIOS and Hyper-V seemed to be disabled as well:
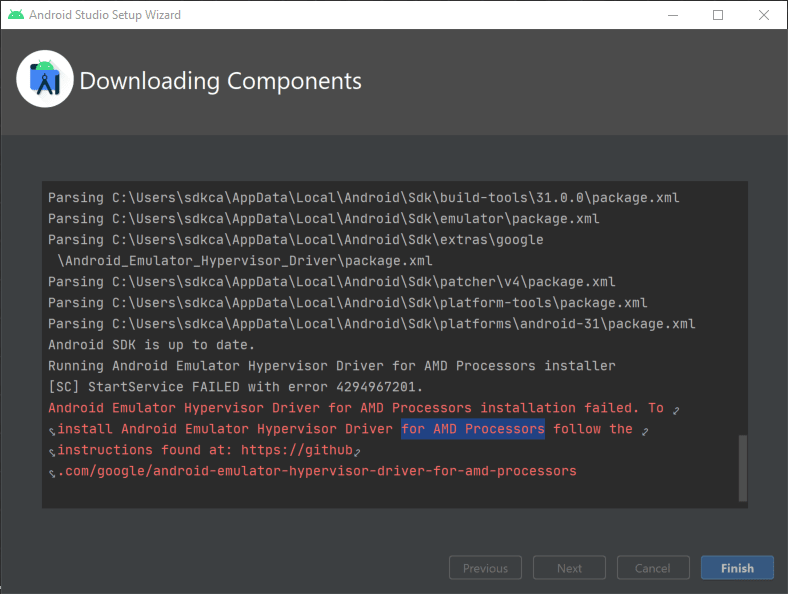
However, the problem with the installation of the emulator persisted. Even if you try to install the driver manually, it will fail no matter what:
[SC] ControlService FAILED 1062:

The service has not been started.

[SC] DeleteService SUCCESS
[SC] StartService FAILED with error 4294967201.

C:\Users\sdkca\AppData\Local\Android\Sdk\extras\google\Android_Emulator_Hypervisor_Driver>silent_install_safe.bat
[SC] ControlService FAILED 1062:

The service has not been started.

[SC] DeleteService SUCCESS
[SC] StartService FAILED with error 4294967201.
After some research, I followed some possible solutions mentioned in the official repository of Android Emulator Hypervisor Driver for AMD Processor until one of them worked. I will share them with you in this short article.
I will list in the first step a couple of solutions that worked for some of the developers with this problem, follow only one of them at time and continue with the step #2. If the service still fails, try another solution from the step #1.
1.A. Solution #1 (this one worked for me)
Launch a new Windows PowerShell instance and run the following command as administrator:
Disable-WindowsOptionalFeature -Online -FeatureName Microsoft-Hyper-V After running the command, it will output that the instruction has been completed succesfully. Then launch a new command prompt and run the following command as administrator:
bcdedit /set hypervisorlaunchtype offRestart the computer and proceed with the step #2.
1.B. Solution #2
The persistence of this problem indicated that Hyper-V is somehow turned. The feature checkbox in the "Turn on and off Windows features" seems to be unreliable as it may be implicitly required by other features in the computer. These possible features are:
- Windows Sandbox
- Virtual Machine Platform (This is required to run WSL v2)
- Credential Guard
- Core Isolation (in Windows Defender options).
For some users, disabling Virtual Machine Platform and Windows Hypervisor Platform did the trick:
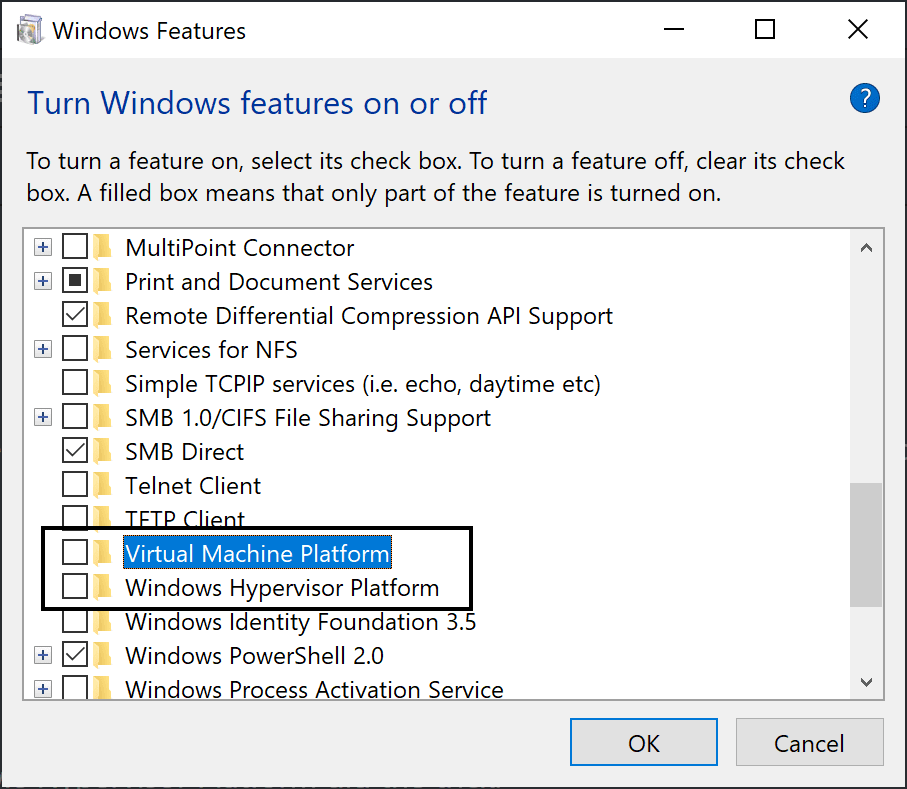
Restart the computer and follow step #2.
2. Install Android Emulator Hypervisor Driver Manually
After using any of the possible solutions mentioned in this article and restarting the computer, launch a new command prompt in administrator mode and switch to the SDK extras directory (in the Sdk installation directory):
cd C:\Users\<your-username>\AppData\Local\Android\Sdk\extras\google\Android_Emulator_Hypervisor_DriverAnd start the silent installer:
silent_install.batIf the solution that you decided to try worked succesfully, the output of the silent installed should now look something like this:
SERVICE_NAME: gvm
        TYPE               : 1  KERNEL_DRIVER
        STATE              : 1  STOPPED
        WIN32_EXIT_CODE    : 0  (0x0)
        SERVICE_EXIT_CODE  : 0  (0x0)
        CHECKPOINT         : 0x0
        WAIT_HINT          : 0x0
[SC] DeleteService SUCCESS

SERVICE_NAME: gvm
        TYPE               : 1  KERNEL_DRIVER
        STATE              : 4  RUNNING
                                (STOPPABLE, NOT_PAUSABLE, IGNORES_SHUTDOWN)
        WIN32_EXIT_CODE    : 0  (0x0)
        SERVICE_EXIT_CODE  : 0  (0x0)
        CHECKPOINT         : 0x0
        WAIT_HINT          : 0x0
        PID                : 0
        FLAGS              :
If the output still looks the same as the initially mentioned (StartService failed with Error), try with another solution and repeat the steps. It seems that the problem is caused by a previous installation of the Windows Subsystem for Linux (WSL).
Happy coding ❤️!

