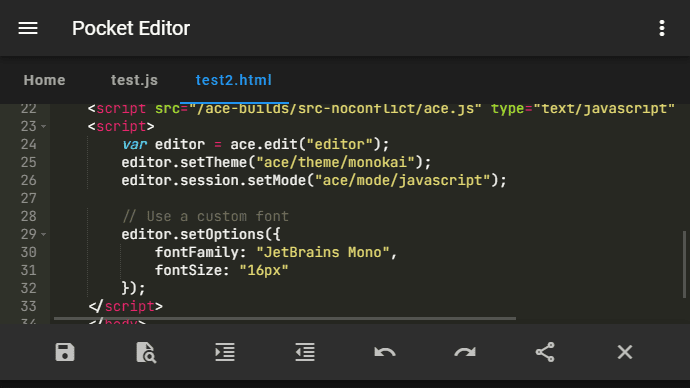
I've been working for a couple of weeks in a new app that I will be publishing soon on the Play Store. It's basically a code editor that uses Ace editor under the hood. On the list of features that I would like to implement is to allow the user to choose a custom font from a list in the editor, so I did the research and ended up implementing it quite easily.
In this short article, I will explain you how to easily use a custom monospaced font in your ace editor instance with JavaScript.
Important
Only Monospaced fonts work properly, if you use other type of fonts, the cursor will appear always in the wrong place.
1. Define Font Face
In this case, we are going to use the JetBrains Mono font, a typeface specially tailored for developers. You can visit the official repository of the font for more information. The following CSS rule defines the JetBrains Mono font family that can be used later by our editor:
/* https://github.com/JetBrains/JetBrainsMono */
@font-face{
    font-family: 'JetBrains Mono';
    src: url('https://yourwebsite.com/fonts/JetBrainsMono-Regular.ttf') format('truetype');
    font-weight: normal;
    font-style: normal;
}
As you can see, the rule is regular CSS so you can embed the font that you want and the font family that you need (as long as it's monospaced).
2. Use new font family
Now all that you need to do is to specify in the options the new font family that should be used in the editor through the setOption or setOptions methods:
var editor = ace.edit("editor");
editor.setTheme("ace/theme/monokai");
editor.session.setMode("ace/mode/javascript");

// Use the custom font
editor.setOptions({
    fontFamily: "JetBrains Mono",
    fontSize: "16px"
});
Remember that this tutorial should work for any font that you want. I recommend you to visit this fabulous collection of fonts for developers that you may implement in your project.
Happy coding ❤️!


