
Preloader
Others
  • Estimated reading time: 1 Minute

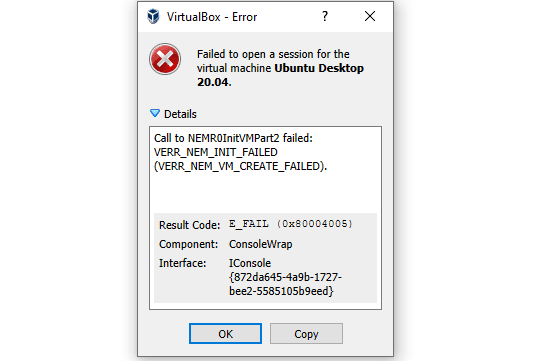
How to fix VirtualBox session error: Call to NEMR0InitVMPart2 failed VERR_NEM_INIT_FAILED (VERR_NEM_VM_CREATE_FAILED)

How to fix VirtualBox session error: Call to NEMR0InitVMPart2 failed VERR_NEM_INIT_FAILED (VERR_NEM_VM_CREATE_FAILED)

After a couple of months without working with Virtual Machines, I tried to launch an old ubuntu 20.04 machine in VirtualBox to test some stuff. Curiously, I got a kernel panic error, whose "solution" ended up causing the exception that I'm going to solve in this article. I updated VirtualBox 6.1.16 to the 6.1.28 version and tried to launch the machine again but without success.

After some research and applying the solution that I'm going to show in this article, the virtual machines were able to work again as usual.

How to fix

To fix this error, launch a new command prompt with administrator rights (important). Then, proceed to disable Hyper V by running the following commands:

bcdedit /set hypervisorlaunchtype off

Then run this one:

DISM /Online /Disable-Feature:Microsoft-Hyper-V

Finally, be sure to restart your computer, try launching your virtual machine once again and voila! It should work now.

Notes about this problem

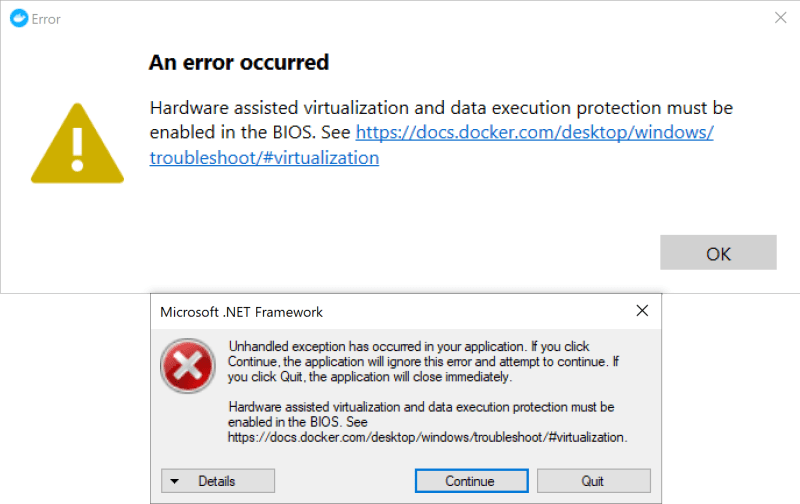
Normally, this will only appear the first time that you work with VirtualBox. However, if the problem reappears a couple of months later after installing a new version of VirtualBox, you may be probably using Docker Desktop as well in your computer. Am I right?:
Docker Startup Error Hyperv

In case you're not using Docker, if you decide to use it, you will enter into this error cycle whenever you want to work one day with VirtualBox and the other day with docker, as for Docker in order to properly work, HyperV, Virtual Machine Platform, Windows Subsystem for Linux and the Windows Sandbox features must be enabled in your system (check docker docs). So, if you're done with VirtualBox for today and want to work tomorrow with Docker, be sure to enable the services again:

bcdedit /set hypervisorlaunchtype auto 

And this one:

DISM /Online /Enable-Feature /All /FeatureName:Microsoft-Hyper-V

And restart for the changes to take effect.

Happy coding ❤️!

Share:
Carlos Delgado

Carlos Delgado

Senior Software Engineer at Corvix. Interested in programming since he was 14 years old, Carlos is a self-taught programmer and founder and author of most of the articles at Our Code World.

Related articles
Building a Bilingual App Is Not a Translation Job
16 Oct, 2026
  • Estimated reading time: 4 Minutes
Before You Redesign Your Website, Decide What It Needs to Fix
16 Oct, 2026
  • Estimated reading time: 4 Minutes
Understanding Network Monitoring Systems in Modern IT Environments
16 Oct, 2026
  • Estimated reading time: 7 Minutes
Top Generative AI Development Companies for Custom AI Solutions
16 Oct, 2026
  • Estimated reading time: 8 Minutes
How AI Image Tools Are Changing Visual Content for Small Businesses
16 Oct, 2026
  • Estimated reading time: 5 Minutes
Best AI Pentesting Tools for Web Apps and APIs in 2026
16 Oct, 2026
  • Estimated reading time: 8 Minutes
Weekly trending
Building a Bilingual App Is Not a Translation Job
16 Oct, 2026
  • Estimated reading time: 4 Minutes
Before You Redesign Your Website, Decide What It Needs to Fix
16 Oct, 2026
  • Estimated reading time: 4 Minutes
Understanding Network Monitoring Systems in Modern IT Environments
16 Oct, 2026
  • Estimated reading time: 7 Minutes
Top Generative AI Development Companies for Custom AI Solutions
16 Oct, 2026
  • Estimated reading time: 8 Minutes
How AI Image Tools Are Changing Visual Content for Small Businesses
16 Oct, 2026
  • Estimated reading time: 5 Minutes
Our Sponsors

Our blog is proudly supported by industry-leading sponsors.
