
I've been experimenting with a new feature of a very old application that is hosted on a CentOS 6.10 based server, however, I'm unable to modify the production server as I may mess up everything, so I decided to simply use another server that uses the same configuration as the production environment. This environment needs PHP 5.3 and Apache in order to test some stuff.
In this short tutorial, I will explain to you how to easily install PHP 5.3.3 and Apache Webserver.
1. Installing PHP 5.3.3
In order to install PHP 5.3 in CentOS 6.10, you only need to update your repositories:
yum updateAnd then search for the PHP package:
yum list phpThis will generate an output similar to the following one:
Loaded plugins: fastestmirror, ovl
Loading mirror speeds from cached hostfile
base                                                                                                                                                                                                                 | 3.7 kB     00:00
centosplus                                                                                                                                                                                                           | 3.4 kB     00:00
contrib                                                                                                                                                                                                              | 2.9 kB     00:00
extras                                                                                                                                                                                                               | 3.4 kB     00:00
updates                                                                                                                                                                                                              | 3.4 kB     00:00
Available Packages
php.x86_64                                                                                                      5.3.3-50.el6_10                                                                                                      updates
From the previous list, you need to identify the latest available version of PHP, which is 5.3.3-50.el6_10. You can now proceed with the installation of PHP using the following command (in case you have another version, install the one that is available):
yum install php-5.3.3-50.el6_10Once the installation finishes, you can check in the command line the version of PHP installed with php --version:
PHP 5.3.3 (cli) (built: Nov  1 2019 12:28:08)
Copyright (c) 1997-2010 The PHP Group
Zend Engine v2.3.0, Copyright (c) 1998-2010 Zend Technologies
2. Installing Apache Web Server (httpd)
In most of the distributions of this system, apache is already installed with the httpd name. However, in case that is not installed, follow these steps to install them. Search for the httpd package with yum:
yum list httpdYou will get a list of all the available versions of Apache:
Loaded plugins: fastestmirror, ovl
Loading mirror speeds from cached hostfile
base                                                                                                                                                                                                                 | 3.7 kB     00:00
centosplus                                                                                                                                                                                                           | 3.4 kB     00:00
contrib                                                                                                                                                                                                              | 2.9 kB     00:00
extras                                                                                                                                                                                                               | 3.4 kB     00:00
updates                                                                                                                                                                                                              | 3.4 kB     00:00
Installed Packages
httpd.x86_64                                                                                                   2.2.15-69.el6.centos
Install the package with the following command:
yum install httpd-2.2.15-69.el6.centosOnce the installation finishes, you will have a ready to use instance of apache in your server. Some special directories that are handled by Apache in CentOS (handled by httpd) are the following ones (good to keep them in mind if you need to make special adjustments):
| /etc/httpd | Main Apache root configuration directory. |
| /etc/httpd/conf.d | Additional Apache configuration files provided by third party software. |
| /etc/httpd/conf/httpd.conf | Main Configuration file. |
| /var/lib/httpd/modules | Configuration files for additional modules. (SymLink to /etc/httpd/modules) |
| /etc/log/httpd | Contains log files ( SymLink to /etc/httpd/logs) |
| /var/www | Main web document root directory. |
You need to create a new virtual host in order to test that the webserver is working. Create a new host using nano:
nano /etc/httpd/conf.d/example.confThis vhost will contain the following structure, which will basically listen on port 80 and will serve the content of the /var/www/example directory:
<VirtualHost *:80>
    ServerAdmin [email protected]

    DocumentRoot /var/www/example

    ServerName www.example.com

    ErrorLog logs/example.com-error_log

    CustomLog logs/example.com-access_log common
</VirtualHost>
Create the directory that we are targetting in our previously created virtual host:
mkdir /var/www/exampleThen, create the example PHP file that will be executed when we access our server:
echo "<?php phpinfo(); ?>" > /var/www/example/index.phpNow modify the hosts file of the system to match the recently created alias:
nano /etc/hostsAnd add the following record:
<your-server-ip> www.example.com wwwSave the changes and finally, restart the Apache service:
service httpd restartAs the last step, try to access your web server through the browser and you should see the PHP Info page:
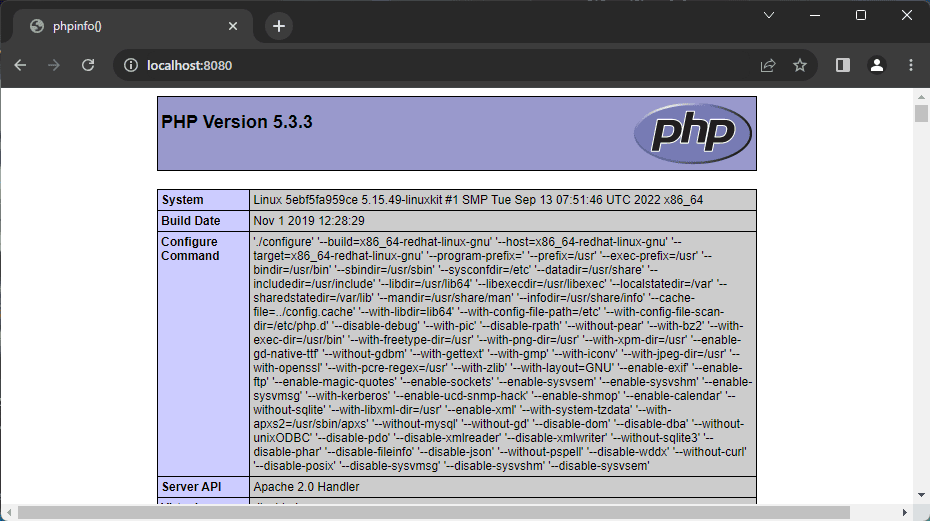
Where PHP 5.3 is running successfully in your CentOS 6.10-based server. Happy coding ❤️!

