

Installing older versions of PHP on modern operative systems such as Ubuntu 24.04 can become troublesome, yet it's necessary for plenty of legacy applications running on PHP 5.6, making it an essential tool that system administrators need to configure securely and efficiently. In this article, I will explain to you step by step how to quickly and easily manage to install PHP 5.6 and configure it to run legacy PHP applications in your CloudPanel based server.
1. Register ppa:ondrej/php repository
The ppa:ondrej/php repository is a Personal Package Archive (PAA) created and maintained by Ondřej Surý. This PPA grants you access to the newer versions of PHP that aren't included in the default Ubuntu repositories such as:
- PHP 8.0 to 8.3
- PHP 7.0 to 7.4
- PHP 5.6 (the version we need)
It provides as well support for the most common extensions, so it should be straightforward to use PHP 5.6 in your server with this repository. To include this repository in your system, run the following command:
sudo LC_ALL=C.UTF-8 add-apt-repository ppa:ondrej/phpThis command uses the environment variable to ensure proper character encoding when adding the PPA (overriding other locale settings). After registering and confirming that it should be included, update the repositories with:
sudo apt updateThis repository is widely considered as safe and reliable as it's maintained by a Debian PHP maintainer. For more information, please visit the official website here.
2. Modify CloudPanel APT Pinning file
We need to allow the installation of an older version of PHP in your system and therefore, we need to modify the APT pinning file of CloudPanel to install PHP 5.6 from the previously registered repository. This file is part of APT pinning in Ubuntu (or any Debian-based system). It forces APT to always prefer packages from d17k9fuiwb52nc.cloudfront.net, installing or downgrading if necessary. This kind of configuration is often used in:
- Custom/private APT repositories (hosted on CloudFront in this case).
- Controlled environments (e.g., CI/CD pipelines, air-gapped systems).
- When you want to override Ubuntu's or Debian's default repos with your own.
So we need to decrease the Pin-Priority to 500 to be able to install PHP 5.6 without any problem. With this value:
- Now packages from
d17k9fuiwb52nc.cloudfront.netwill not be preferred over the ones from Ubuntu’s default repos (which typically have priority 500). - APT will only install from this origin if no other source provides the package, or if you explicitly ask for it.
- If a newer version is available from another source (with higher priority), APT will choose that one instead.
Having said that, proceed with the modification of the file with:
nano /etc/apt/preferences.d/00packages.cloudpanel.io.prefSearch for the Pin-Priority line and decrease its value to 500:
Package: *
Pin: origin d17k9fuiwb52nc.cloudfront.net
Pin-Priority: 500
Save the changes and quit the editor.
3. Install PHP 5.6 and extensions
Assuming that the APT Pinning file has been modified properly, we can proceed with the installation of PHP 5.6. Update the repositories with:
sudo apt updateOnce the update finishes, proceed with the installation of PHP 5.6 (this command focuses on the PHP 5.6 FPM implementation and a set of commonly used extensions, you're free to change it according to your needs):
sudo apt install -y \
  php5.6-common \
  php5.6-fpm \
  php5.6 \
  php5.6-igbinary \
  php5.6-mbstring \
  php5.6-mcrypt \
  php5.6-soap \
  php5.6-redis \
  php5.6-intl \
  php5.6-mysqli \
  php5.6-xml \
  php5.6-gd \
  php5.6-ctype \
  php5.6-bcmath \
  php5.6-curl \
  php5.6-zip \
  php5.6-dom \
  php5.6-mysql
The installation should take a few minutes depending on your network and hardware. Once it finishes, you should be able to check whether PHP 5.6 has been properly installed with:
php5.6 --versionThis should output something similar to the following text:
PHP 5.6.40-81+ubuntu24.04.1+deb.sury.org+1 (cli)
Copyright (c) 1997-2016 The PHP Group
Zend Engine v2.6.0, Copyright (c) 1998-2016 Zend Technologies
    with Zend OPcache v7.0.6-dev, Copyright (c) 1999-2016, by Zend Technologies
4. Restore the CloudPanel APT pinning file to its default state
Now that PHP 5.6 has been installed properly, be sure to restore the status of the APT pinning file back to its default state:
nano /etc/apt/preferences.d/00packages.cloudpanel.io.prefSearch for the Pin-Priority line and increase its value again to 1000:
Package: *
Pin: origin d17k9fuiwb52nc.cloudfront.net
Pin-Priority: 1000
Save the changes and quit the editor, then update the repositories once again:
sudo apt update5. Configure PHP 5.6 FPM
As the final step, it's necessary to create the configuration file of the default pool for PHP 5.6. The configuration file defines how PHP-FPM will handle incoming PHP requests for the default pool. PHP-FPM pools are sets of worker processes used to serve PHP applications, often used with web servers like Nginx or Apache (Nginx in case of CloudPanel).
You can use the default pool file of PHP 8.1 as base, copy the file into the new directory for PHP 5.6:
sudo cp /etc/php/8.1/fpm/pool.d/default.conf /etc/php/5.6/fpm/pool.d/default.confThen modify the file to adjust the port range where subsequent pools will start:
nano /etc/php/5.6/fpm/pool.d/default.confSearch for the listen property and set it to 10000:
listen = 127.0.0.1:10000New pools will use the next port (10001, 10002, and so on). Finally, restart the PHP 5.6 FPM service:
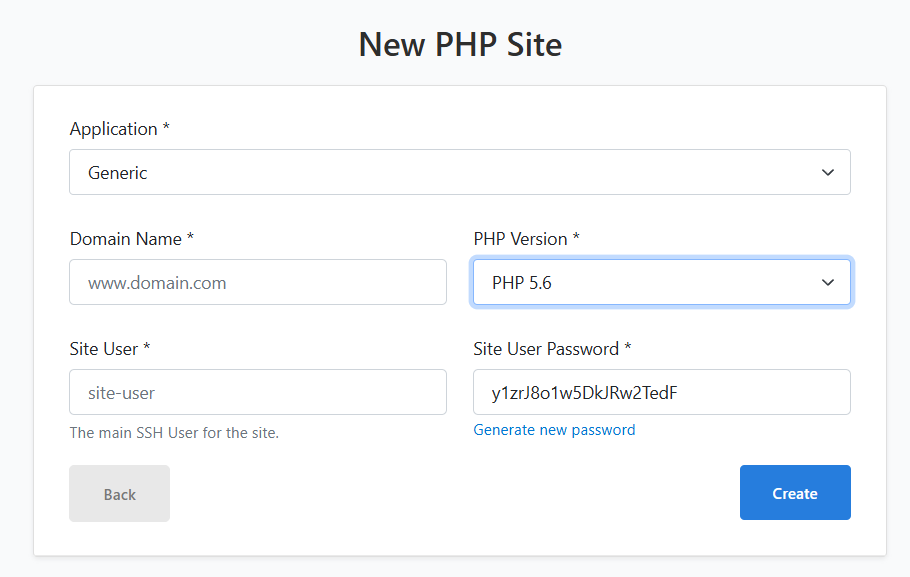
sudo systemctl restart php5.6-fpmAnd that's it! You should be able to launch new websites in no time with PHP 5.6 in your CloudPanel based server:
Bonus insights
Here are some extra details that might be useful to understand some of the adjustments we instructed in this article.
Pin-Priority Values and Their Meaning
| Priority | Behavior |
|---|---|
| >1000 | Install the package even if it would mean downgrading. |
| 1000 | Install the package, even if it’s a downgrade. (Used in your example) |
| 990 - 100 | Prefer this package over others if it's a newer version. |
| 500 | Default priority for packages from the main archive (like Ubuntu repos). |
| <500 | Lower priority than default; package will only be installed if no higher priority version exists. |
| <100 | Package will not be installed unless explicitly requested (like with apt install). |
| 0 | Package will never be installed, even if it's the only available version. |
Happy coding ❤️!

