
So you’re finally ditching that old laptop. The one that wheezes every time you open Chrome. The one with the “N” key missing and a mysterious scratch that looks suspiciously like a cat claw.
You're ready to recycle it. Great move. But here’s the part no one warns you about: that junky machine still knows everything about you.
Your passwords. Your financial records. Maybe even that weird novel you started in 2020.
You wouldn’t toss your diary in a public trash can—so why hand your digital life to a recycling center unprotected?
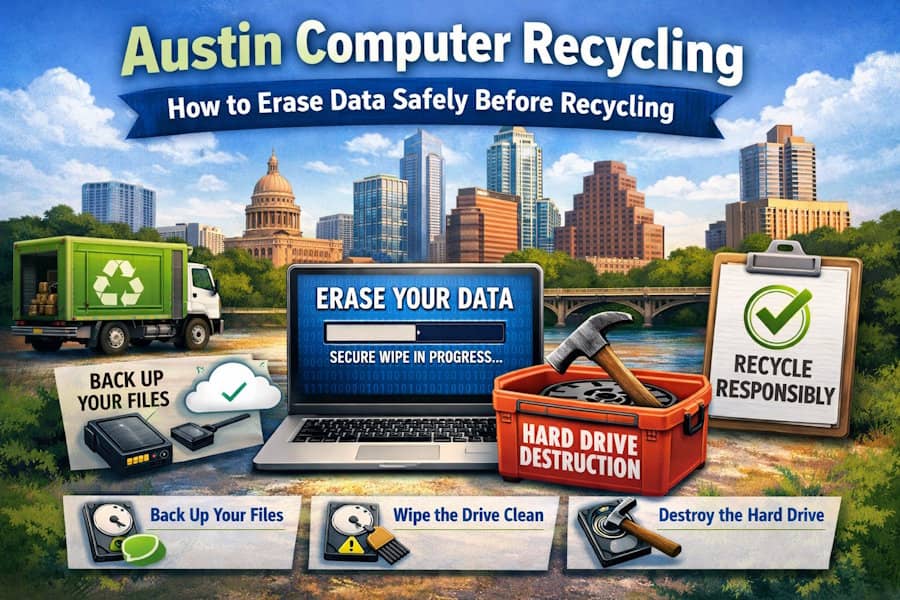
Let’s talk about how to erase your data the right way before doing computer recycling Austin.
First: Yes, “Delete” Doesn’t Mean Gone
Let’s get this out of the way. Dragging files into the trash doesn’t erase them. Emptying the trash? Still not enough.
Most operating systems just remove the index pointing to your files. The data? Still there. Just hidden—until someone with basic recovery software strolls by and says, “Hey look, tax returns!”
Bottom line: you need a real wipe. Not a half-hearted goodbye.
Step 1: Back Up Your Life (Unless You Want to Regret It Later)
Before you burn it all down, make sure you keep what matters.
Family photos. Business spreadsheets. Your master playlist from 2015? Whatever it is, back it up to an external hard drive or cloud storage.
Then check the backup. Seriously—open it. There’s nothing worse than discovering your files didn’t make the trip after your laptop’s been wiped like a crime scene.
Step 2: Nuke the Drive (Properly, Please)
Now it’s time to destroy the data.
If your computer still works, here’s what you do:
- Windows: Use the “Reset this PC” tool → “Remove everything” → “Clean the drive.”
- Mac: Disk Utility → Erase → Pick the most secure option.
- Paranoid? Use third-party tools like DBAN or Eraser. They overwrite data multiple times.
If it doesn’t work? Get ready for some physical therapy.
Step 3: Rip Out the Hard Drive (Old School but Satisfying)
If your device is dead, or you just don’t trust software, remove the hard drive manually.
- Keep it for storage
- Smash it (safely) with a hammer
- Drill through it like you mean it
- Hand it to a professional for certified destruction
There’s a special kind of catharsis in physically destroying a hard drive. You feel it? That’s closure.
Step 4: Sign Out and Sever All Ties
Even after you erase the drive, your device might still be tethered to your identity.
Before you recycle:
- Log out of Apple ID, Google, Microsoft
- Deauthorize software
- Turn off “Find My Device”
- Unlink cloud services
Your goal? Make it just a machine again. No strings, no ghosts.
Step 5: Recycle It Like a Responsible Austinite
Once your data is fully wiped and your device is de-personalized, it’s time to send it off.
But not just anywhere.
Choose a trusted electronics recycler—preferably one that:
- Follows environmental regulations
- Handles e-waste safely
- Accepts computer components (and destroys any lingering data)
- Helps reduce landfill clutter
If you're local, Gardner Metal Recycling is a smart pick for computer recycling Austin residents can feel good about. It’s green, it’s secure, and it’s the final chapter your laptop deserves.
Final Thought: Don’t Let Your Old Laptop Become a Liability
You might be done with your computer—but is your computer done with you?
Recycling responsibly isn’t just about the planet. It’s about your privacy, your identity, and your peace of mind.
So wipe it right. Break up clean. And give your device the send-off it—and your data—deserve.

