
If you’ve been shipping content for landing pages, product demos, or social posts, you’ve probably felt this: the first version looks impressive, but the second viewing reveals the seams—rubbery motion, drifting edges, over-sharpened textures, or a camera move that screams “generator.”
What I’ve found works best is treating image-to-video as a production step, not a magic button. You start with a strong still, you decide what should move (and what must not), and you keep shots short enough that motion stays believable.
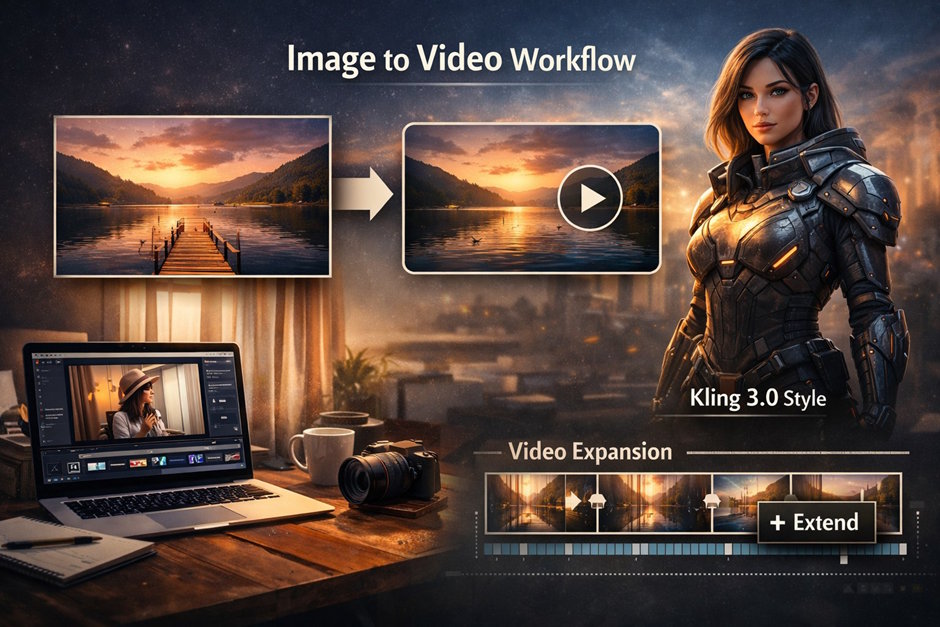
For the baseline conversion, I usually begin with an AI image to video workflow so I can iterate quickly and test multiple variants from the same keyframe. Once you have a clip that’s almost right, you extend or stitch it into a longer beat—this is where Kling 3.0’s “cleaner motion + better consistency” trend (across many creator demos) becomes a useful reference point for what “good” should look like, even if you’re not always using Kling directly.
Below is the approach I follow when I want results that can sit inside a real editing timeline.
Why Kling 3.0 changed expectations (even if you don’t use it every time)
Kling 3.0 pushed more people to judge short-form generation like actual cinematography: stable identities, fewer “melting” artifacts, and motion that respects the scene’s depth. In practice, it nudges us toward a stricter standard:
- Motion should be intentional (subtle parallax, natural head turns, gentle hand movement).
- Textures should stay consistent (fabric, hair, skin, wood grain).
- Camera moves should be motivated (slow push-in, small orbit, slight handheld drift).
If your clip fails any of those, it doesn’t matter how sharp it is—it looks synthetic.
So let’s build the workflow around those constraints.
The workflow I use (and why each step matters)
1) Start with a “production-ready” still (your real secret weapon)
A good still reduces 80% of common video artifacts. When choosing or generating the image:
- Prefer clear lighting and simple depth cues (subject foreground, readable midground, calm background).
- Avoid tiny repeating patterns (they shimmer during motion).
- Keep hands, jewelry, and text minimal unless you know your generator handles them well.
If your still has complex micro-textures everywhere, the model tends to “invent” motion to explain the noise—then the scene crawls.
2) Decide what moves—and what must stay locked
Before you type a prompt, answer this:
- What is the only thing that needs motion?
- What must remain still to sell realism?
A classic example: a portrait where only hair moves slightly with a breeze and the camera pushes in. Everything else stays calm. That calmness reads “expensive.”
3) Generate multiple short candidates, not one long take
I treat early iterations like test shots:
- Generate 4–8 short clips (3–6 seconds).
- Keep the same still, change only one variable per attempt: camera move, motion strength, or mood.
This is where you learn what your particular image “wants” to do. Some stills can support an orbit; others fall apart unless the camera is locked.
4) Pick the “least wrong” clip, then extend it
Once you have a clip that looks natural but ends too soon, extend it instead of re-generating from scratch. Extending typically preserves the visual logic you already like.
For extension, I use an AI video expander flow when I need a few more seconds for pacing—especially useful for:
- B-roll beats (a room, a product close-up, a landscape)
- Transitions between two shots
- “Breathing room” before on-screen text or a cut
The key is to extend with restraint. If the first 4 seconds are perfect, don’t ruin them with a chaotic last 4 seconds.
A quick decision table (what I choose in real projects)
|
Goal |
Best move |
Typical clip length |
What to watch for |
|
Subtle realism for a product/brand shot |
Slow push-in + minimal subject motion |
3–6s |
Edge warping, texture crawl |
|
A “scene” that feels cinematic |
Gentle orbit or parallax |
4–8s |
Background drift, depth mistakes |
|
You already like the clip but it’s too short |
Extend the existing clip |
+2–6s |
Motion escalation, identity drift |
|
Social punchiness |
Short shot + quick cut + sound design |
2–4s |
Over-smoothing, weird lip/hand motion |
Practical quality checks (the “editor brain” checklist)
When a clip looks off, I pause and inspect like an editor would:
- Edges: do the shoulders/ears/glasses wobble?
- Hands: are fingers stable, or do they “breathe”?
- Background geometry: do door frames bend, do tiles swim?
- Lighting: does the highlight direction stay consistent?
- Motion logic: if the camera moves left, does parallax behave correctly?
If I catch issues early, I either reduce motion strength, shorten the shot, or swap to a different camera move. The shot doesn’t need to do everything—your edit can do the work.
Prompting without the “AI flavor”
When you want less of that generator signature, you don’t need fancy words; you need constraints.
Instead of:
“cinematic, ultra-detailed, masterpiece, dramatic”
Try describing the physics and intent:
- “Tripod-locked frame. Minimal motion: curtain gently stirs.”
- “Slow push-in, shallow depth of field, background stays stable.”
- “Small handheld drift, realistic micro-jitter, no warping.”
Also, keep your prompts consistent across iterations. The more you rewrite wildly, the more the model “reinterprets” the scene.
Common failure modes and how I avoid them
The shot looks good until the last second.
That’s usually motion escalation. Trim earlier, or extend carefully rather than regenerating longer.
The face stays sharp but the background swims.
The background is too detailed or too repetitive. Blur it slightly in the still, or choose a calmer setting.
Everything is moving, even things that shouldn’t.
Ask for less: reduce motion, lock the camera, and specify one moving element.
EEAT notes (how I keep this publishable and responsible)
In client work, I document what I did and why:
- Keep the original still and version history of outputs.
- Note the constraints you used (camera move, duration, motion strength).
- If content is used commercially, confirm you have rights to the source image or you generated it under acceptable terms.
This isn’t just legal hygiene—having a repeatable method is what makes results consistent, and consistency is what turns “cool demo” into a workflow.
Closing thought
Kling 3.0 raised the bar mainly by reminding people that believable motion is subtle. The best clips aren’t the loudest. They’re the ones where viewers stop thinking about the tool and start watching the scene.
If you treat image-to-video like a small film craft step—choose a strong still, constrain motion, generate short, extend only when needed—you’ll get clips that cut cleanly into real projects and still look good on the second viewing.

