
PrestaShop is a free, open source e-commerce solution, it is written in the PHP programming language with support for the MySQL database management system. PrestaShop is currently used by about 250,000 shops worldwide and is available in 60 different languages. PrestaShop 1.7 is considered stable, and hundreds of online stores have already been created with v1.7.0.0 and its updates.
Requirements
- You need to have XAMPP installed.
- You know how to use basically PHPMyAdmin.
- Some patience.
1. Download PrestaShop
The first you need to do is download a .zip distribution of PrestaShop in the official website here (in this article we are going to use the version 1.7).
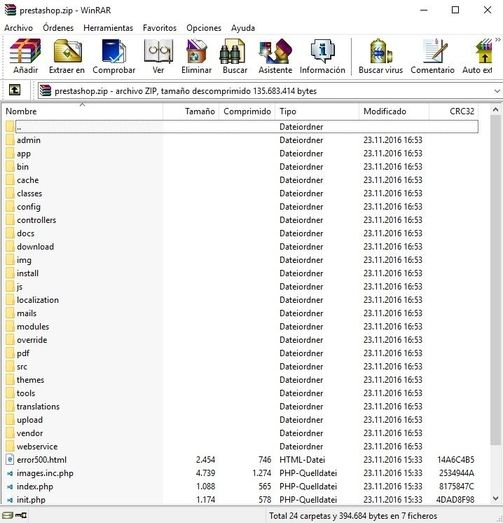
The file size is about 58MB compressed and it contains a lot of folders and files, they compose our new PrestaShop project.
2. Create your project in the htdocs folder
The htdocs is the directory that the web server software (Apache) looks for files to serve on your domain, it is located inside the Xampp installation folder. Anything you want web-viewable needs to be inside htdocs. It applies to subdomains as well. Normally, with a default installation of Xampp in Windows, the directory of the htdocs folder is C:\xampp\htdocs.
Once you know where the htdocs folder in xampp is located, then create a new folder (with the name of your project) inside, in this case our project will be ourcodeworld-store, and then extract all the content of the .zip of PrestaShop inside of the folder of your project:
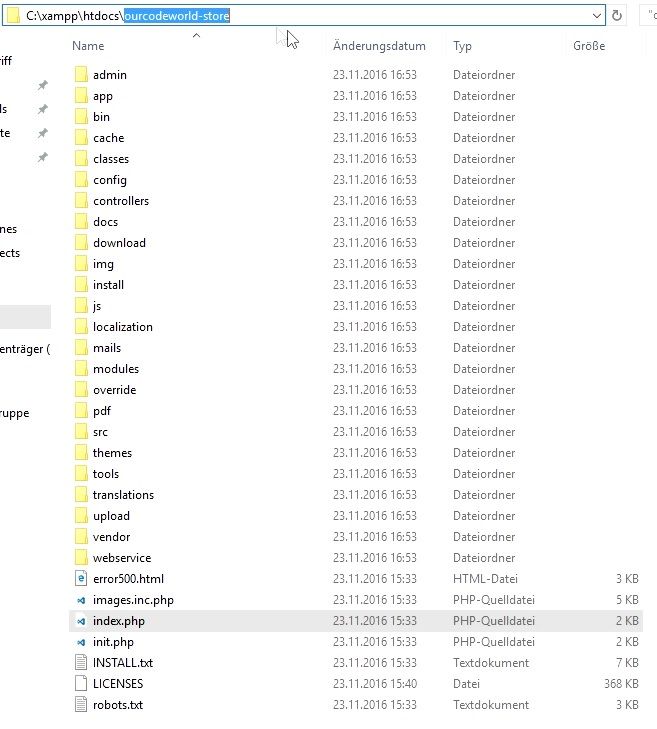
Now, your project is structurally ready to be installed. Then we need to create an empty database and setup the VirtualHost and the local domain in Windows.
3. Create an empty Database
Start Apache and MySQL with the Xampp control panel in order to enable the access to http://localhost/phpmyadmin:
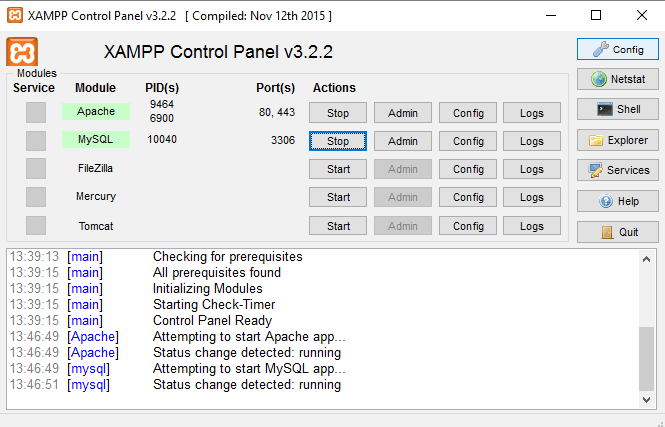
Once these services are running, navigate to PHPMyAdmin and create a new database for your PrestaShop project with the name you want (in this case will be ourcodeworld-store), in case you want to provide a password, save the databasename and password as you'll need it later.
PrestaShop will automatically build all requires tables when we start the installation later.
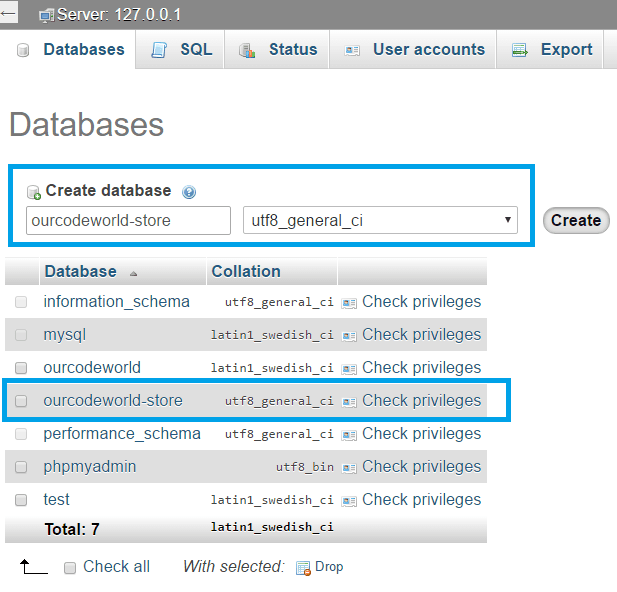
We recommend you to use the utf8_general_ci collation, this collation is the default collation of MySQL. If you want a specific order in your alphabet that is not the general_ci one, you should pick one of the utf8_* collation that are provided for the utf8 charset, whichever match your requirements in term of ordering.
4. Setup a local domain in Windows
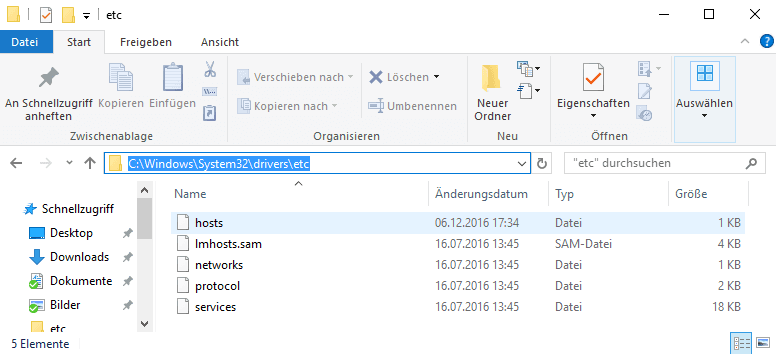
To make your PrestaShop project easily accessible in the browser, we will implement a custom development domain in Windows to write http://ourcodeworld-store instead of http://localhost/ourcodeworld-store. Locate the hosts file of Windows, it can be found in C:\Windows\System32\drivers\etc and edit it with your favorite text or code editor (remember to open it with Administrator mode as we need to save it).
Now register a new custom domain with the following structure:
# localhost name resolution is handled within DNS itself.
#	127.0.0.1       localhost
#	::1             localhost
127.0.0.4	ourcodeworld-store
You can change the number of the local IP as long as it keep the structure 127.0.0.X. Every project needs to be located on a different IP, in this case our project will be accessible from http://127.0.0.4 with an alias of http://ourcodeworld-store. Save this IP for later, as we need to indicate it in our VirtualHost.
5. Create VirtualHost
To create a virtual host, we need to modify the httpd-vhosts.conf file of Xampp. This file can be normally found in C:\xampp\apache\conf\extra , open the file with your favorite code editor and register a new VirtualHost that points to the IP created previously, and as directory the folder of our PrestaShop folder.
The virtual host can be the following one, that's very simple, note that in the tag <VirtualHost 127.0.0.X:80>, the IP needs to match with the created previously in the hosts file of windows:
# Our Code World Store

# Prestashop Virtual Host example
# The VirtualHost domain needs to match with the providen in the hosts file of Windows

<VirtualHost 127.0.0.4:80>
    # Targets the folder where prestashop was decompressed
    DocumentRoot "C:/xampp/htdocs/ourcodeworld-store"
    DirectoryIndex index.php

    <Directory "C:/xampp/htdocs/ourcodeworld-store">
        Options All
        AllowOverride All
        Require all granted
    </Directory>
</VirtualHost>
Change the directory according to the local directory of your project and save the changes.
Do not forget to restart the services of Apache and MySQL, otherwise our VirtualHost won't be recognized when you try to access the custom domain from the browser.
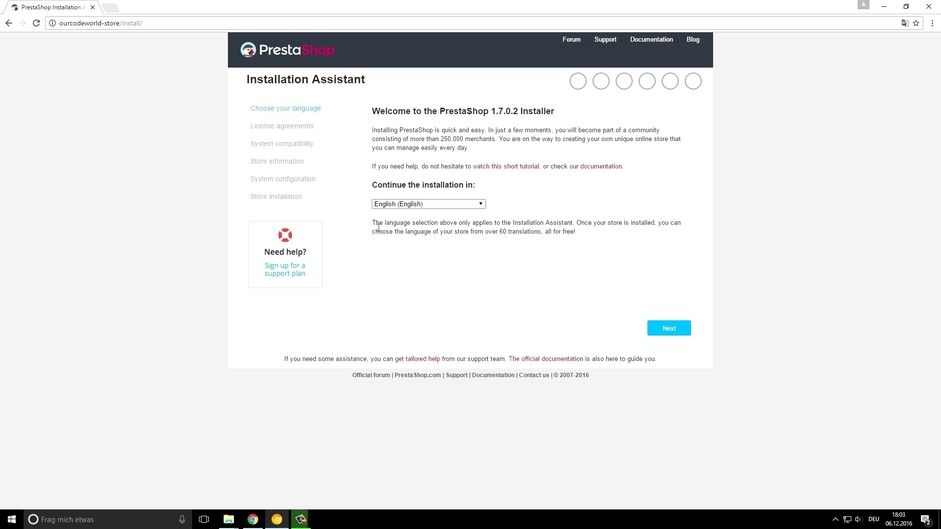
6. Proceed with the installation
If you have already restarted apache and MySQL, you can proceed with the Installation fo PrestaShop by accessing the custom domain that we've created in your favorite web browser, in this case will be http://ourcodeworld-store. The setup will be your welcome page, now the configuration is up to you (if you need a guide, follow the video). It will require an email account, a password and information about the connection to the database that we've created. If you've provided all the required information, the installation of PrestaShop will start:
Once the installation has been finished, you need to open the folder where your prestashop is located (C:\xampp\htdocs\ourcodeworld-store) and delete the install folder, otherwise you will be unable to access the backend admin later.
7. Start using PrestaShop
Now you can access your PrestaShop store easily from the custom domain locally.
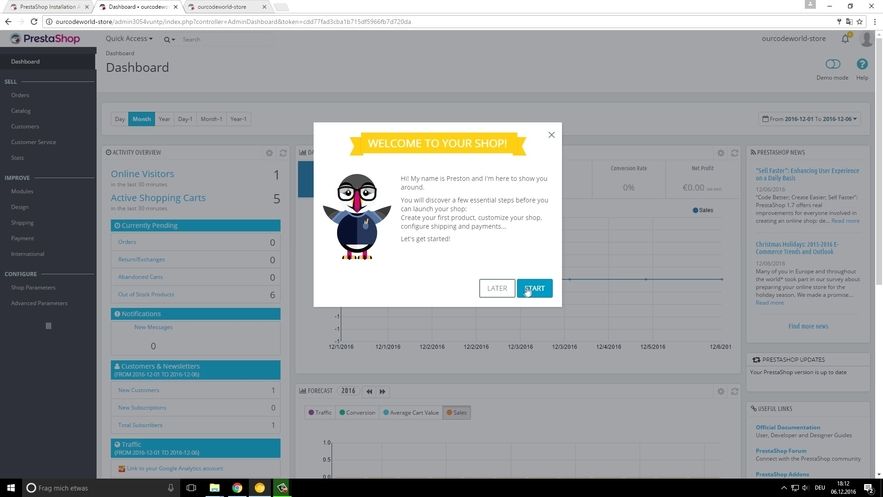
Accessing to admin panel
Logging in after the first time for the backend can be weird for most users. PrestaShop will rename the admin folder by adding a randomly generated number to the end of it, for example "admin8153". From this point on, your admin URL will now include that number. Using the example given, you would now need to use URL "ourcodeworld.com/admin3050vuntp" to gain access to the admin dashboard.
Have fun !

