
How many times did you tried to select the content of a PDF but pitifully the content of the PDF was an image? Pretty annoying isn't ? Fortunately, if you're working on some application that needs to convert the images to text, OCRmyPDF is the right tool to achieve this goal. Although in Ubuntu 16.10 and above it's pretty easy to install this tool, in Ubuntu 16.04 the installation process is a little bit complicated, so you will need to follow some extra steps.
In this tutorial, we'll show you how to install this tool properly on your Ubuntu 16.04 system with ease.
What's the goal of this tool?
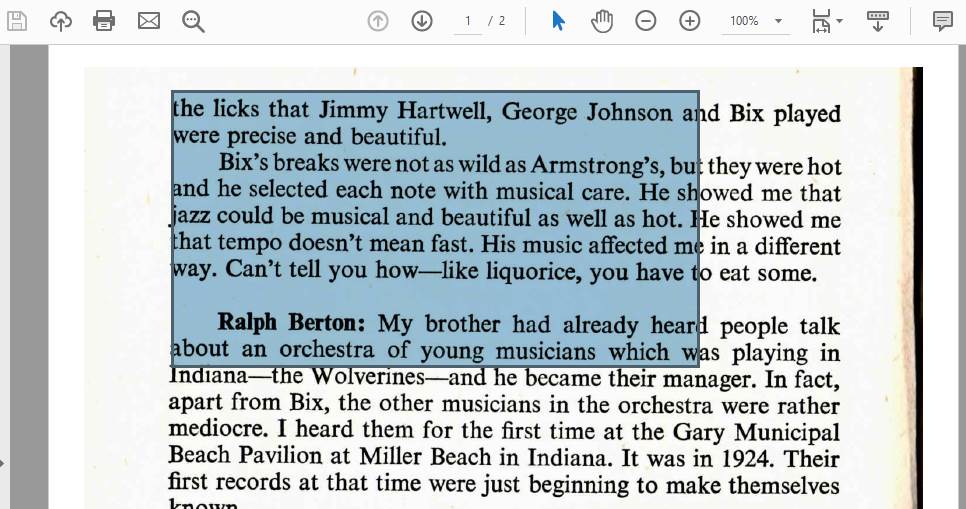
To explain quickly what this tool will help you to achieve, we are going to expose the following simple case. We have a PDF as result of some pages scanned from a real book. If you open the PDF with some PDF viewer, you will see with most of them that the text can't be selected, the PDF is basically an image:
However, what the people would expect and need is the possibility to select the text with the mouse:
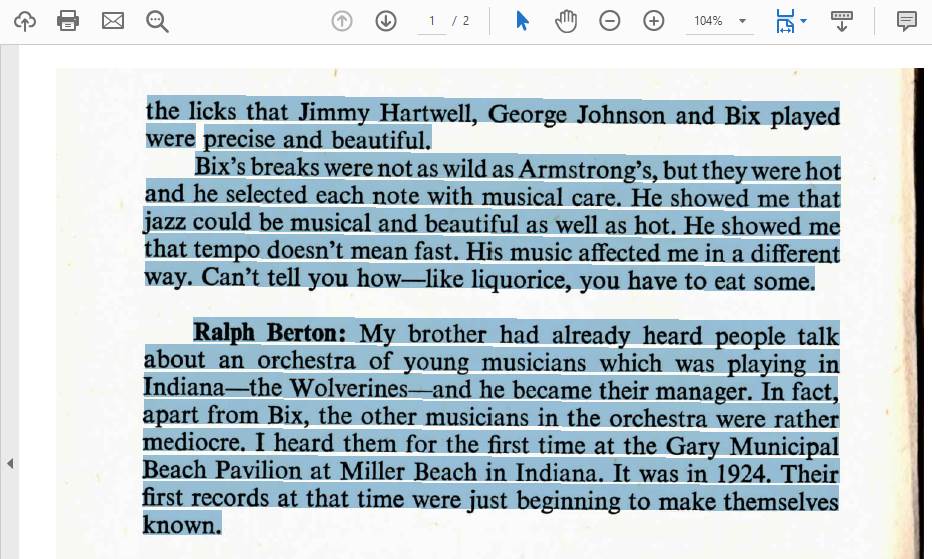
That's basically what the tool will produce, a new PDF with a layer of selectable text over the original PDF so the user will be able to extract the information easily.
1. Install OCRmyPDF
OCRmyPDF adds an OCR text layer to scanned PDF files, allowing them to be searched or copy-pasted. This tool features:
- Generates a searchable PDF/A file from a regular PDF
- Places OCR text accurately below the image to ease copy / paste
- Keeps the exact resolution of the original embedded images
- When possible, inserts OCR information as a "lossless" operation without disrupting any other content
- Optimizes PDF images, often producing files smaller than the input file
- If requested deskews and/or cleans the image before performing OCR
- Validates input and output files
- Distributes work across all available CPU cores
- Uses Tesseract OCR engine
- Supports more than 100 languages recognized by Tesseract
- Battle-tested on thousands of PDFs, a test suite and continuous integration
To install this tool on your Ubuntu server, you will need to follow some extra steps as for this version of Ubuntu there's no package available. As if it weren't enough, OCRmyPDF 8.0 and newer require Python 3.6, however Ubuntu 16.04 ships Python 3.5, so you need to install Python 3.6 on it. Proceed as first to install the Python Software Properties package with the following command:
# Update repos
sudo apt-get update

# Install the Python Software Properties package
sudo apt-get install -y software-properties-common python-software-properties
Once the python software properties are installed, you may add the repository of Python 3.6 and the required version of Tesseract on your system with the following commands, don't forget as well to update the repos:
# Add Python 3.6 repo
sudo add-apt-repository -y ppa:jonathonf/python-3.6

# Add Tesseract OCR repo
sudo add-apt-repository -y ppa:alex-p/tesseract-ocr

# Update repos once again, otherwise during the installation of packages later, some will fail e.g Python
sudo apt-get update
After disposing the repositories, install the required packages to allow OCRmyPDF to run properly:
sudo apt-get install ghostscript
sudo apt-get install libexempi3
sudo apt-get install libffi6
sudo apt-get install pngquant
sudo apt-get install python3.6
sudo apt-get install qpdf
sudo apt-get install tesseract-ocr
sudo apt-get install unpaper
After installing all the packages, you will need as well to make Python available from the Path. The sudo apt-get install python3.6 command will install a Python 3.6 binary at /usr/bin/python3.6 alongside the system’s Python 3.5. Do not remove the system Python. This will also install Tesseract 4.0 from a PPA, since the version available in Ubuntu 16.04 is too old for OCRmyPDF.
As final step, you will need to install the OCRmyPDF library itself through Python using pip ! Run the following instructions to install it:
Note
You may need to run these commands everytime your ubuntu system reboots as ocrmypdf will not be available in the path again.
export PATH=$HOME/.local/bin:$PATH
pip3 install --user ocrmypdf
After installing, you will be able to run the utility from the command line. You can test it printing the version of the tool on the CLI with:
# At this moment outputs 8.0.1
ocrmypdf --version
For more information about this tool, please visit the official repository at Github here and the documentation. Linux, UNIX, and macOS are supported. Windows is not directly supported but there is a Docker image available that runs on Windows.
2. Using OCRmyPDF
The usage of OCRmyPDF is pretty straightforward and easy to do. Just provide as first argument the path of the input PDF and the name of the new PDF that will be created from the input:
# Create a selectable layer of text in the PDF from the input file and create a new PDF file with the result
ocrmypdf input_file.pdf output_file.pdf
After running the command, the tool will start with the task and it will take a while until it finishes. The CLI output will be similar to:
INFO - Optimize ratio: 1.00 savings: 0.0%
INFO - Output file is a PDF/A-2B (as expected)
INFO - Page orientations detected: 1 2
The CLI tool offers as well some parameters that you can customize according to your needs, for example specifying the language of the text that will be recognized, fixing the orientation of pages in the PDF and so on:
ocrmypdf                      # it's a scriptable command line program
   -l eng+fra                 # it supports multiple languages
   --rotate-pages             # it can fix pages that are misrotated
   --deskew                   # it can deskew crooked PDFs!
   --title "My PDF"           # it can change output metadata
   --jobs 4                   # it uses multiple cores by default
   --output-type pdfa         # it produces PDF/A by default
   input_scanned.pdf          # takes PDF input (or images)
   output_searchable.pdf      # produces validated PDF output
Happy coding !

