
Many developers like the dark background on their favorite code editor, other the light one, to each their own. There are other even crazier that like to use a semi transparent code editor, where they can appreciate which window is behind the editor. This is made only for personal taste, others do it because "they want to see the background window". Whatever the reason is, a couple of code editors allow you to setup a transparent background color like sublime. Visual Studio Code is therefore not the exception (at least not in Windows), because you can change the opacity of the Window through a plugin.
There are currently 2 extensions for VSCode to achieve this behaviour and we'll show you how to install and use them in this article:
A. Using GlassIt
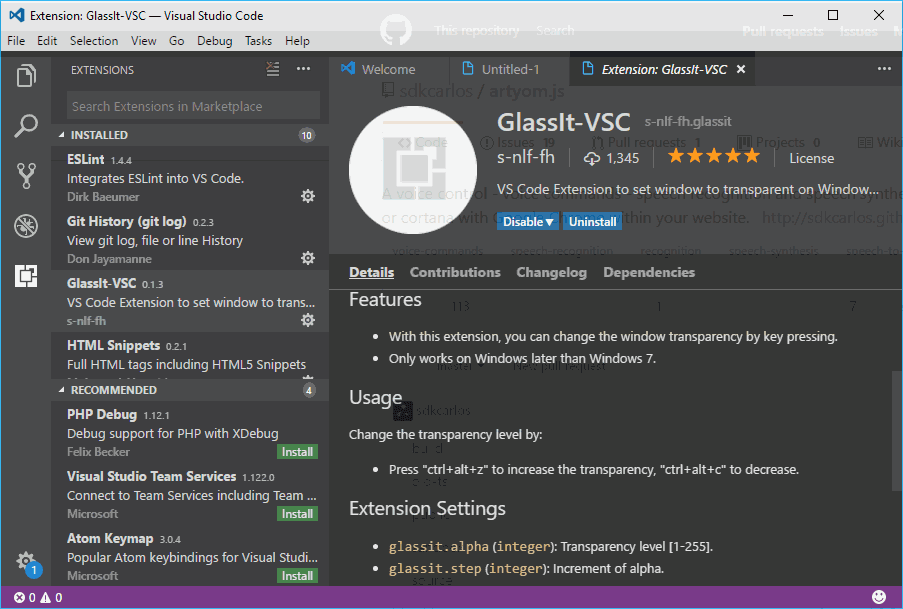
GlassIt for VSC it's surely the best plugin to achieve what you want, a totally transparent code editor to continue watching your awesome desktop background image ! This plugin allows you to change the window transparency by key pressing, however it only works for Windows 7 and later versions.
To install this plugin simply access the the extensions menu (Ctrl + Shift + X) and search for GlassIt:
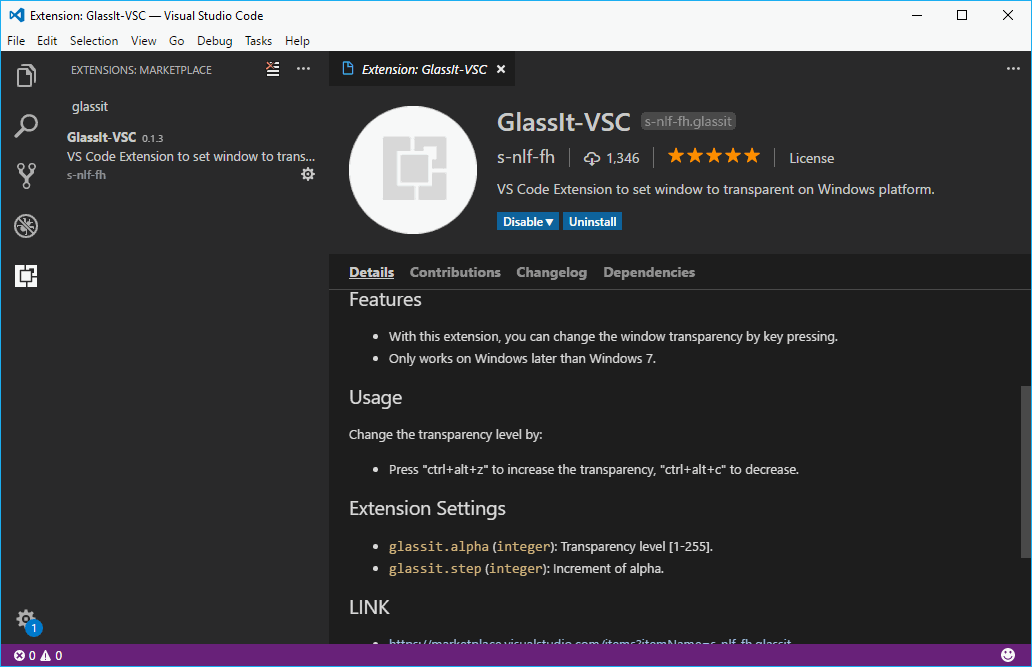
Till the date there's only 1 plugin with that name, so pick the first item on the list and proceed to install it. You may need to restart the code editor after the installation, once the application starts again, you will be able to change the opacity of Visual Studio Code by simply pressing the shortcuts CTRL + ALT + Z to increase the transparency or CTRL + ALT + C to decrease the transparency level.
B. Using WinOpacity
WinOpacity is another alternative to make your Visual Studio Code transparent. However this plugin works from windows 2000 and later versions. You can visit the plugin at the VSCode Marketplace here. To install it in Visual Studio Code, simply open the extensions menu (Ctrl + Shift + X) and search for Windows opacity:
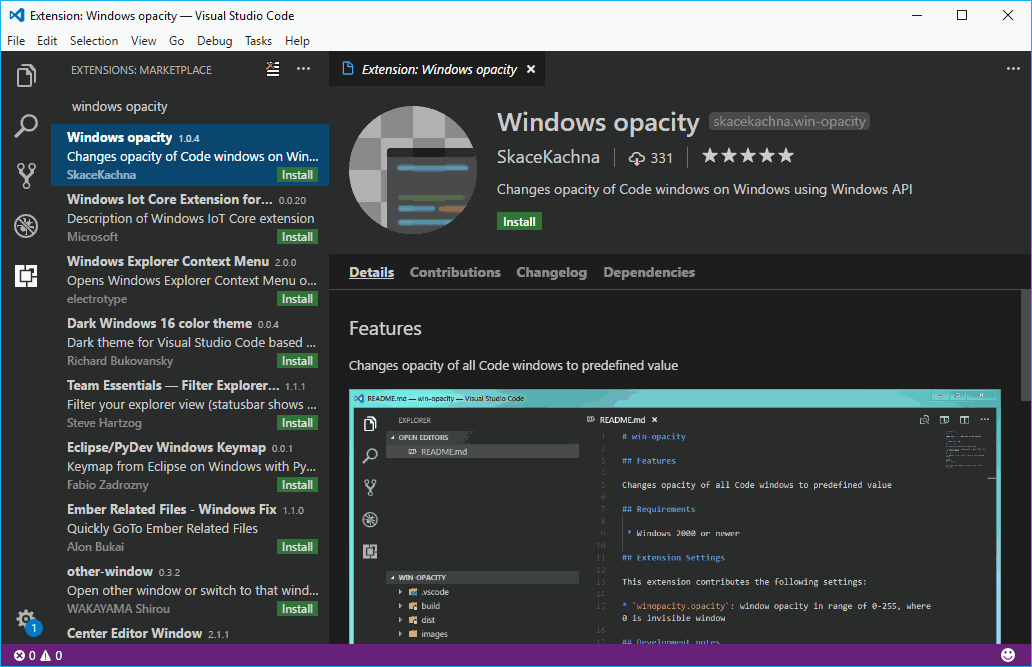
Install the Windows Opacity plugin and restart Visual Studio Code as shown in the installation instructions of the plugin. The only disadvantage of this plugin is that you can't dinamically change the opacity with a keyboard shortcut but only changing the winopacity.opacity property in the configuration file of VSCode. This property accepts the value for the window opacity in range of 0 to 255, where 0 would be an invisible window.
Happy coding !

