

After working on a very old project based on PHP 5.3, where the APC library was required to make it work, i knew how difficult is to find the APC extension to make it work on the Windows platform. For Linux, the process can be pretty easy with PECL, however in Window this was a real problem.
That's why today i'm going to show you how to compile a PHP extension from its source code from scratch in a Windows environment, specifically with the APC library and PHP 5.3.8.
Requirements
- Visual Studio: the version needs to provide some compatibility with the accepted versions of Visual C++, see the first point for more information.
- PHP Source Code: The source code of PHP for Windows at the version that you need to be compatible with the extension.
- Extension Source Code: The source code of the extension for PHP that you want to compile into a dynamic link library (DLL file).
Having said that, let's get started with the compilation !
1. Prepare Visual Studio environment
Before getting started with the compilation of a PHP extension, you need to know that not every VS compiler is compatible with any version of PHP, so you will need to know which Visual Studio you need to use according to the version of PHP that you want compile your extension (obtain DLL file). Check out the following table that specifies which version of Visual Studio you need to compile your desired PHP version:
- Yes: this version is supported and the PHP team provide binaries built with this compiler
- No: Not supported
| PHP Version | 5.2.x | 5.3.x | 5.4.x | 5.5.x | 5.6.x | 7.0.x | 7.1.x | 7.2.x | 64bits (***) |
|---|---|---|---|---|---|---|---|---|---|
| Visual C++ 6 (SP6 only) | Yes | Yes | No | No | No | No | No | No | No |
| Visual C++ 7/7.1 (2002, 2003, 2003+sp1) | Yes (**) | Yes (**) | No | No | No | No | No | No | No |
| Visual C++ 8 (VS 2005) | Yes (**) | No | No | No | No | No | No | No | No |
| Visual C++ 9 (VS 2008 SP1 only) | Yes (**) | Yes | Yes | Yes (**) | No | No | No | No | No |
| Visual C++ 11 (VS 2012) | No | No | Yes (**) | Yes | Yes | Yes (**) | No | No | Yes |
| Visual C++ 14 (VS 2015) | No | No | No | No | No | Yes | Yes(**) | Yes(**) | Yes |
| Visual C++ 15 (VS 2017) | No | No | No | No | No | Yes(**) | Yes(**) | Yes | Yes |
- (*) May be dropped before the final release
- (**) Not officially supported but known to work
- (***) Supported for this given compiler according to the current official support (or known to work)
So to make it easy to understand, if you are willing to compile an extension for PHP 7, you will need the source code of PHP 7, the code of the extension as well and at least Visual Studio 2012 assuming that you want to compile it for PHP 7.0, because if you want it for PHP 7.1, then you would need at least Visual Studio 2015.
Knowing this, if you are sure that you have the correct version you shouldn't face any trouble while you compile the extension. Otherwise you will face weird exceptions during the configuration of the build:
Saving configure options to config.nice.bat
Checking for cl.exe ...  <in default path>
Detected compiler undefined
C:\php-src\configure.js(1817, 9) Microsoft JScript runtime error: 'length' is null or not an object
Note
In this tutorial we'll build the APC extension for PHP 5.3.8, so in our case we'll need to work with Visual Studio 2008 SP1 for visual c++ 9.
2. Open Visual Studio Command Prompt
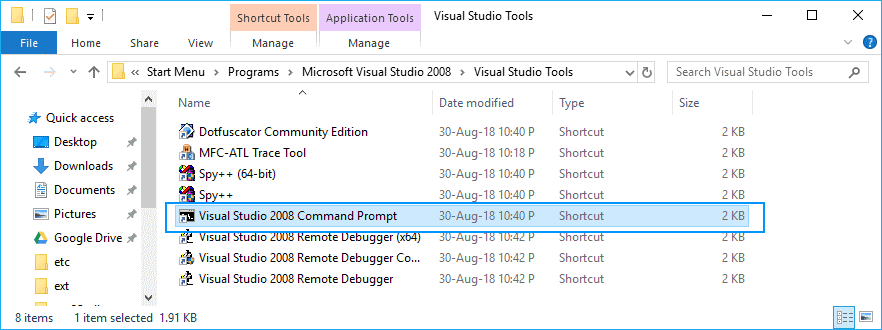
In order to run some administrative commands related to the development and build of your extension, you will need a command prompt with the context of Visual Studio. Namely the Developer Command Prompt for VS that you can find at the path:
C:\ProgramData\Microsoft\Windows\Start Menu\Programs\<Your Visual Studio Version e.g 2008 or 2017>\Visual Studio Tools
Here you will find an executable of the command prompt that has access to all the tools that you will need to build the extension, execute it with administrator rights:
As mentioned, is a normal command prompt that contains the tools that we need for the next steps:
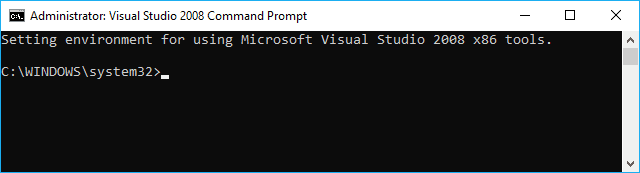
Let it open as we'll need in the step 5.
3. Download PHP Source Code
Now that you have the necessary tools to compile PHP along with your extension, you will need as well the source code of PHP. You can get the source code of the PHP version that you need from the official releases webpage of PHP here.
Once you download the tar/zip file with the code, extract it into a directory with a short path to prevent any problem with the length of the paths in Windows. In our case, we'll extract the source code of PHP 5.3.8 in the c:/php-src directory:

We'll run the commands to build PHP along with your code in this directory within the command prompt later. It's worth to mention that the ext folder will contain the code of your extension but we will add it in the next step.
4. Prepare Extension Source Code
In order to build your extension, either you build an open source extension or create your own extension. In our case, we will build the APC extension, the version 3.1.6 specifically for PHP 5.3.8 (the same version of our PHP source code). This will ensure that the generated dll of PHP will be compatible with the PHP version that we need.
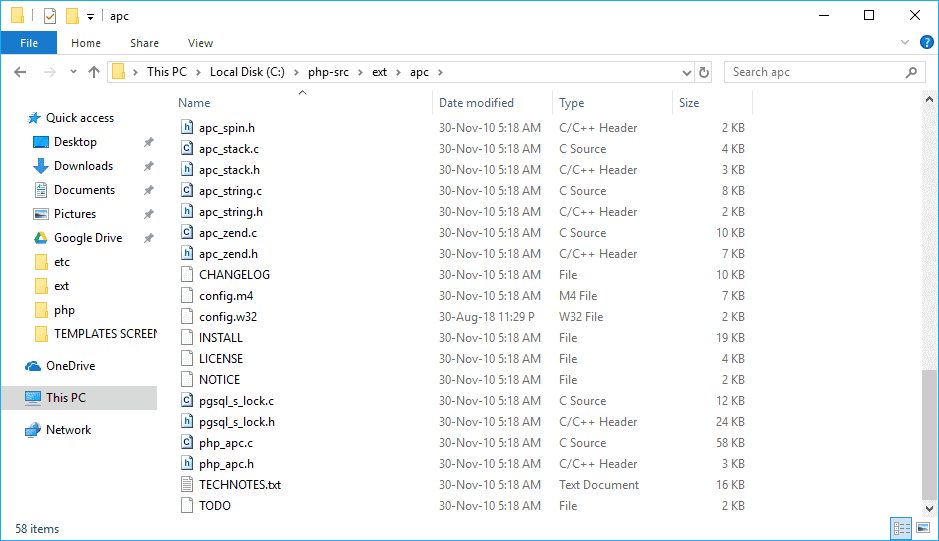
Once you download the source code of your extension (or you write your own code for it), extract it inside the ext folder of the PHP source code. In our case, the directory for the extension would be c:/php-src/ext/apc and it will contain the code of the extension (this is very important as the extension will be compiled along as a dynamic library with PHP):
Be sure as well that the config.w32 file in the root directory of the source code of the extension, in the line that registers the extension with the EXTENSION function, the third parameter is set to true in order to generate a DLL (dynamic mode):
EXTENSION('apc', apc_sources, true);Because as you may know you can integrate the extension directly with PHP, but in this tutorial we are showing how to generate the DLL file that in our case will be php_apc.dll.
5. Configure PHP and Extension build
Go back to the visual studio developer command prompt and switch to the directory of the source code of PHP:
cd c:/php-srcThen run the buildconf.bat file with the --force argument:
buildconf --forceThis will generate a new .bat file namely configure.bat that will have the configuration of your PHP build. Run the bat with the following command and enable your extension using the --enable-<extension_folder_name> argument. In our case, the extension is APC and we stored the source code in the c:/php-src/ext/apc directory, so the extension name will be APC. Run the command to configure it:
configure --disable-all --enable-cli --enable-apcImportant note
If you run the previous command and you face an exception because bison.exe haven't been found:
- Saving configure options to config.nice.bat
- Checking for cl.exe ... <in default path>
- Detected compiler MSVC9 (Visual C++ 2008)
- Detected 32-bit compiler
- Checking for link.exe ... C:\Program Files (x86)\Microsoft Visual Studio 9.0\VC\BIN Checking for nmake.exe ... <in default path>
- Checking for lib.exe ... <in default path>
- Checking for bison.exe ... <not found>
- ERROR: bison is required
Download the binaries of Bison from the website at Source Forge here. Then paste the bison.exe and m4.exe at the bin directory of Visual Studio e.g C:\Program Files (x86)\<Your Microsoft Visual Studio Version e.g 9.0>\VC\bin. This will make the bison executable accesible to the path and the exception bison is required won't appear anymore.
The --disable-all flag will help us to prevent any other exception of extensions that we don't need, just focusing on the APC extension that we need. And that's it, you will get a verbose output that includes a list with all the extensions that will be built along with PHP and its mode e.g Static (built-in classes in PHP) or Shared (a Dynamic Link Library dll):
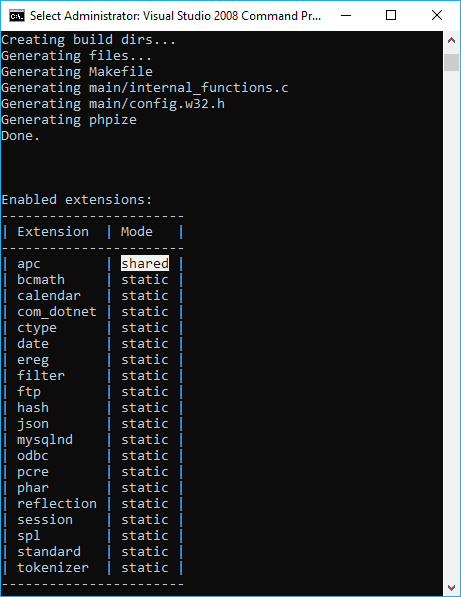
As expected, our extension of PHP will be built into a DLL file just as we want it. By default, this will create a "Thread Safe" build (PHP 5.3.8 TS). If you want a non thread safe build, just add the --disable-zts flag to the configure command.
6. Build PHP and Extension
Finally, run the nmake command to start the build of your extension with PHP within the directory of the PHP source code with the developer command prompt. NMake is a make utility provided by Microsoft and available in Visual Studio. It is a handy tool for creating automated builds.
Just run the command:
nmakeThis will start the compilation and will take a while. It will generate a verbose output as well with warnings etc:
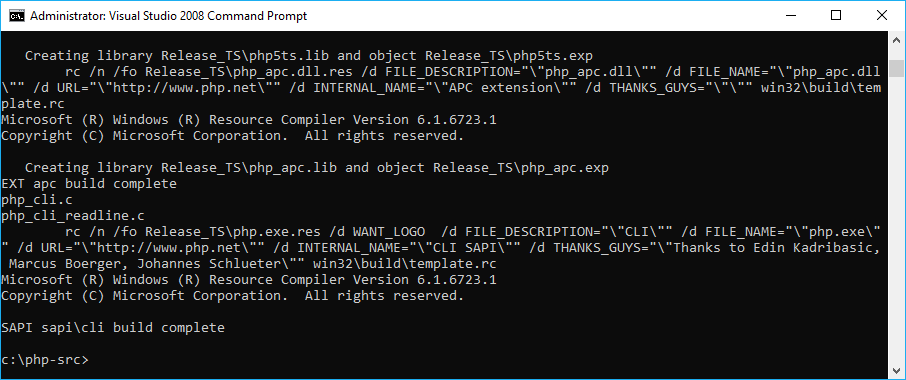
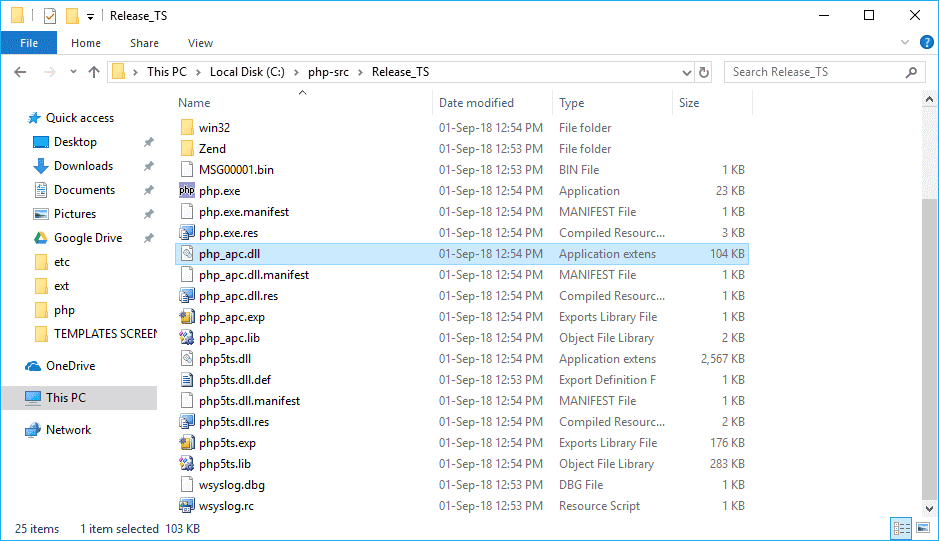
Once it finishes, a new directory will appear inside the c:/php-src directory, namely Release or Release_TS according to the Thread Safety configuration. There you will find a very basic built of PHP, but most important, the reason why you exclusively built PHP, your extension DLL file (in our case php_apc.dll):
Thanks
This article is a recopilation of multiple sources that you may find useful as well during the compilation of an open source extension or your own extension:
Happy coding !

