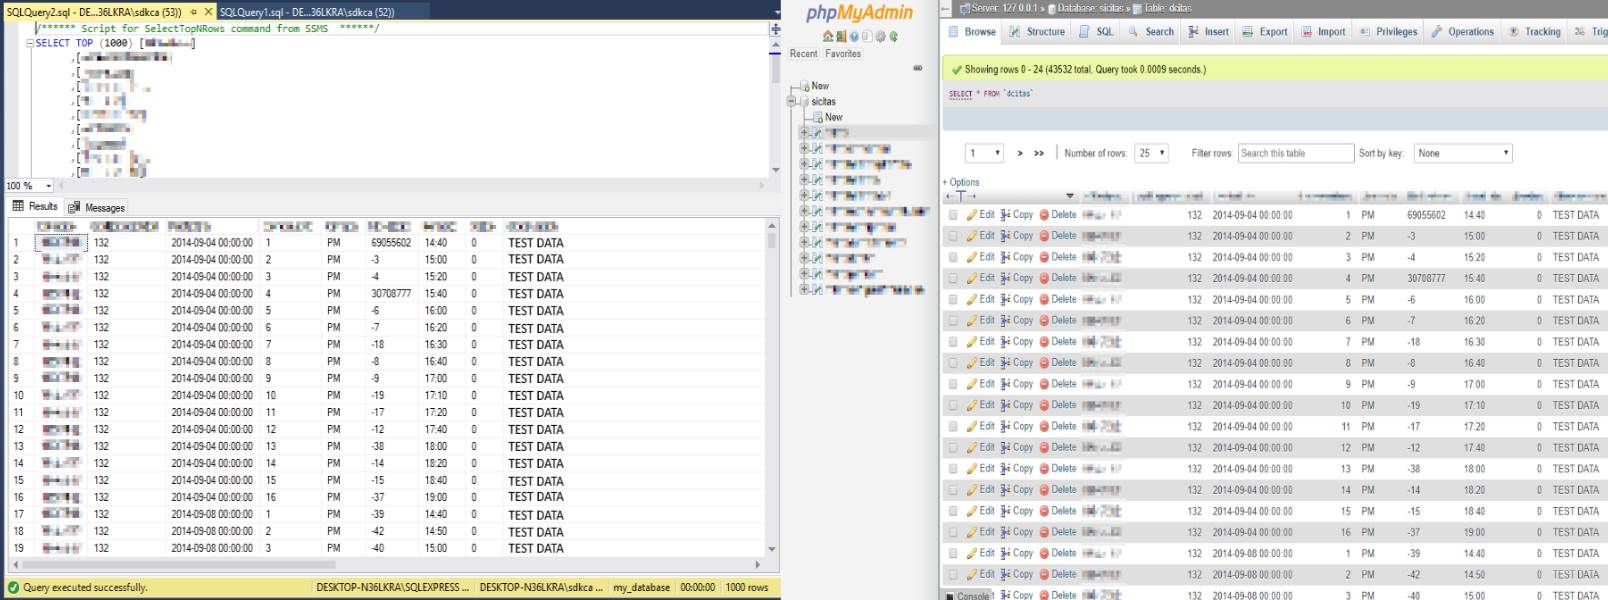
There's nothing so boring as the data migration, specially with old formats that almost nobody uses today for sane reasons. In case that your task is migrating a MS SQL Server database to MySQL, it's your lucky day as there's a pretty easy way to achieve this.
In this article, we'll explain you how to migrate a MS SQL Server based database to MySQL (MariaDB) with MySQL Workbench.
Requirements
Before getting started with the database migration, you will need the following software on your windows machine:
- A working MS SQL Server instance
- A working MySQL Server instance (this depends of your environment, we work with the MySQL server available in Xampp). The idea is basically to have a MySQL server instance accesible at the port 3306
- SQL Server Management Studio installed.
- MySQL Workbench. This tool will allow you to migrate the data at the end.
Having said that, let's get started !
1. Identify the database that you are trying to migrate
As first step, you need to verify that the database that you want to migrate is exposed on your SQL Server instance. The easiest way to do it is through the SSMS tool. SQL Server Management Studio (SSMS) is an integrated environment for managing any SQL infrastructure, from SQL Server to Azure SQL Database. SSMS provides tools to configure, monitor, and administer instances of SQL Server and databases. Use SSMS to deploy, monitor, and upgrade the data-tier components used by your applications, as well as build queries and scripts.
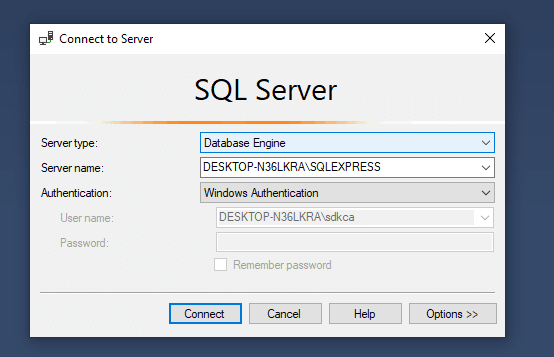
Open SSMS and access the database engine with the default Windows authentication (or from the connection that you want to access):
Connect to the server and explore the databases in the object explorer. In our case, we want to export the my_database database, that, as you can see, is available in the Databases directory:
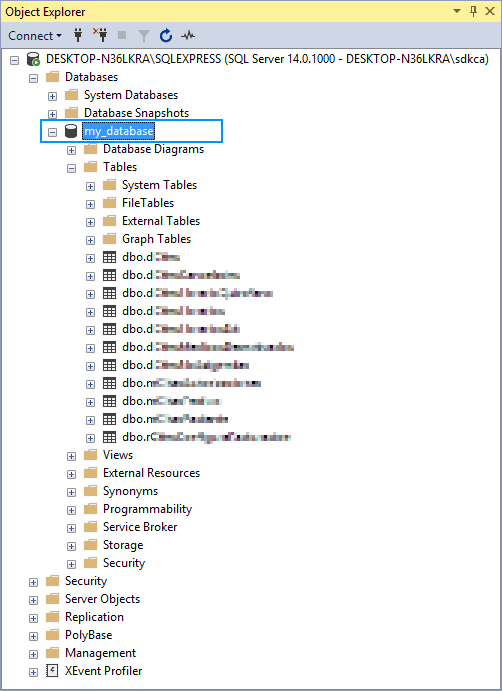
Now that you know that the database is accesible in the server, we are going to start with the migration using MySQL Workbench.
2. Start with the migration on MySQL Workbench
MySQL Workbench is a unified visual tool for database architects, developers, and DBAs. MySQL Workbench provides data modeling, SQL development, and comprehensive administration tools for server configuration, user administration, backup, and much more. MySQL Workbench is available on Windows, Linux and Mac OS X.
Start MySQL workbench and access the migration wizard from the toolbar (in this tutorial, we are using MySQL Workbench 8.0):
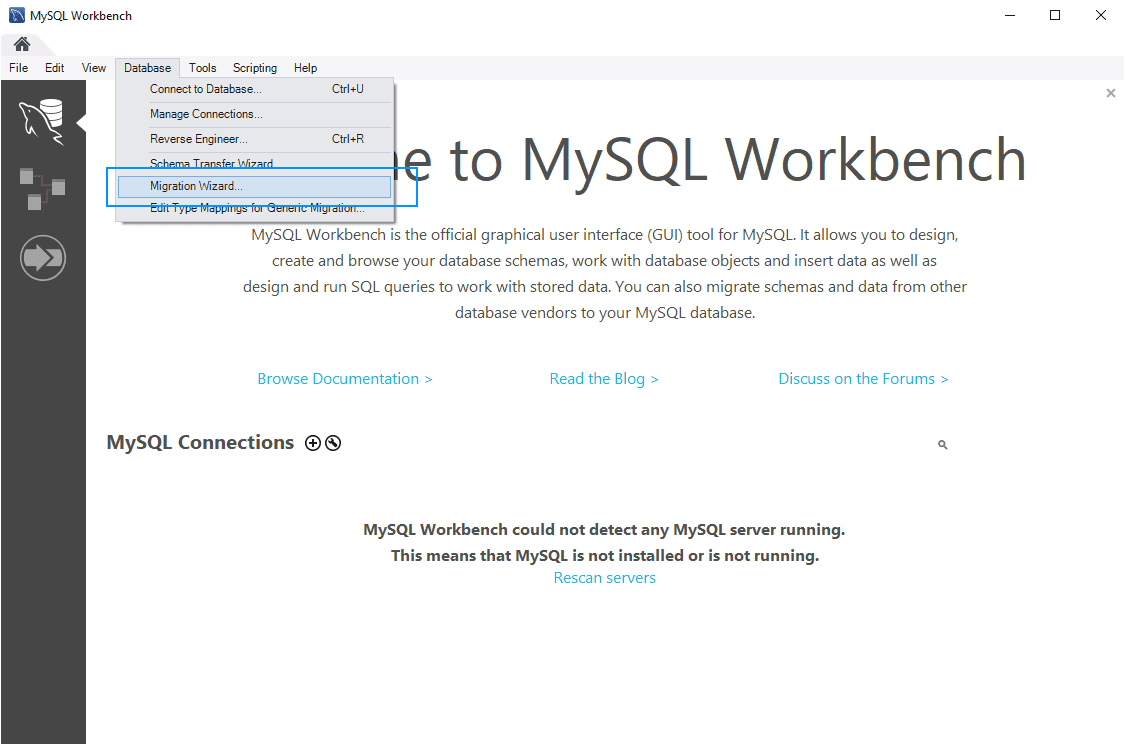
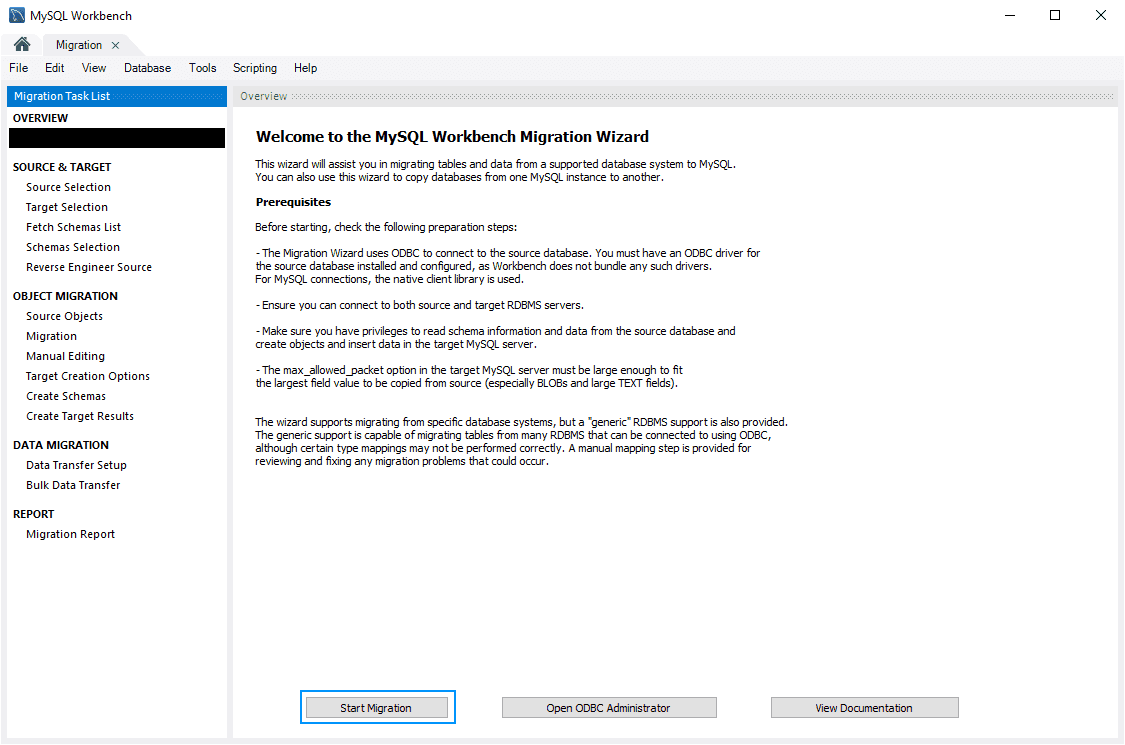
After opening the wizard, click on start migration:
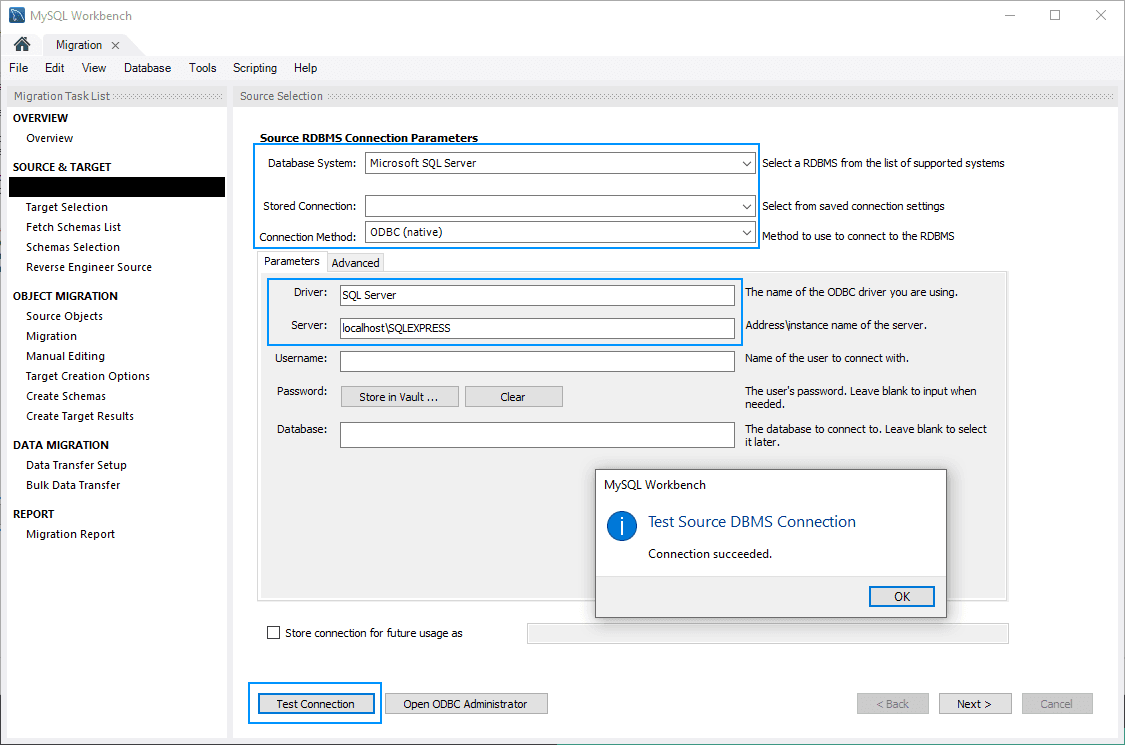
This will open the source selection form. Here you will need to select SQL Server as the source relational database management system (RDBMS). A relational database management system (RDBMS) is a collection of programs and capabilities that enable IT teams and others to create, update, administer and otherwise interact with a relational database, which most of them use the Structured Query Language (SQL) to access the database. In our case, as we mentioned on the article, we'll migrate from a Microsoft SQL Server database to a MySQL database, so it will be the source. In our example, we have the MS SQL Server configured in the same computer and it's authenticated automatically with the Windows Authentication, if your server is hosted remotelly, you will need to change the parameters according to your needs. You can test the connection:
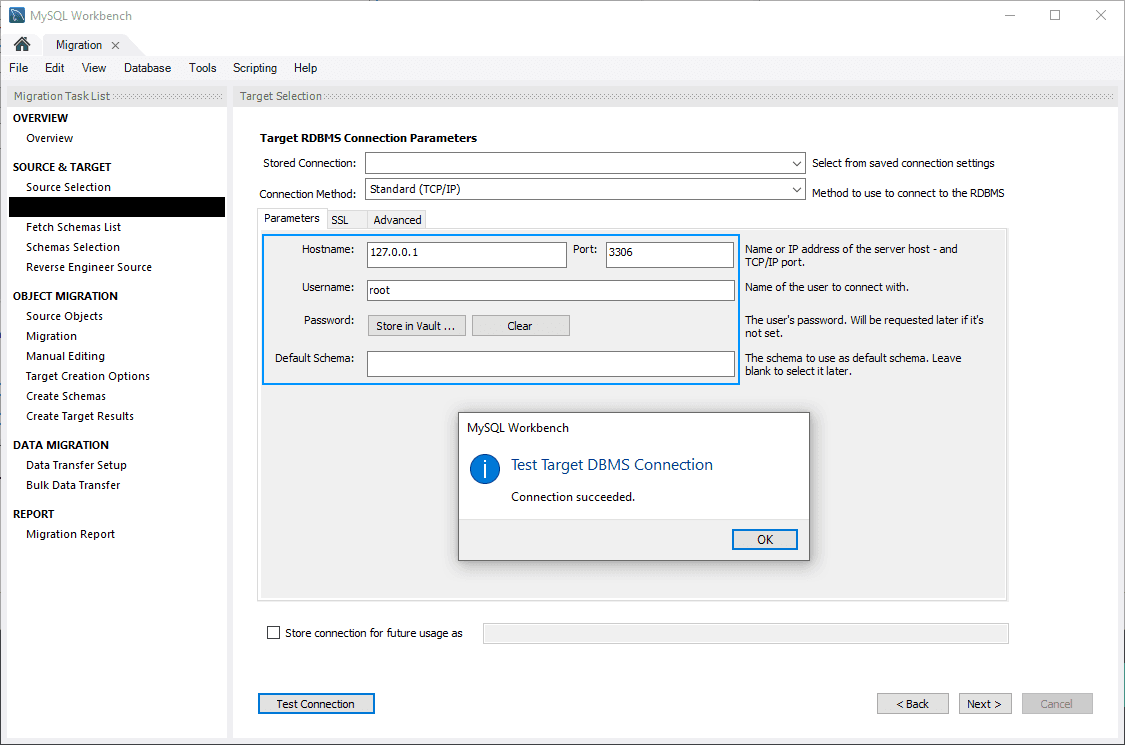
And if it succeeds, you can continue with the next step of configuring the target RDBMS, which means MySQL. As mentioned at the beginning of the article, we assume you have already a MySQL server configured and running in the background, in our case we use the MySQL server of Xampp, which allows you to start/stop it with a control panel. The idea is basically to know the credentials to access the running MySQL instance, which in Xampp is accesible with root as user and an empty password:
If you are connecting to another MySQL server, you may configure it with SSH keys etc. Now that both connections are stablished, you may proceed with the next step that fetches a list of schemas from the source RDBMS. This will create a toggable list with all the databases on the SQL Server instance, where you have to select the database that you want to migrate (as well the Schema Name Mapping Method):

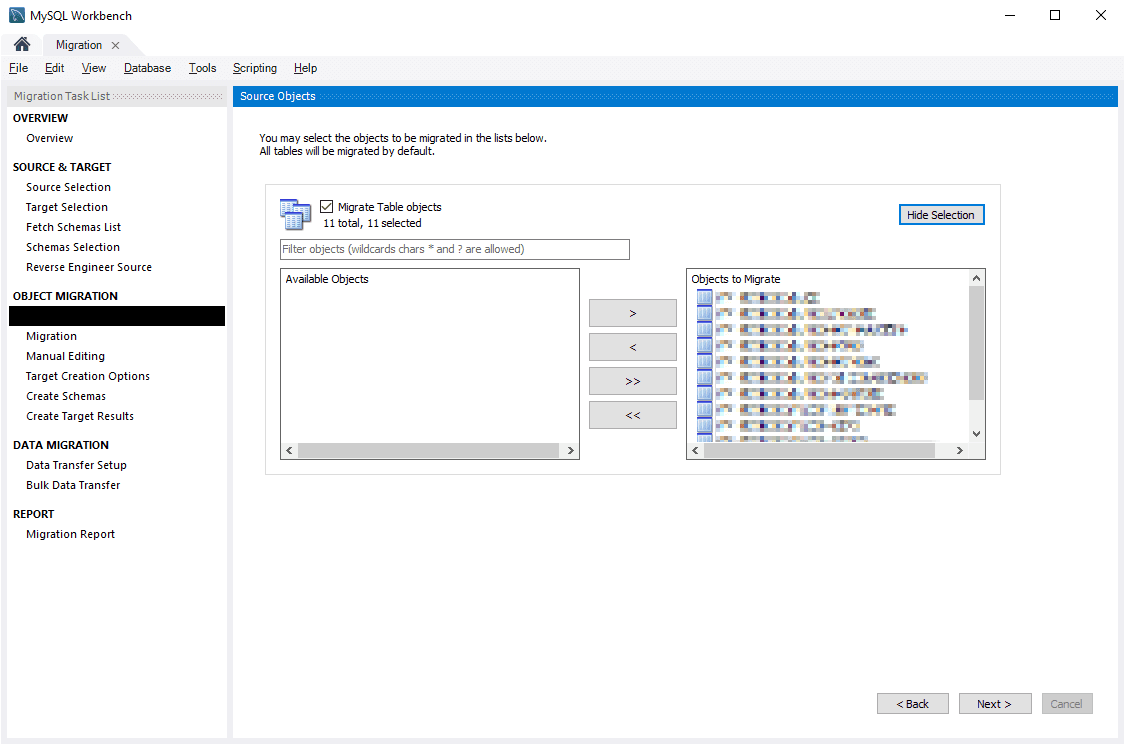
In our case, we just want to work with the my_database database, so we'll extract only that database. Now, if you proceed and everything works as expected, you will see now the Source Objects window, which basically allows you to filter which tables you want to migrate or not, normally, we would like to migrate them all:
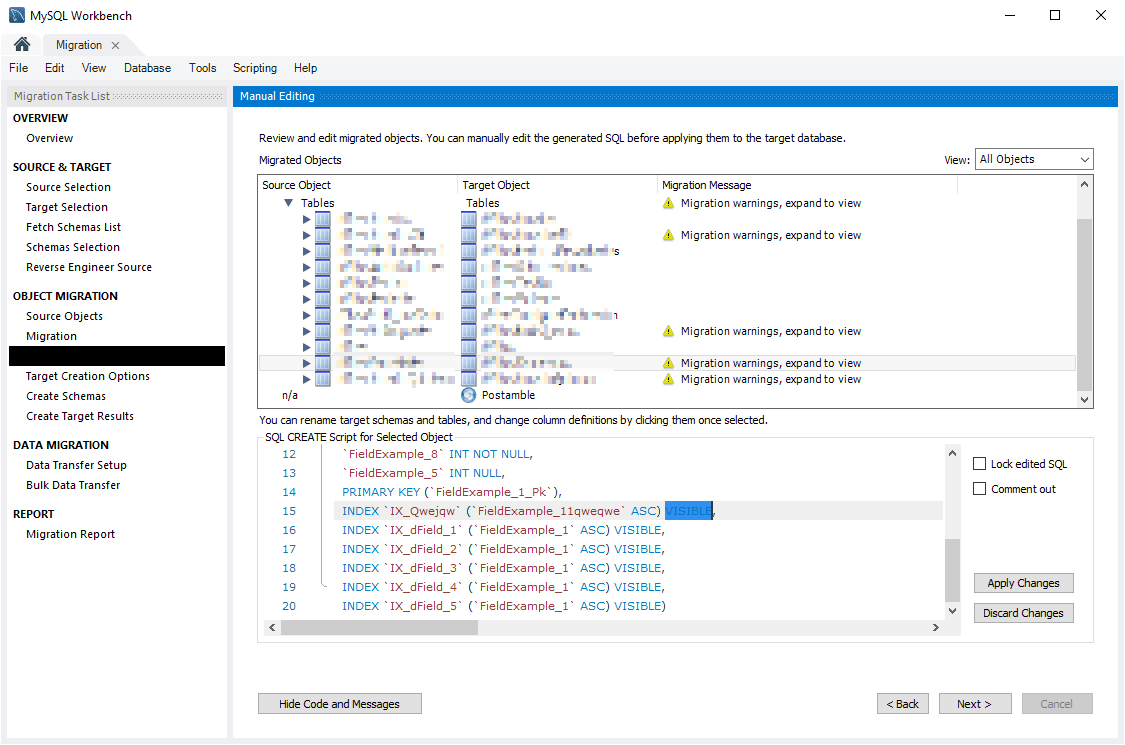
Click on next and you will see the migration page, which allows you to check previously the MySQL script of every table and if there are warnings or errors that you need to fix manually, they'll be highlighted in the list. For example, in our case, we have a warning (when importing it will be an error) that specifies a problem with the migration, if we read the code, we will see a syntax error incompatibility with the VISIBLE keyword. In our example, just removing that keyword from the lines will allow us to import the scripts without any issue:
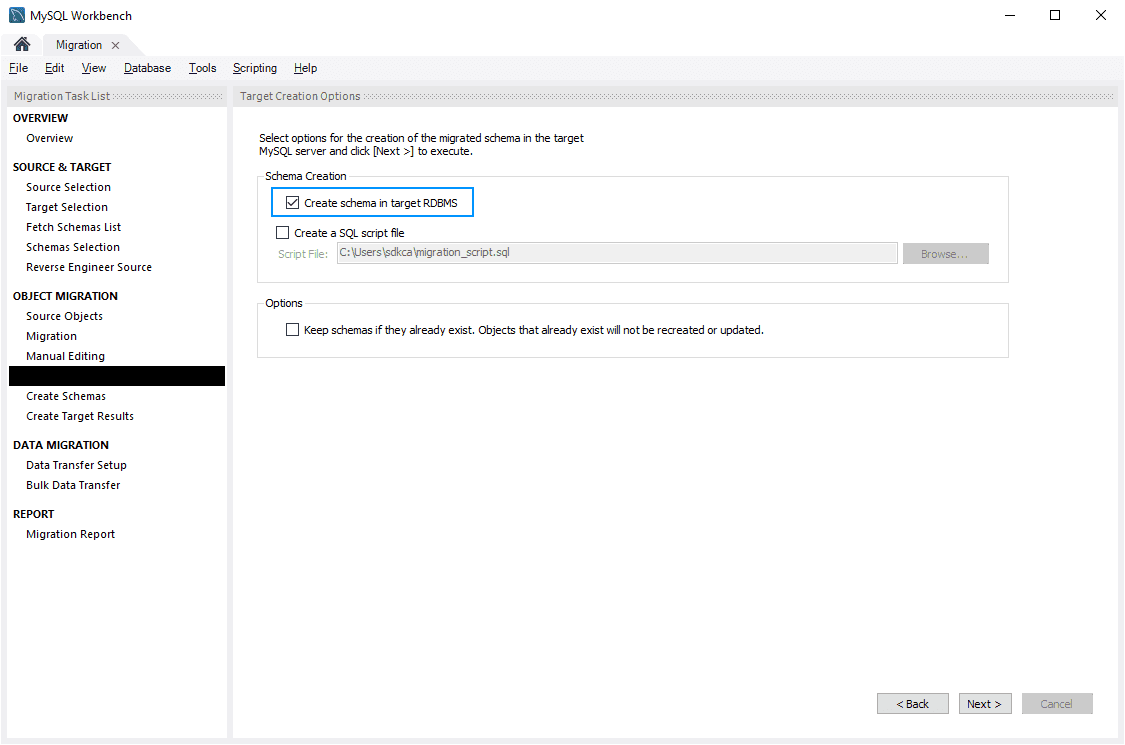
After fixing manually the warnings and applying changes, you will be able to export finally the structure of the database either into a file (.sql) or creating the database on the target RDBMS (MySQL Server). In our case, is easier to import it directly into the server, so we'll pick the Create schema in target RDBMS (you can export it into a file if you want):
Before MySQL workbench starts with the migration, it will check again for errors and warnings, if there's still any, you need to fix them manually again:
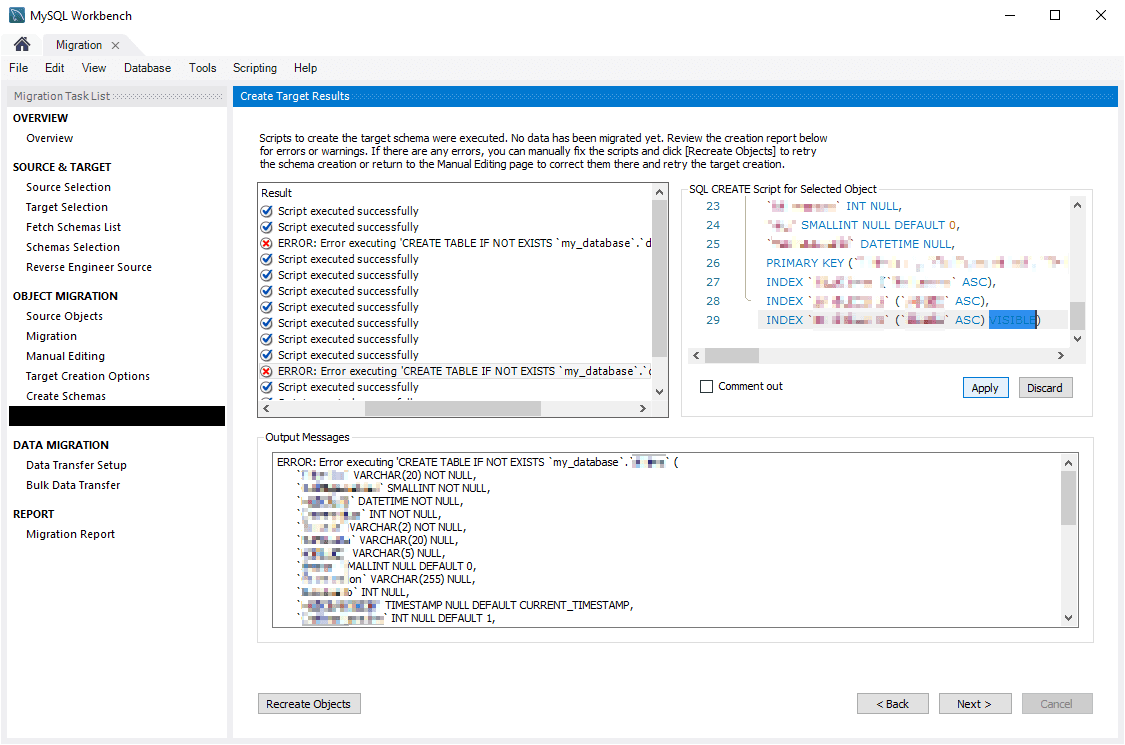
Click on Recreate Object, this will lead you to the previous step in order to build the schema once again, click on next and if everythings succeeds you will see, everything should be marked as correct:
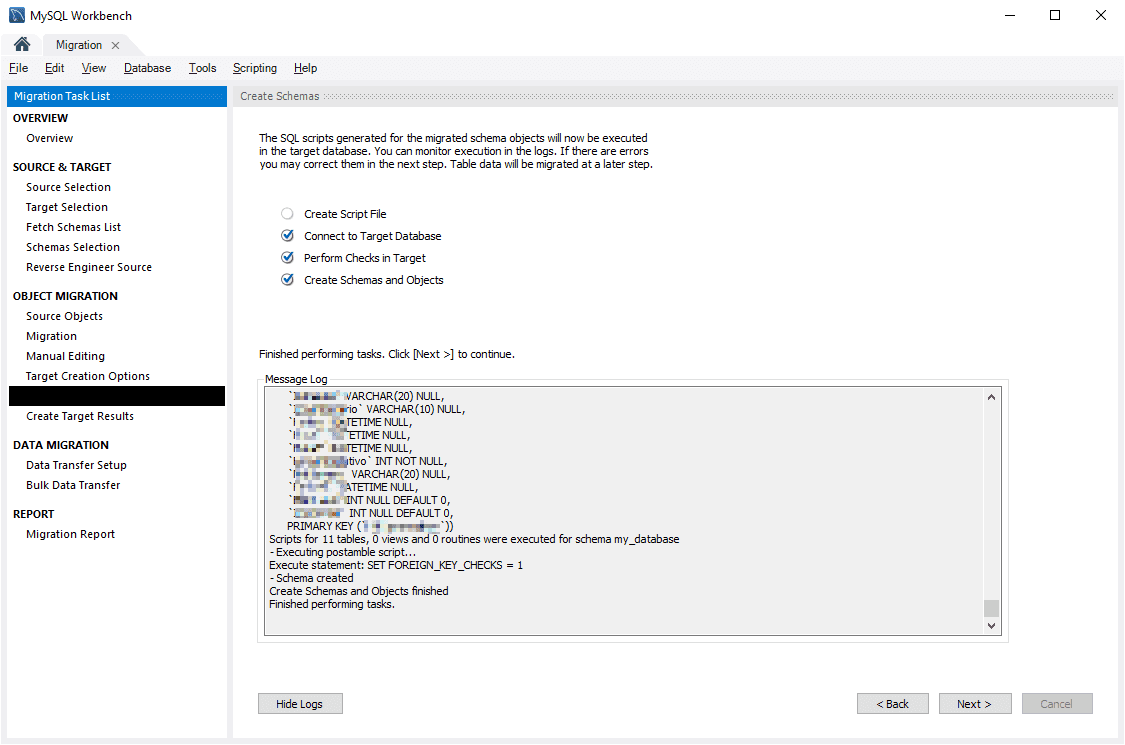
Finally, all that is left is the data. We already migrated the structure of the database, so now we need to transfer all the data:
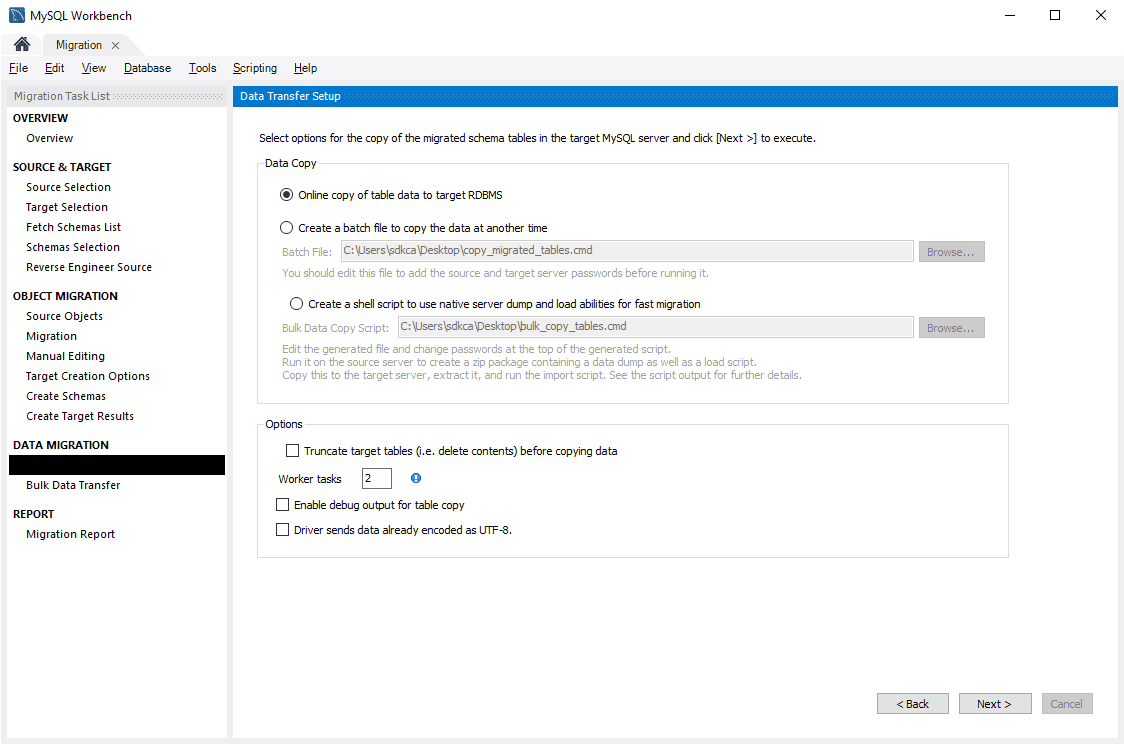
As we are working with both servers in the same computer, we can make an online copy of the data from the SQL Server database to the MySQL database. Click on next and the data migration will begin:
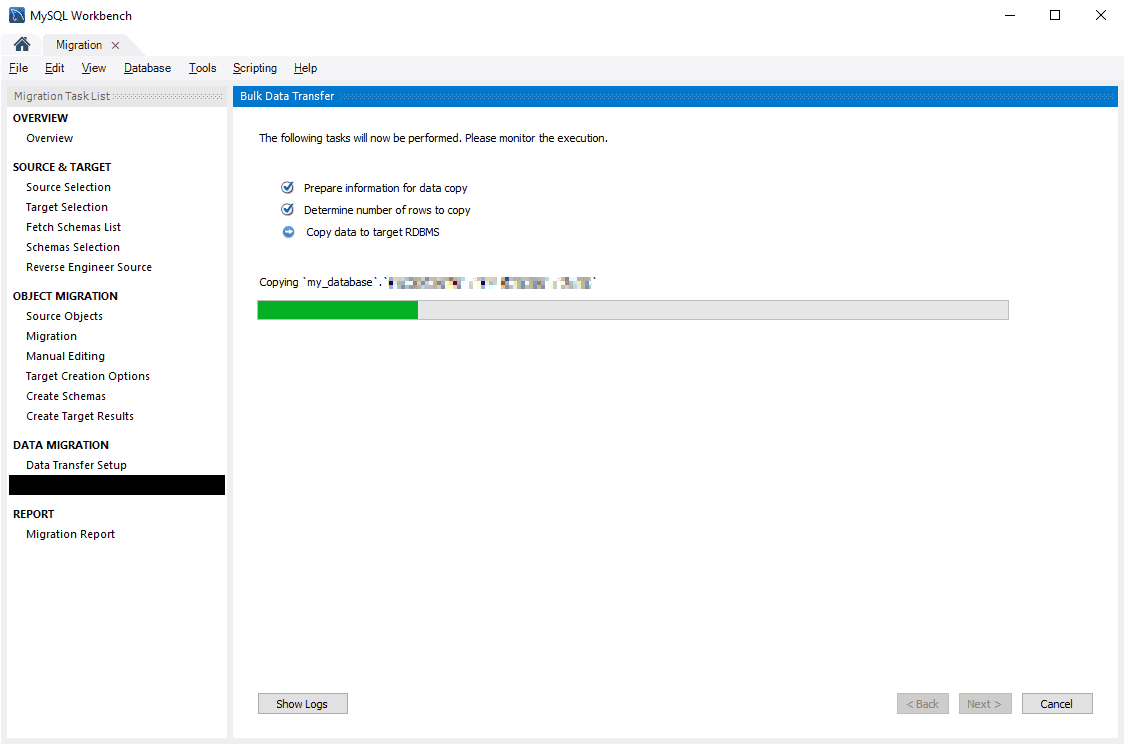
Once it finishes, you will now have the original SQL database in MySQL format in the server. You can access now your MySQL server, where you will find the database available.
Happy coding !


