
Introduction
In this article, I will show you how we can easily deploy node js application on Amazon EC2 server and run on a live url.
Nodejs
Node Js is a runtime for javascript, that is built on top of google chrome V8 engine which is writing in C++.
AWS
Amazon Web Services is very popular and reliable platform to host our application on top of their servers. There are many types of amazon’s services that we can use to host our app, but we will use EC2 (Elastic Compute Service). It is free and provides a very customized configuration during the creation process. We create an instance: a set amount of resources initialized (OS, disk space, Ram, etc). You can also use AWS DataSync alternative.
EC2
Why EC2? Because it’s free and provide very customizable configurations to the end user. We can select our favourite Linux based operating system and install all the required utilities and software on that OS.
Steps that we will follow:
- Create account on aws
- Launch an EC2 instance
- SSH into your instance
- Install Node.js
- Install Git and clone repository from GitHub
- Start the node.js app
- Keep App running using Pm2
1. Create account on Aws
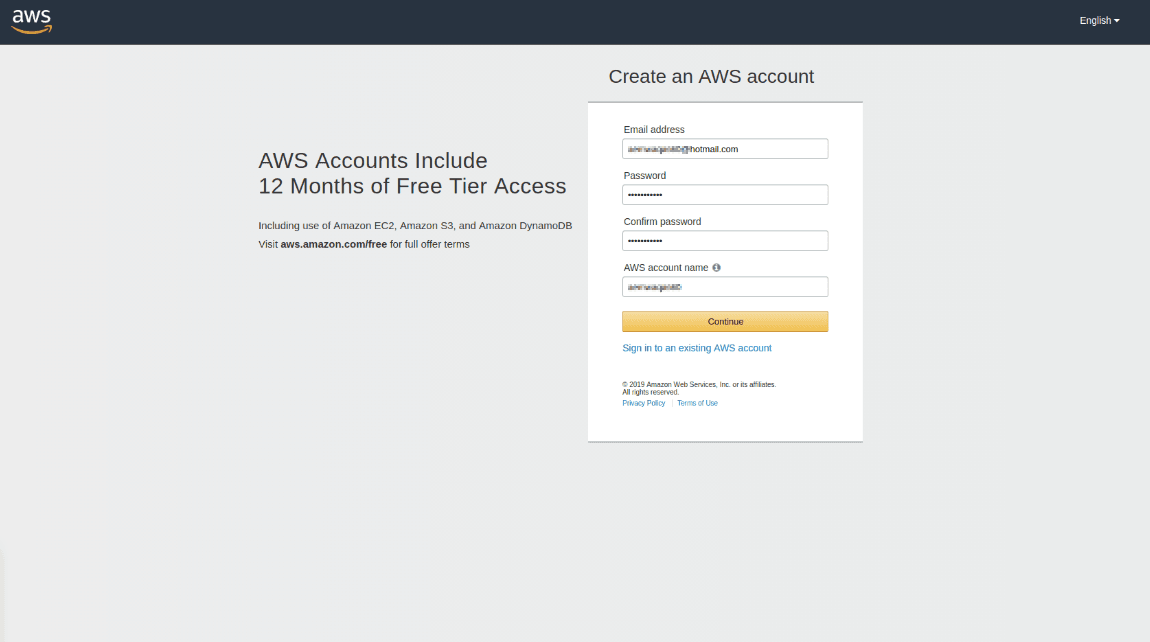
Go to https://www.aws.com and create new account on aws. If you are already registered on aws then go to aws console. An AWS new account lets you try the free tier of Amazon EC2, Amazon S3 and Amazon DynamoDb services for 12 months.
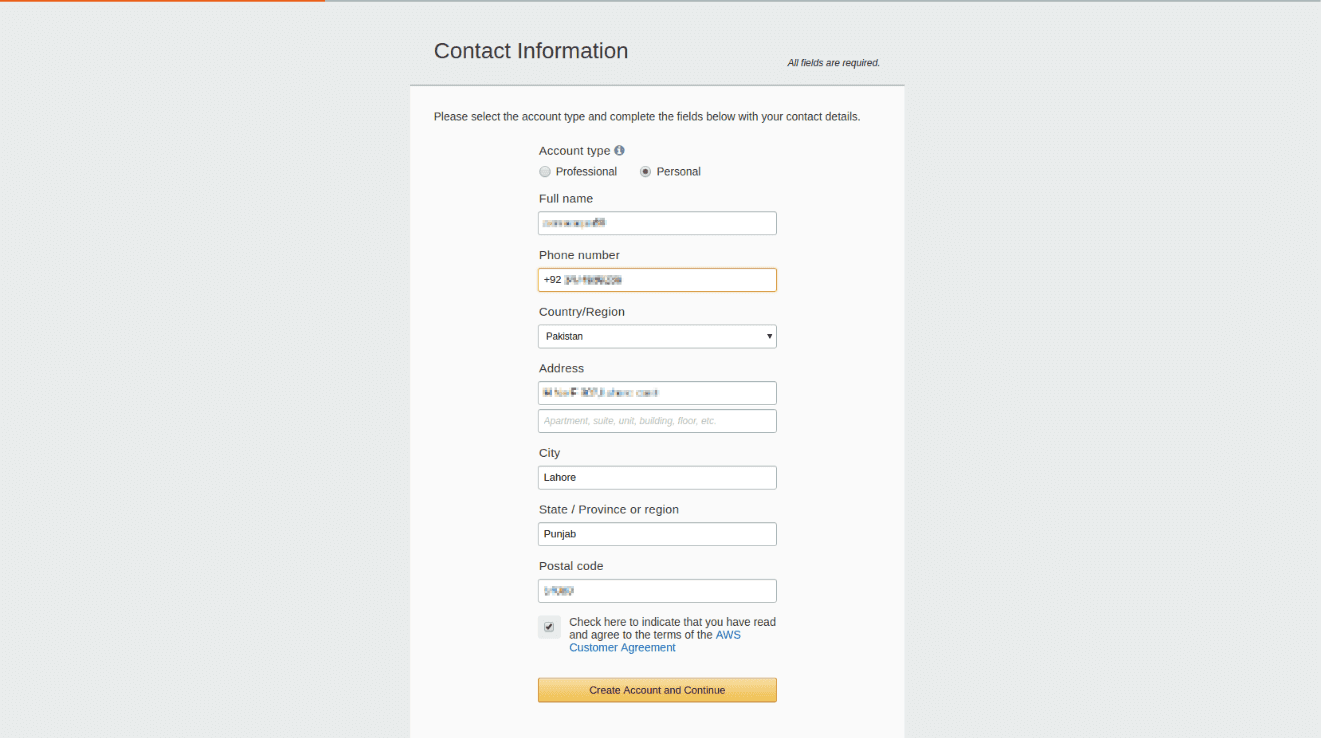
Choose personal account type, provide all the required information and fill the signup form. You can also use free nodejs hosting to host your Node.js application
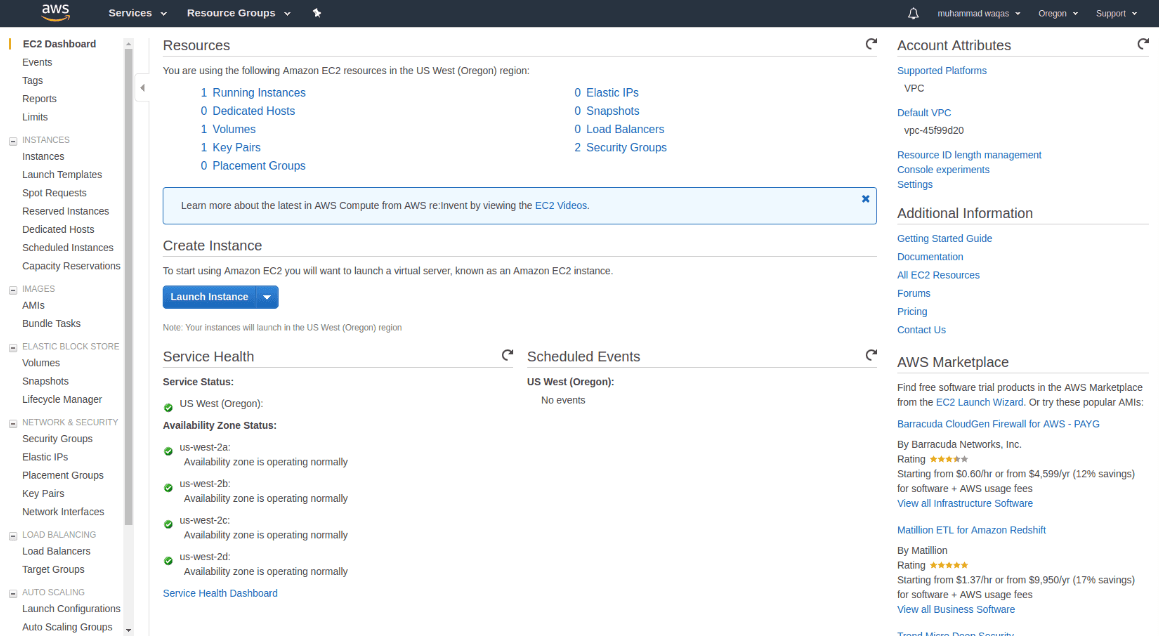
2. Launch an EC2 instance
Now that the signup process is complete, go to aws console and provide login credentials. Once you are logged in you can see all the aws services under the AWS Services section.
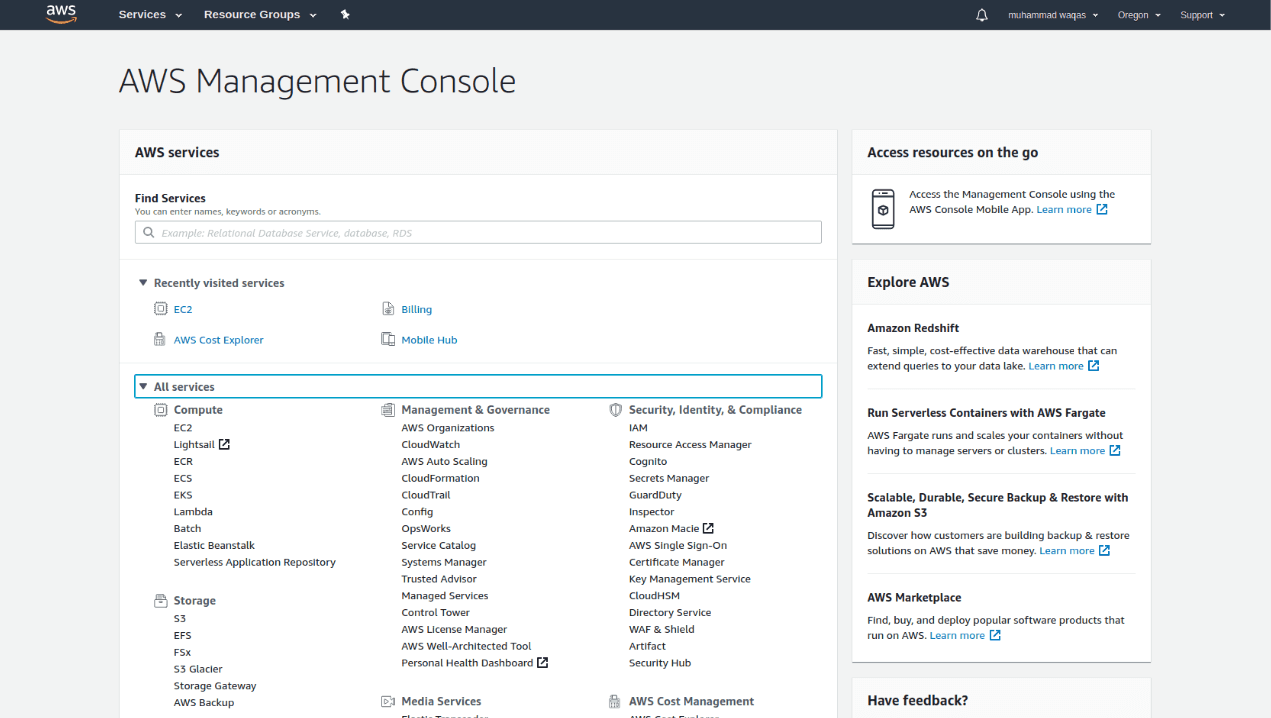
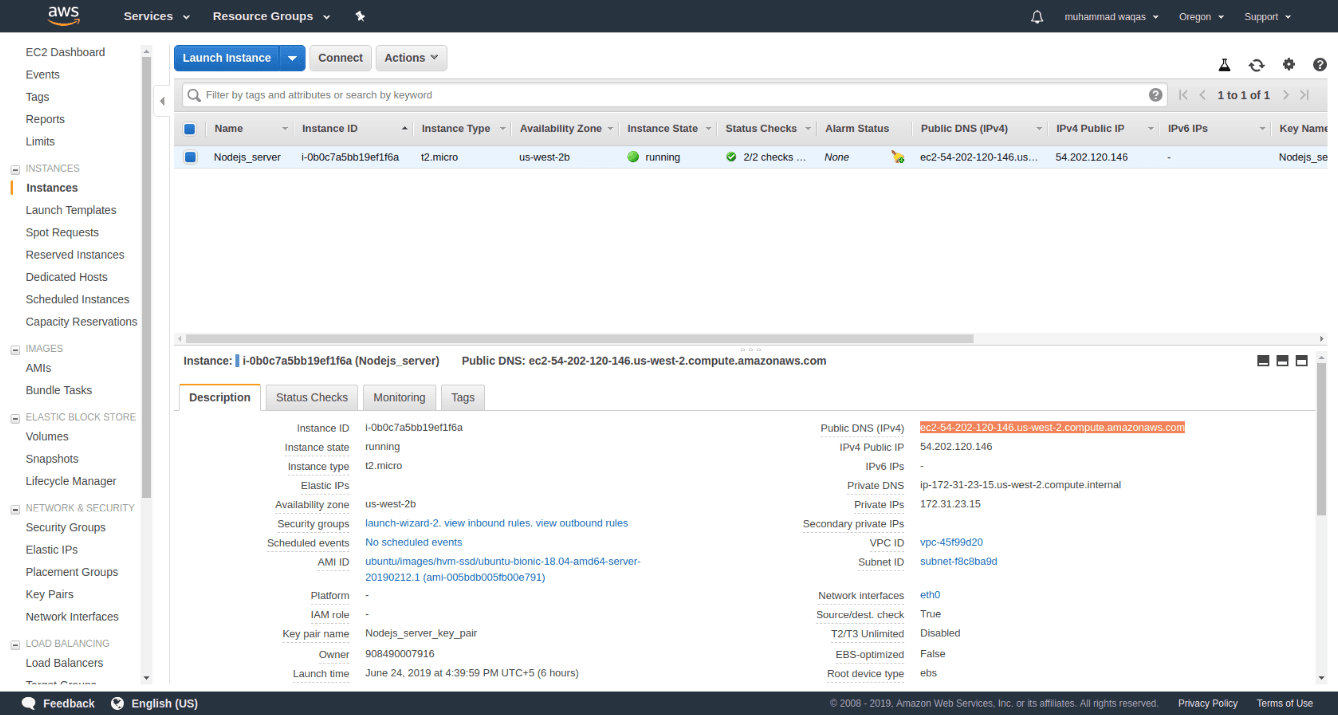
Click on the EC2 Service under Computer Service,it will show us EC2 Dashboard page, on this page just click on Launch Instance button under Create Instance Section.
We have to choose Amazon Machine Image for launching our instance. Amazon provides various types of images, but we will stick with Ubuntu 18.04. It is more secure and 70 servers are using different versions of linux operating system.
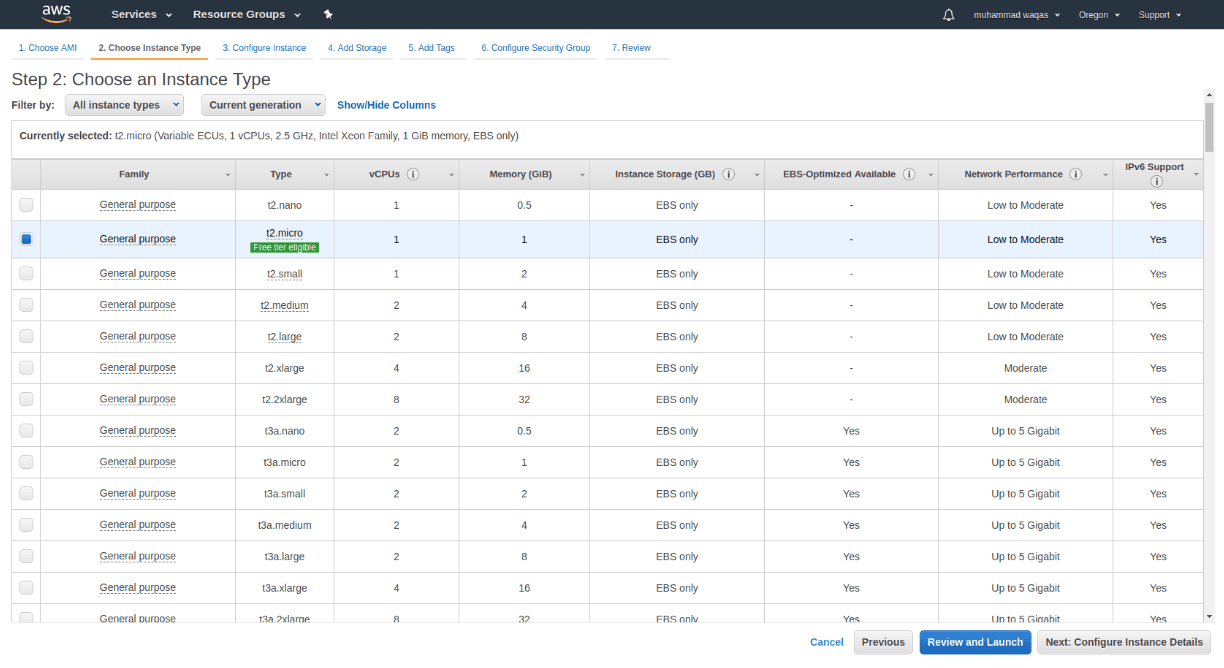
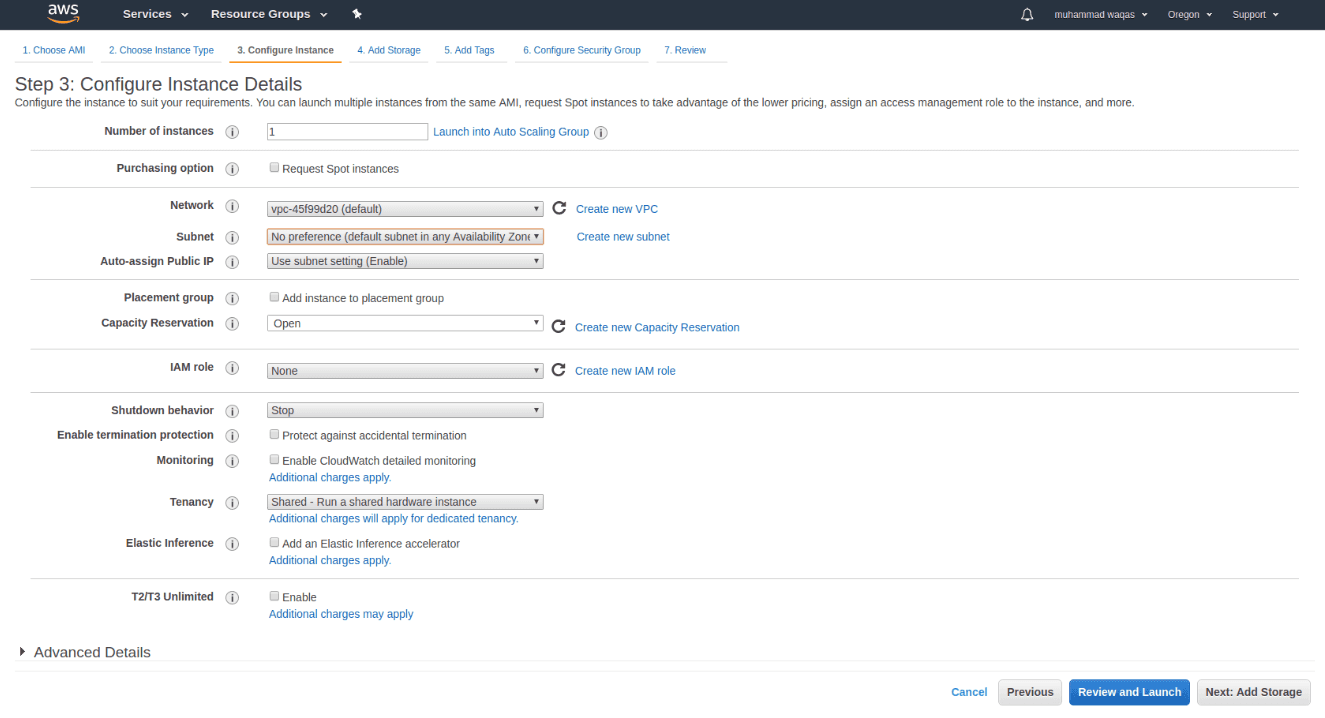
Select Ubuntu 18.04 for image for our machine. After selecting the machine, we have to configure our machine (you can skip all these next steps and launch instance directly). Click on Next Add Storage button.
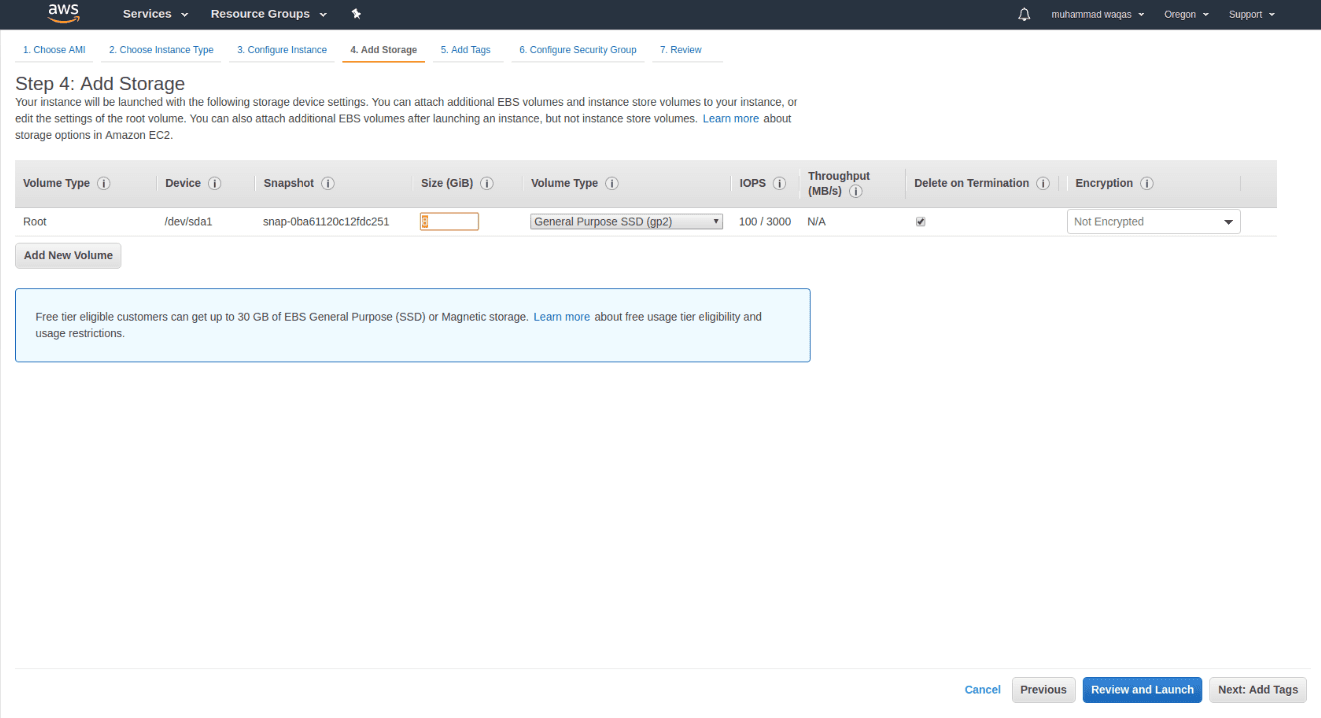
Select default storage configuration and click the Next Add Tags button.
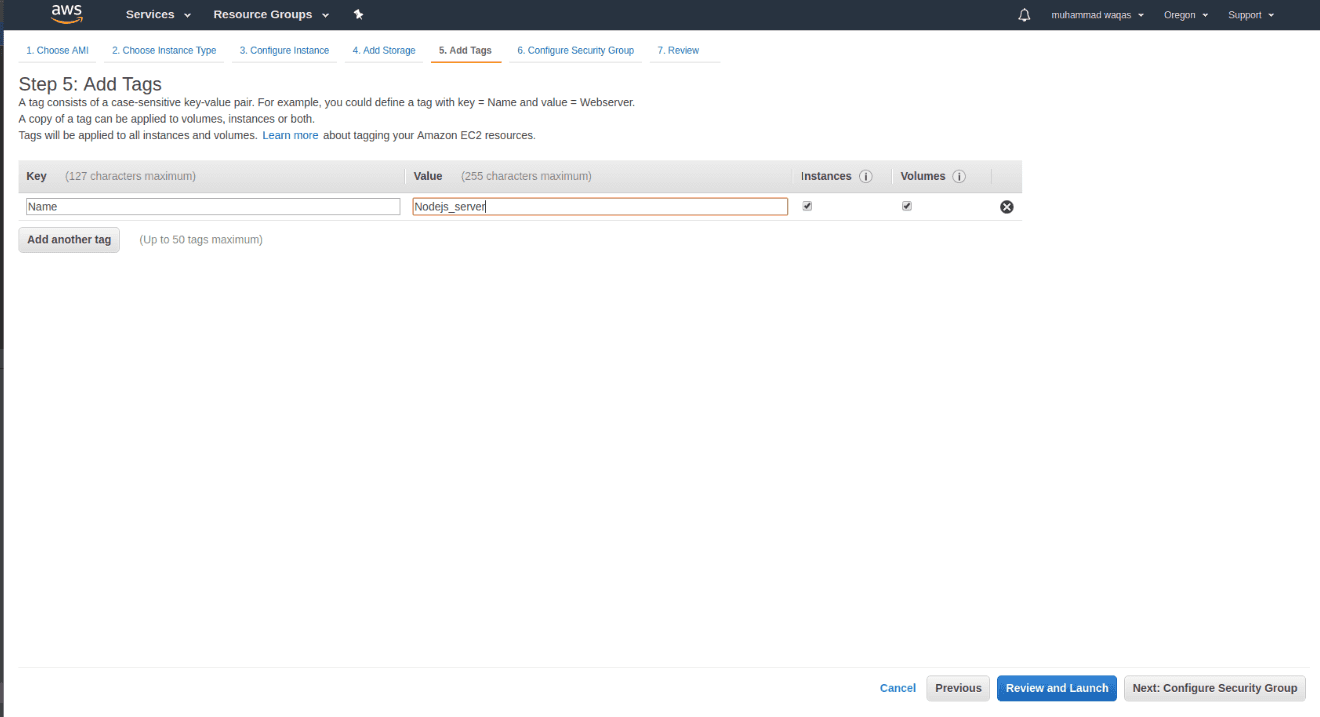
Now, we can see the Add Tags page. In this section, we have to add at least single tag using key-value pairs. For example, you can add Key=ServerName and value=Nodejs_Server. After adding tag click on Next: Configure Security Group Button.
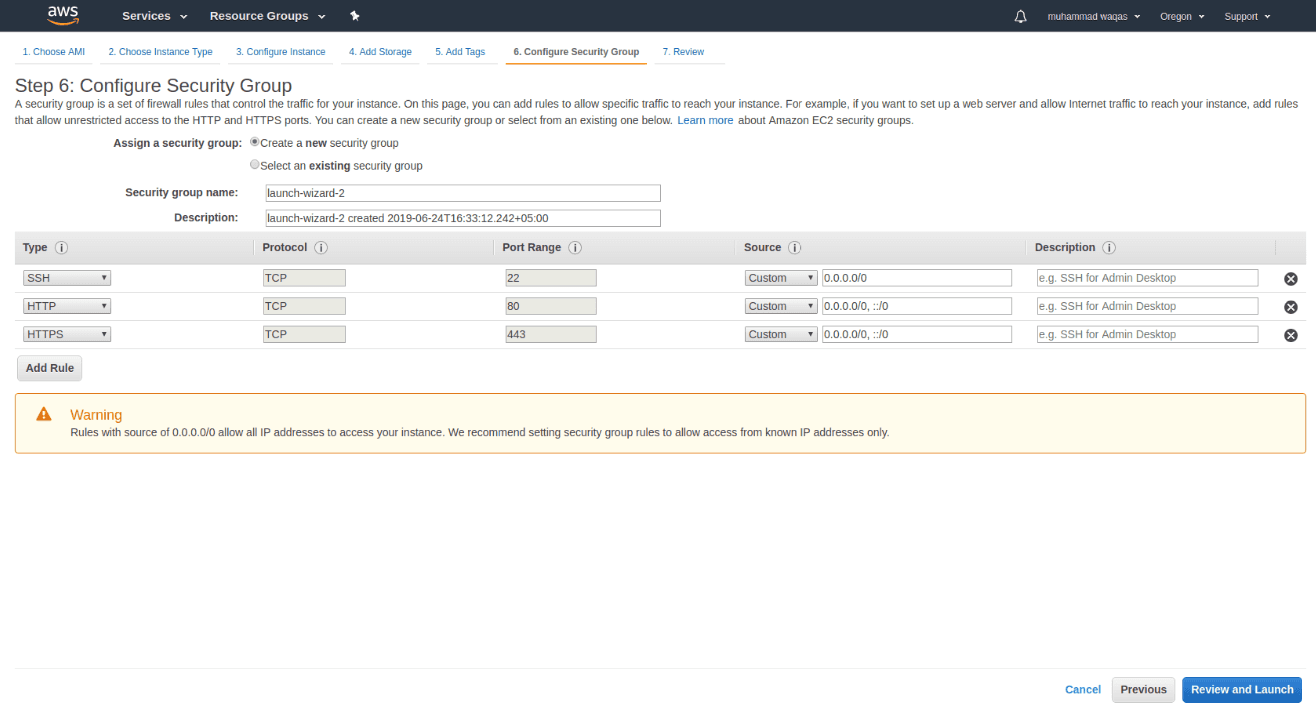
After adding these tags we have to open some ports of our server to communicate with outer world. We can also configure these ports after launching the server. Click on Add Tag button and add 80, 8080, and 22 ports.
Click on Next Review and Launch button.
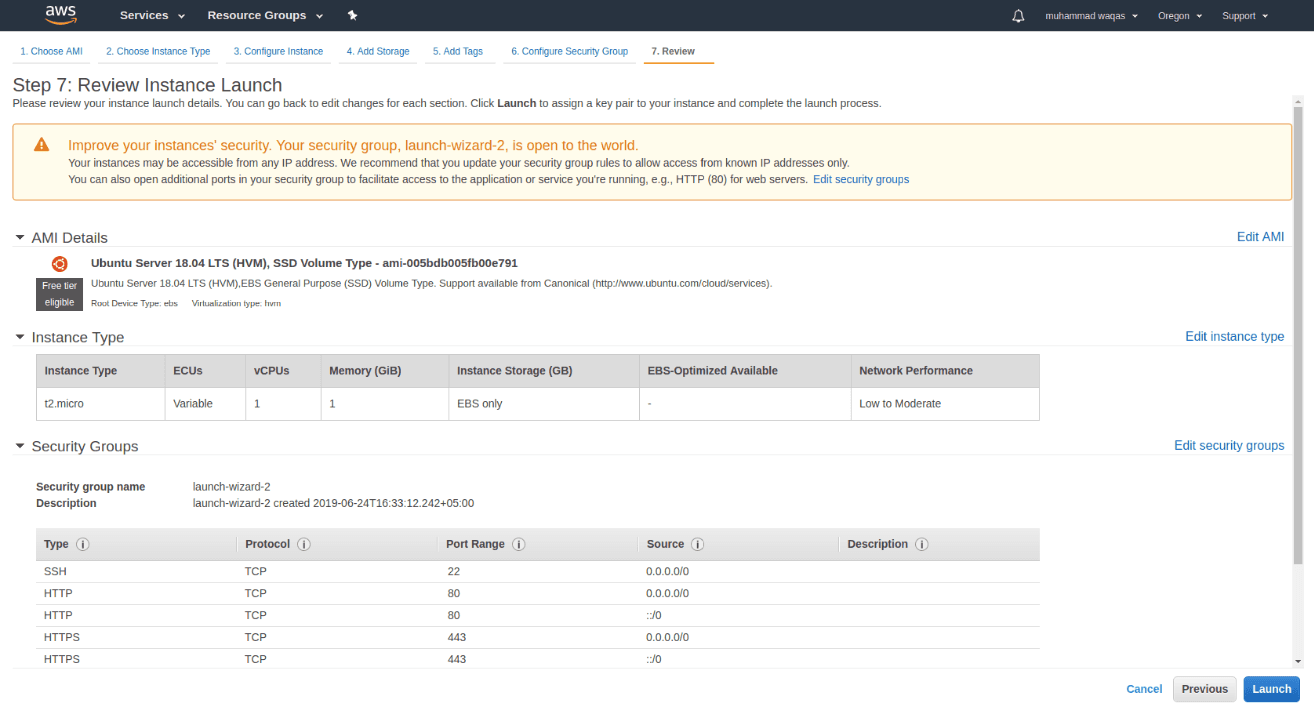
Now we are very close to launching our EC2 server. Click on the Launch Button and we will see a dialog box. Create a new key pair and download it on your local machine. You can not generate this key after launching your instance.
After generating the key pair click on Launch Instances button.
3. SSH into your instance
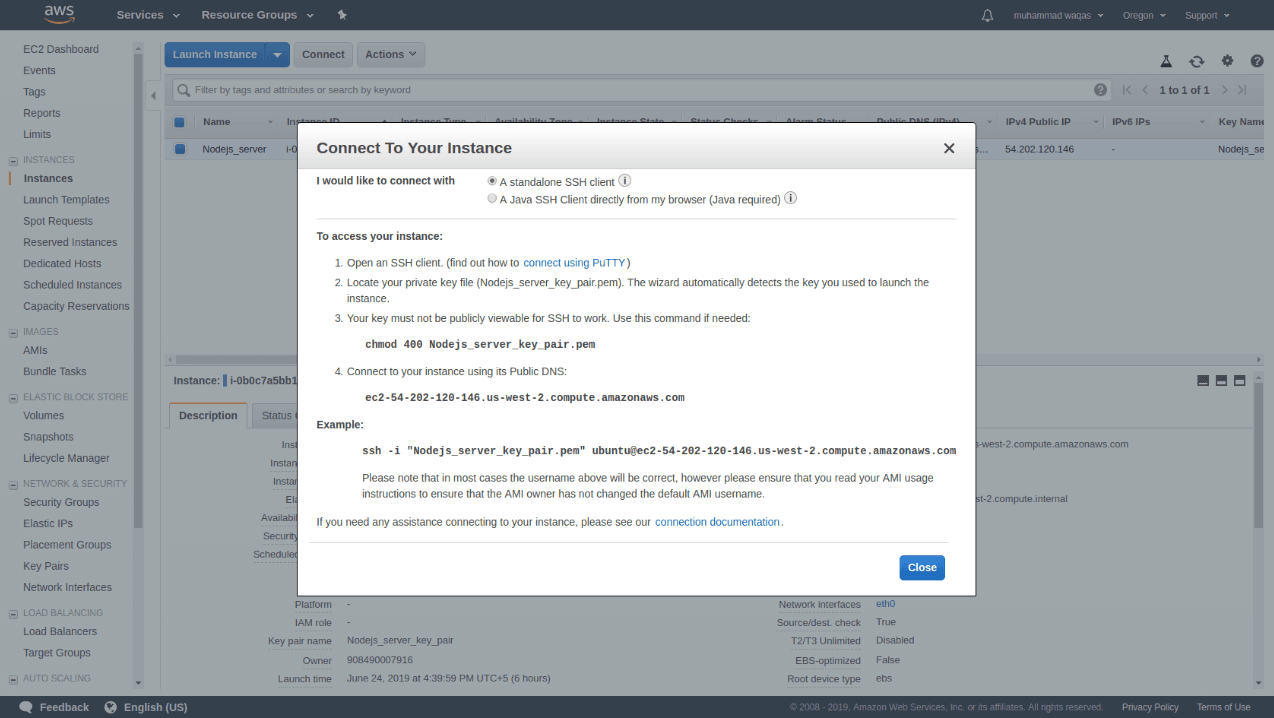
So we have successfully launched our EC2 server. Now we will access the server from our local machine using terminal on Linux and putty on Windows. If you are using Windows you need to change your .pem key to .ppk format. You can follow this link to convert your key. Go to your local directory where you downloaded the private key. Go to AWS instances console and click on the Connect button and follow the simple steps.
Congratulations! You're connected with your EC2 remote server.
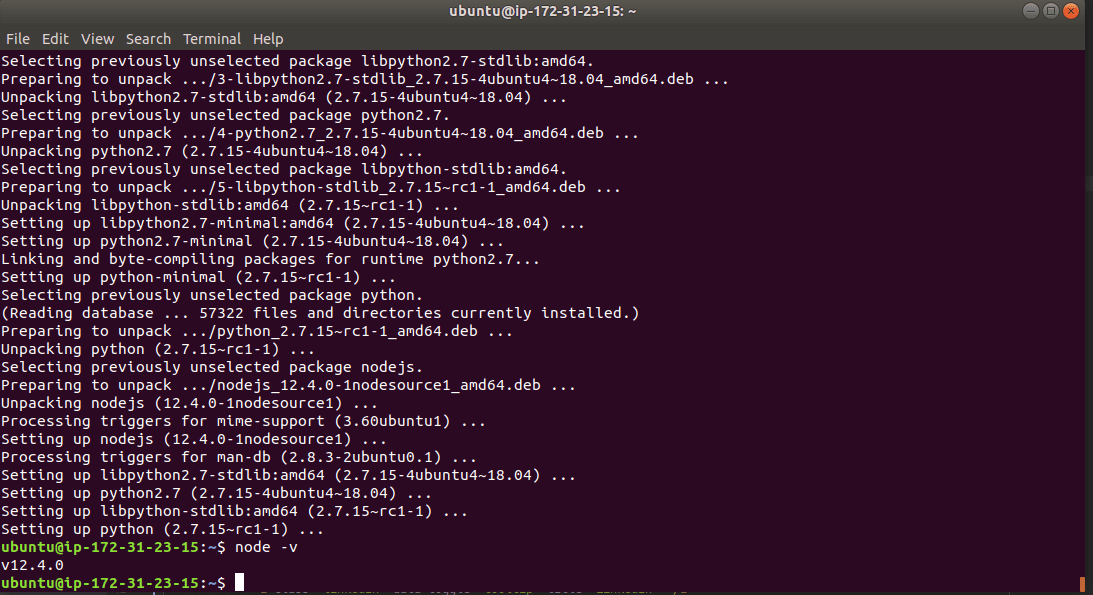
4. Install Nodejs
Now that we are connected to the instance, we can start installing the required packages in the environment for your node.js app to work. Follow this link to install the nodejs on server. I will install the latest version of Node JS which is 12.x. Once you’re done with the installation type “node -v ” on your terminal, it will show you v12.4.0 on terminal screen.
5. Install Git and clone repository from GitHub
Install git on Ubuntu
We don’t need to install git on ubuntu 18.04. It is already installed on our server. You can check using git --help command. If it is not installed you can install using the following command.
sudo apt-get install gitClone app on server
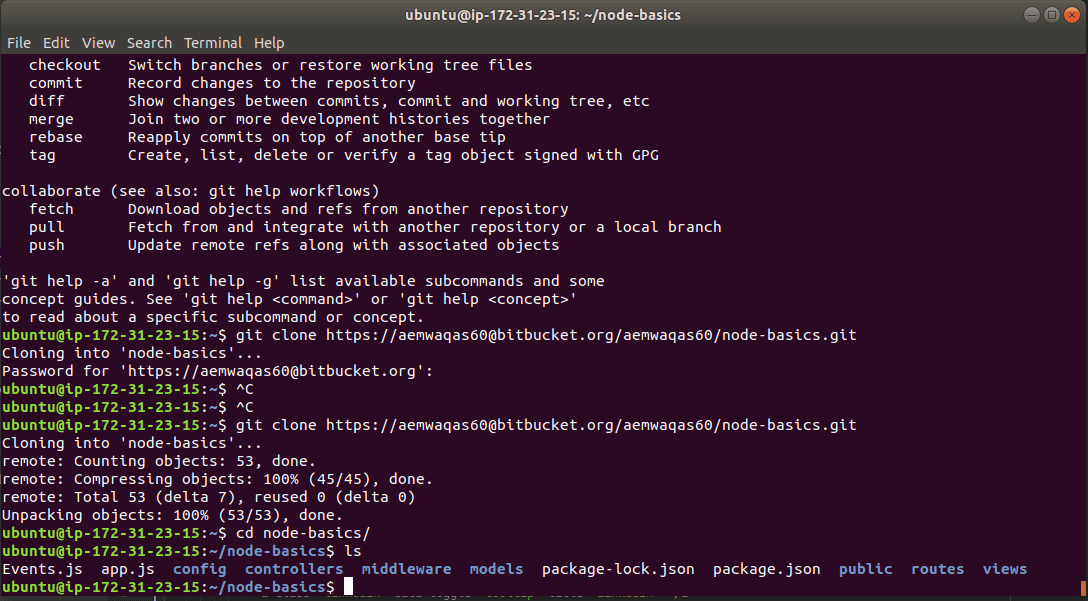
You can take a clone of simple Node js basic app by using this command on terminal.
git clone https://[email protected]/aemwaqas60/node-basics.gitAfter cloning the repository, run cd node-basics and see all the content of the folder using the ls command:
6. Start the node.js app
We have successfully cloned the app on our server. Run the following command inside our project directory:
npm installIt will install all the required packages for the app. There are several ways to start our app but we will use simple command:
node app.js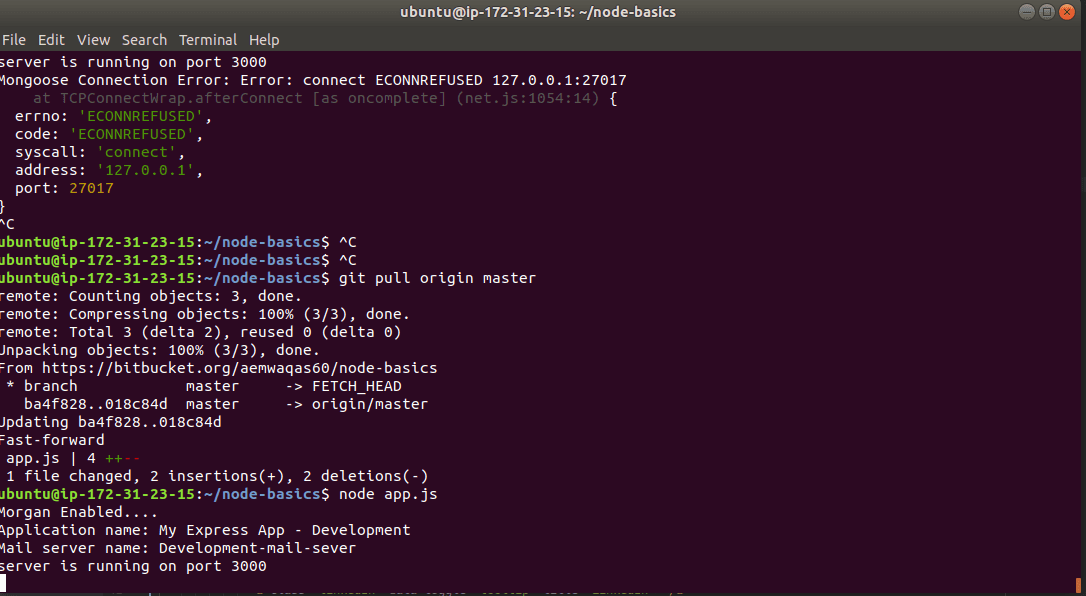
Copy public DNS from your instances page, paste it on your web browser, and append port :3000 at the end of the DNS address. As you will see this will not work and there is nothing to show on browser and the browser connection will timeout.
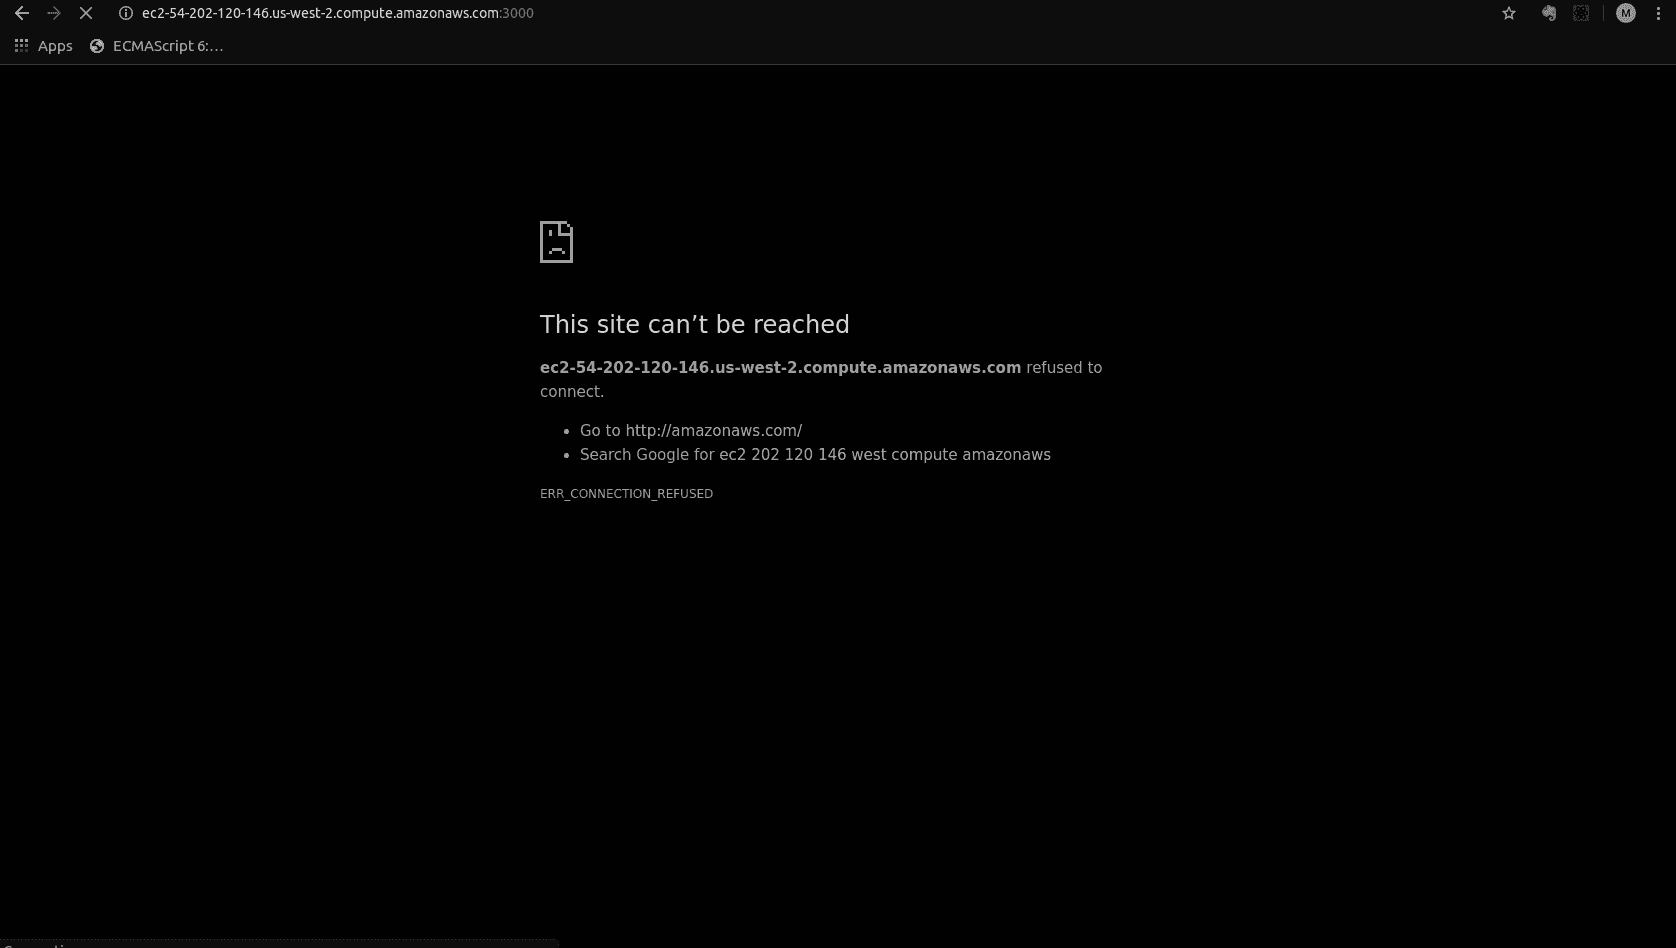
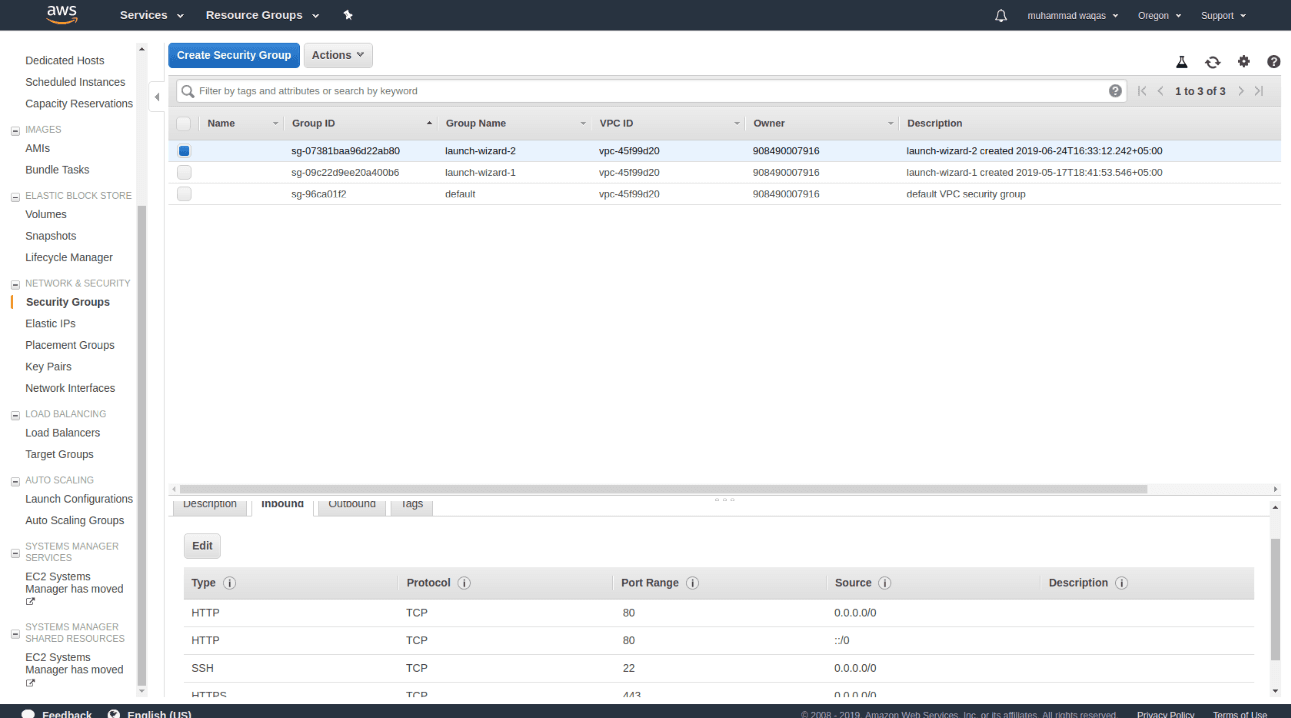
This is where the Security Group comes in. In the AWS management console, go to Security Groups, select the one not named ‘default’ (launch-wizard-1 or your security group name) and edit the Inbound rules.
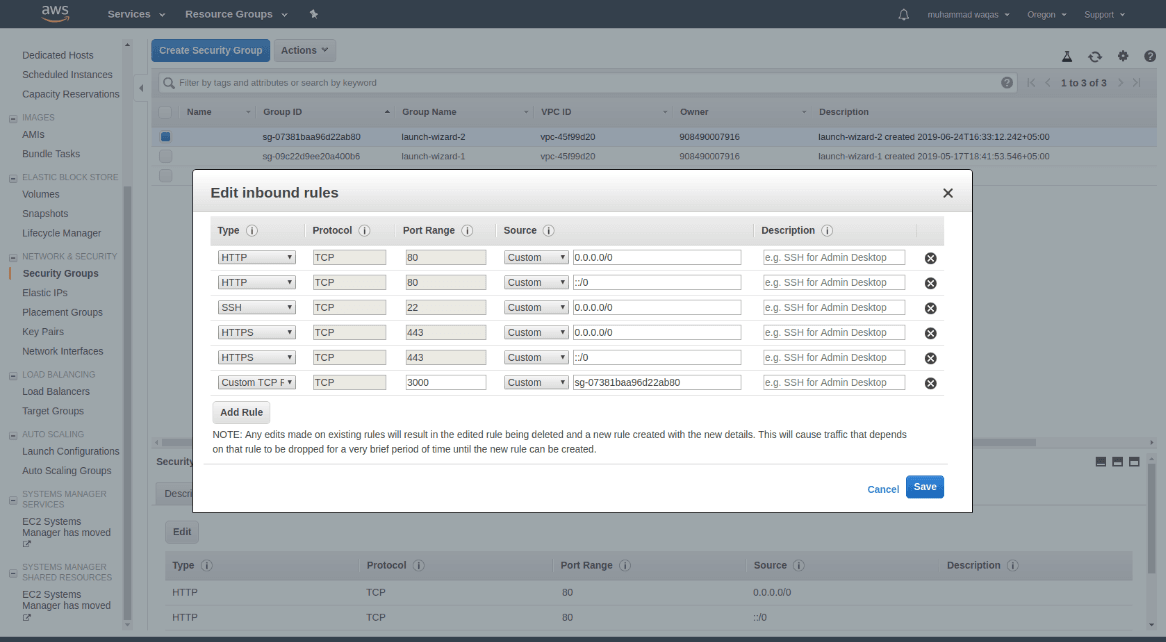
Access the URL again and you should be able to see the app content now.

7. Keep App running using PM2
The app is running as soon as you open the terminal and it will terminate as you will close the terminal. We will install PM2 (Production manager 2) to keep live our app after closing our terminal or disconnect from remote server. Run the following command:
npm install pm2 -gIt will install PM2 package globally on server. Switch to our app directory and run:
sudo pm2 start app.js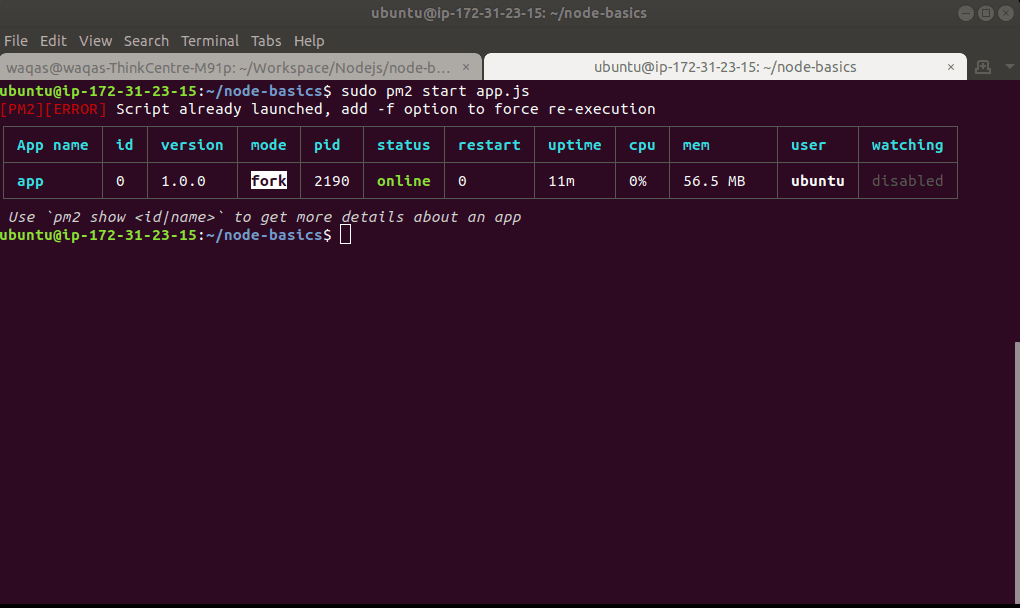
Now even if you close the terminal and check the url in the browser, the app will be running. Sweet! For automatically running PM2 when the server restarts, issue the following command:
sudo pm2 startupNow you can reboot the instance using sudo reboot and connect after 1 min. You can still see the app is running on port 3000 using:
PM2 list

# Or

PM2 show app
Great! You can access the app on your browser also.

