
Deep fakes are becoming more frequent nowadays, especially those videos of celebrities being replaced by other ones and so on. A couple of years ago there was an interesting application as well that allowed you to swap faces with the person next to you and everyone was in love with that. The reason behind that, I don't know, sincerely I don't know why would someone do that, but, if you want to get experimental, this can be done with Python and there's a great open source project that contains the code to do this in a decent way.
In this article, I will show you how to implement your own local instance of FaceSwap, a Python3 tool that will help you to swap the faces between 2 pictures easily and automatically.
1. Install CMake and Python3-OpenCV
Before proceeding with the usage of the tool, you need to install the required software to make it work. As first, update the repositories of ubuntu with the following command:
sudo apt-get updateThen proceed to install CMake with the following command:
sudo apt-get install cmakeCMake is an extensible, open-source system that manages the build process in an operating system and in a compiler-independent manner.The installation of CMake will take about 140MB of space in your disk.
After installing CMake, you will need to install the Python3 version of OpenCV (Unofficial pre-built CPU-only OpenCV packages for Python 3) with the following command:
sudo apt-get install python3-opencvThe installation of python3-OpenCV will take about 440MB of space in your disk.
2. Clone FaceSwap
The project that we are going to use in this tutorial is the awesome FaceSwap, an open-source tool that allows you to swap face between two pictures using Python 3 with OpenCV and dlib. Proceed to clone the source code of the project using git:
git clone https://github.com/wuhuikai/FaceSwap.gitAfter downloading the source, switch to the FaceSwap directory that you just cloned:
cd FaceSwapYou can visit the official repository at Github here for more information about this tool. Once you are in the directory of the project, be sure to install the python dependencies with the following command that will read the requirements of the tool in the requirements.txt (you can install the pip module if it's not installed with sudo apt install python3-pip):
python3 -m pip install -r requirements.txtThis will install the following libraries (till the date):
dlib >= 19.9.0: Dlib is a modern C++ toolkit containing machine learning algorithms and tools for creating complex software in C++ to solve real-world problems. It is used in both industry and academia in a wide range of domains including robotics, embedded devices, mobile phones, and large high-performance computing environments. Dlib's open source licensing allows you to use it in any application, free of charge.numpy >= 1.13.1: NumPy is the fundamental package for scientific computing with Python. It contains among other things.scipy >= 0.18.0: SciPy is a Python-based ecosystem of open-source software for mathematics, science, and engineering.
The installation will take a while and will generate the following output:
Collecting dlib>=19.9.0
  Downloading dlib-19.22.0.tar.gz (7.4 MB)
     |████████████████████████████████| 7.4 MB 2.5 MB/s
Requirement already satisfied: numpy>=1.13.1 in /usr/lib/python3/dist-packages (from -r requirements.txt (line 2)) (1.17.4)
Collecting scipy>=0.18.0
  Downloading scipy-1.6.2-cp38-cp38-manylinux1_x86_64.whl (27.2 MB)
     |████████████████████████████████| 27.2 MB 2.6 MB/s
Building wheels for collected packages: dlib
  Building wheel for dlib (setup.py) ... done
  Created wheel for dlib: filename=dlib-19.22.0-cp38-cp38-linux_x86_64.whl size=4115477 sha256=c11bb8117a99515c583a2dbebc219422a0b1692c84b9797618c20e102c7f63ab
  Stored in directory: /home/ourcodeworld/.cache/pip/wheels/80/93/82/7b6b3974475c898a823b58a6c0b87013f0782095d43b910e64
Successfully built dlib
Installing collected packages: dlib, scipy
Successfully installed dlib-19.22.0 scipy-1.6.2
So when it ends you should be able now to use the tool with Python 3.
3. Using FaceSwap
FaceSwap is really easy to use, the basic command to switch the face from one picture to another is the following one:
python main.py --src {source_face.jpg} --dst {destination_picture.jpg} --out {result.jpg} --correct_color --no_debug_windowIt basically runs the main.py file of the directory where you cloned FaceSwap using Python3 and providing 3 arguments which are:
--src: the absolute or relative path to the image that will contain the face that will be moved to the destination picture.--dst: the absolute or relative path to the image whose face will be replaced with the face from the source picture.--out: the absolute or relative path to the image that will be generated when the swap is done.--correct_color: tries to fix the color of the swap to make it look so genuine as possible.--no_debug_window: add this parameter to prevent the debug window from appearing when running the face-swapping command.
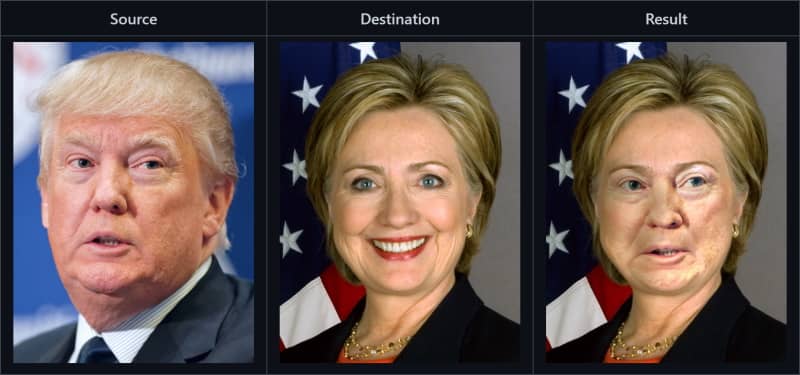
You can proceed with the tests of the images that are already included in the repository of the project (trump and Clinton):
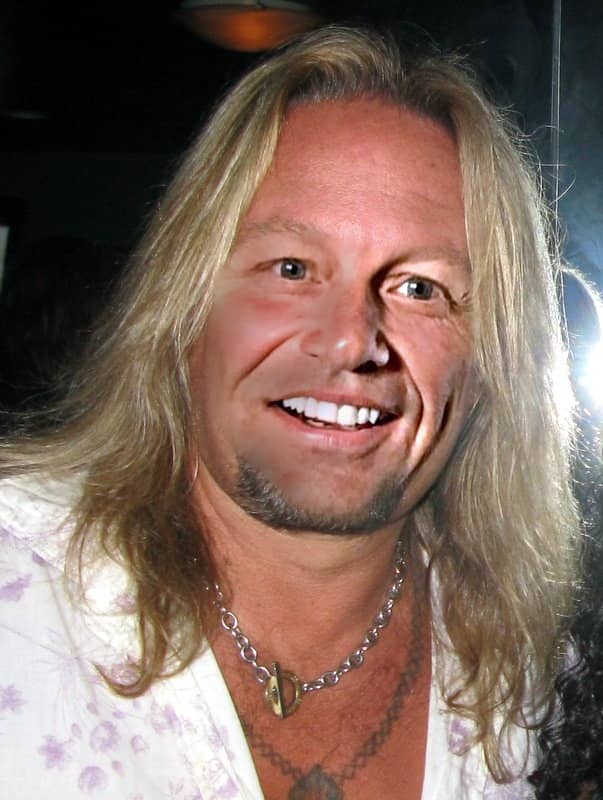
python main.py --src imgs/test6.jpg --dst imgs/test7.jpg --out results/output6_7.jpg --correct_color --no_debug_windowAnd as well, go ahead and test your own images just like we did with Vince Neil (Mötley Crüe vocalist):

And Jon Bon Jovi (Bon Jovi Vocalist):

To create the awesome, one and only, Vince Bon Jovi 🤣:
Happy coding ❤️!

