
According to Google, the WebP image format is a modern type that provides superior lossless and lossy compression for images on the web. With this format, web developers can create smaller, richer images that ensure a faster load time and better performance on web applications. In our desktop, we love to work with tools that help us to work faster as well. When we talk about image edition in a no-professional sense, Paint.NET is a tool that help anyone to edit very easily and faster pictures without the haze of Photoshop or other tools. Unfortunately, Paint.net by default doesn't provide support for the WebP format, so you will need to add it manually.
In this article, we will explain you briefly how to install the plugin that will allow you to export images in WebP format easily in Paint.net.
1. Download WebP FileType plugin
As you may know ... or maybe not, Paint.net allows the implementation of plugins that add new effects, adjustment, and file type features to the application. The application includes by default the most common filters, adjustments and file types as well. In case of the FileTypes, when you try to save a file you will see the allowed types that are by default:
- BMP
- GIF
- JPEG
- PNG
- TIFF
- TGA

In order to download this plugin, go to the Releases area of the source code repository of the plugin here. You will find as asset of the download the WebPFiletype.zip file that contains the plugin files:
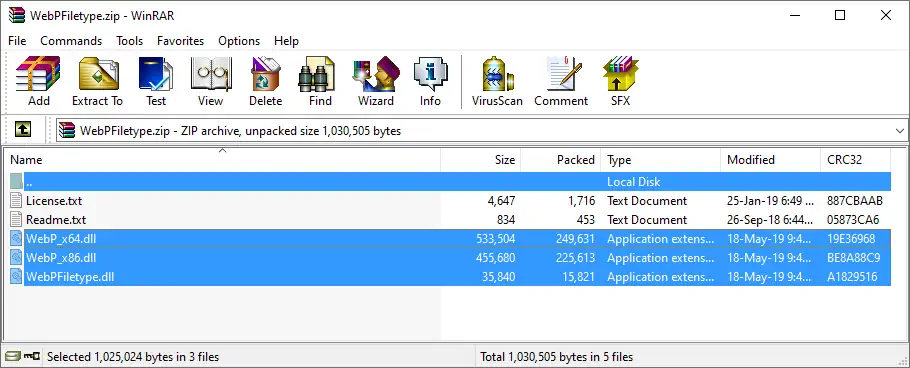
The Zip contains 3 dynamic link libraries (DLL) files that need to be extracted in a specific directory in the installation directory of Paint.NET. For more information about this plugin for Paint.net, please visit the official repository at Github.
2. Install Plugin on Paint.Net
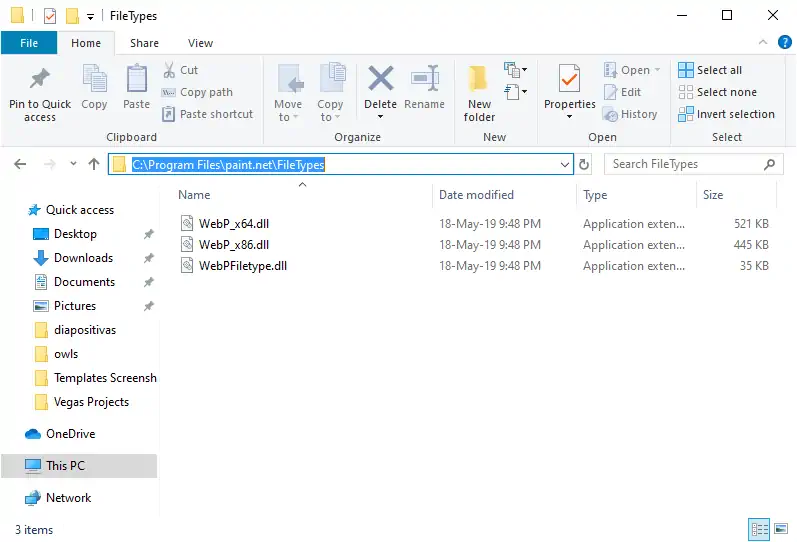
Now, to install the plugin you need to extract the content of the downloaded ZIP in the FileTypes folder in the installation directory of Paint.NET. This path varies according to the way of installation, for example:
- With installer:
C:\Program Files\Paint.NET\FileTypes - Windows Store:
%USERPROFILE%\Documents\paint.net App Files\FileTypes
Once you locate the directory, simply extract the files:
Note that Paint.Net needs to be closed.
After installing the plugin simply open a new instance of Paint.net and you will be able to save your image as WebP:

Final thoughts
WebP is without a doubt an awesome image format that can help you to save a lot of space on your disk (and bandwidth). For example, with an image on Paint.net that is saved as JPEG with a quality of 70%, we would have a file with a size of 89.1KB:

However, if we save the same file with the WebP format we will have a file with the same quality and a size of 48KB:

That indicates a decrease of the image of almost 46%, that's a huge optimization if we talk about load time, space on disk etc.
Happy editing !

