Even for non geeks, KeePass is a very useful and safe open source utility to manage credentials. It is available officiall for windows, however it supports now MacOS and Linux environments through the use of Mono, besides of other ports that aren't official for Android and iOS.
In this article, we will explain you how to install easily KeePass in your Ubuntu 18.04 operative systems with a couple of commands.
1. Register keepass repository
As first step, you will need to add the jtaylor/keepass repository to your system. The following command adds the repository to your sources, so Ubuntu knows to look for updates from that PPA as well as from the official Ubuntu sources:
sudo apt-add-repository ppa:jtaylor/keepassNow, update its database of what packages can be installed and where to install them from. In this case, apt-get will see your newly-added PPA and discover that ppa:jtaylor/keepass has the newest version of KeePass2 that it knows about, so it will make a note to install KeePass from the PPA next time someone asks to install it:
sudo apt-get updateHaving done that, you will be able now to install the application itself in the next step.
2. Install KeePass 2
Now that the KeePass repository is now available, apt-get will be able to solve our dependency installing the latest version of keepass available from the repository with the following command:
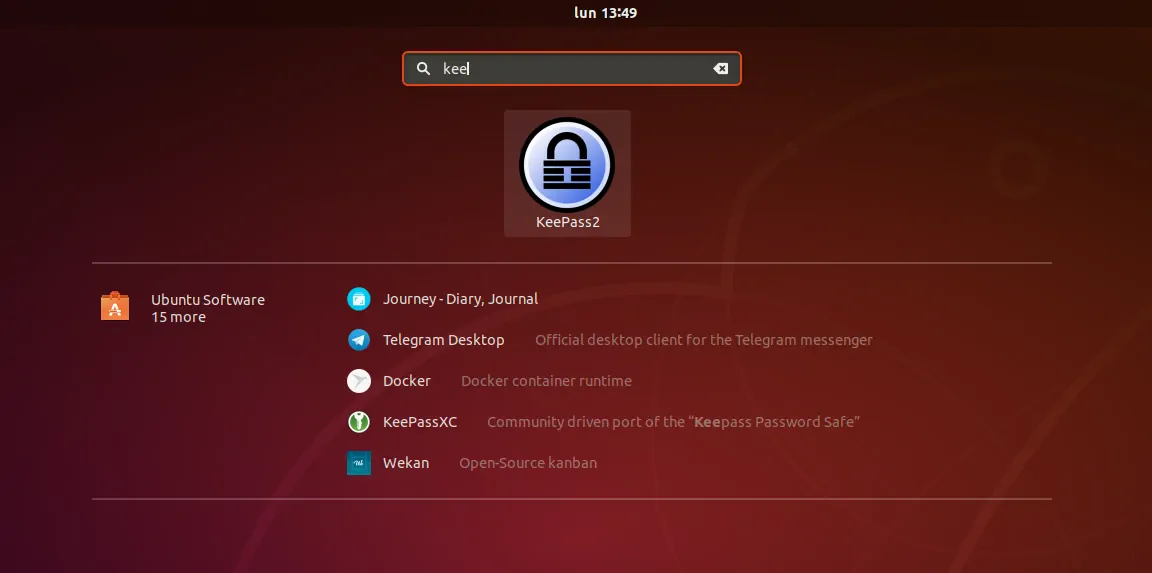
sudo apt-get install keepass2This will take a while until the installation finishes, then you will be able to search for the KeePass application on the ubuntu dashboard:

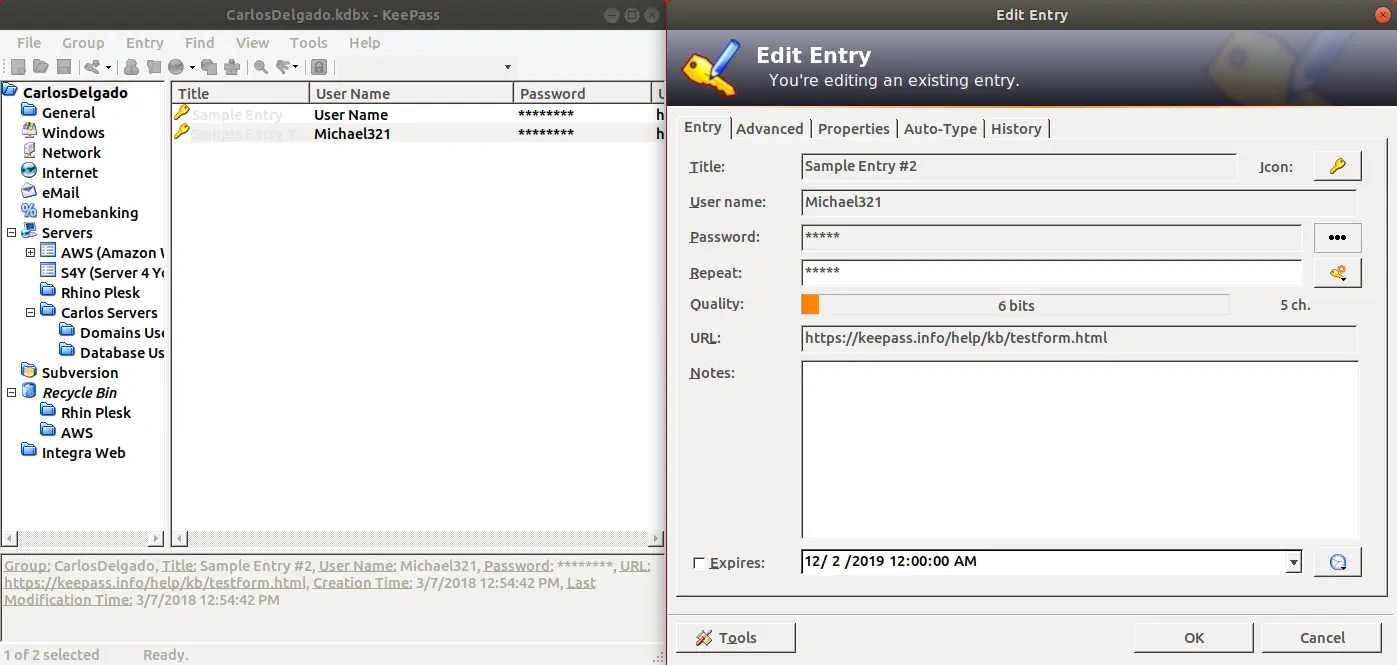
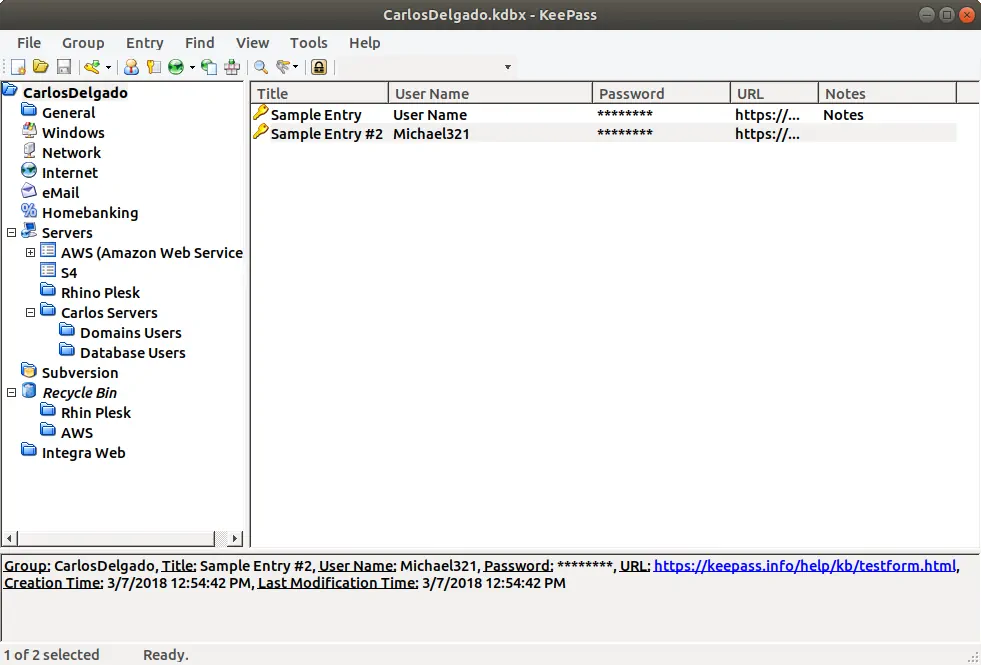
The application, just as expected offers the same interface that it does in Windows, showing all the entries of your keepass database on the left side of the main Window and listing every entry on the data grid, specifying the title of the credential, username, password and description:


