

In different environments it will be necessary to use multiple versions of Node.js for those projects that aren't compatible anymore with an old version of Node.js. Sometimes is not an option to rewrite code, so you may want to stay with the same version of Node.js, however for new projects, you may like to use the newest version of Node.js. For such situation its necessary to have multiple versions of Node.js in the same system, however with the default setup of Node.js from the official website, this isn't possible. That's when the NVM project for Windows shows up. You should use NVM for Windows as npm/Microsoft/Google recommended Node.js version manager for Windows. In this article, you will learn how to install NVM in Windows.
Requirements
As it's very probably that you have Node.js installed with the default installer of the official website, you need to uninstall it. , or you will have conflicts with the installed versions later.
After uninstalling, remove any possible installation directory that may remain on the disk (C:\Program Files\nodejs). After verifying that the mentioned directory doesn't exist anymore, you need to uninstall as well any possible npm install location:
%USERPROFILE%/AppData\Roaming\npm(C:\Users\<user>\AppData\Roaming\npm)%USERPROFILE%/AppData\Roaming\npm-cache(C:\Users\<user>\AppData\Roaming\npm)
After deleting manually the mentioned directories and their content, you may proceed with the installation of NVM for Windows.
1. Download NVM for Windows
If you work as well in the Linux environment, you may relate this NVM for Windows with the original NVM project that is especial for Mac/Linux. However, this project is unrelated and uses a totally different philosophy. This node.js version management utility for Windows was written in Go (you don't need to install Go on your system though).
As usual in Windows, you will have an installer at your disposition. The Node Version Manager for Windows setup can be downloaded from the releases page here. For more information about this project, visit the official repository at Github here.
2. Install NVM
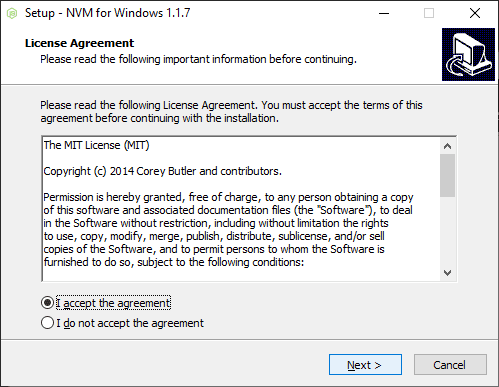
Run the installer and follow the installation steps. We will explain it here in case you need it. When running the executable, you will have to accept the license agreement:
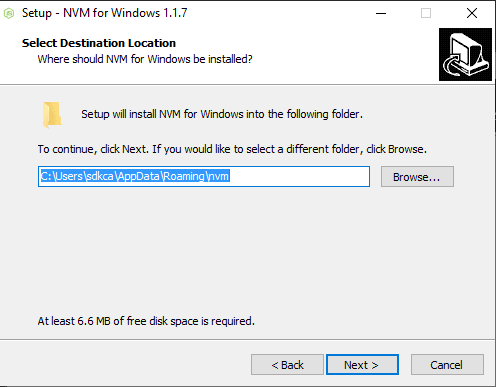
After that, you should define the default installation path of NVM. It's recommended to use the following directory %USERPROFILE%\AppData\Roaming\nvm:
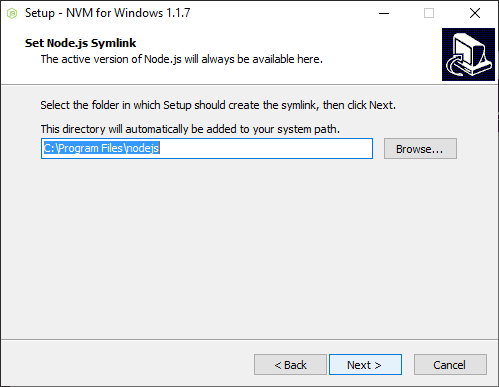
Then you will have to define the installation directory of Node.js that will work as a symlink that points to the currently used version of Node.js:
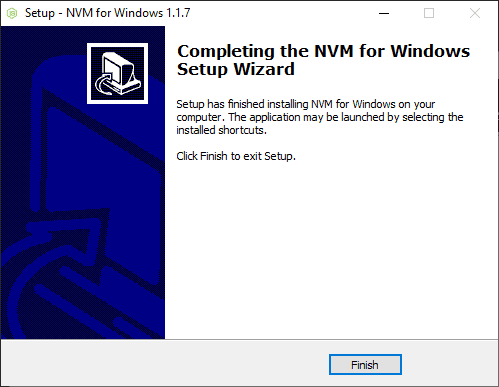
Then finish the setup and that's it:
3. Using NVM
Open a new terminal (Command Prompt) and type the nvm command:
nvmThis will generate the following output:
Running version 1.1.7.

Usage:

  nvm arch                     : Show if node is running in 32 or 64 bit mode.
  nvm install <version> [arch] : The version can be a node.js version or "latest" for the latest stable version.
                                 Optionally specify whether to install the 32 or 64 bit version (defaults to system arch).
                                 Set [arch] to "all" to install 32 AND 64 bit versions.
                                 Add --insecure to the end of this command to bypass SSL validation of the remote download server.
  nvm list [available]         : List the node.js installations. Type "available" at the end to see what can be installed. Aliased as ls.
  nvm on                       : Enable node.js version management.
  nvm off                      : Disable node.js version management.
  nvm proxy [url]              : Set a proxy to use for downloads. Leave [url] blank to see the current proxy.
                                 Set [url] to "none" to remove the proxy.
  nvm node_mirror [url]        : Set the node mirror. Defaults to https://nodejs.org/dist/. Leave [url] blank to use default url.
  nvm npm_mirror [url]         : Set the npm mirror. Defaults to https://github.com/npm/cli/archive/. Leave [url] blank to default url.
  nvm uninstall <version>      : The version must be a specific version.
  nvm use [version] [arch]     : Switch to use the specified version. Optionally specify 32/64bit architecture.
                                 nvm use <arch> will continue using the selected version, but switch to 32/64 bit mode.
  nvm root [path]              : Set the directory where nvm should store different versions of node.js.
                                 If <path> is not set, the current root will be displayed.
  nvm version                  : Displays the current running version of nvm for Windows. Aliased as v.
You can list all the available versions of node that you can install with this tool with the following command:
nvm list availableThis will generate an output similar to:
|   CURRENT    |     LTS      |  OLD STABLE  | OLD UNSTABLE |
|--------------|--------------|--------------|--------------|
|    15.6.0    |   14.15.4    |   0.12.18    |   0.11.16    |
|    15.5.1    |   14.15.3    |   0.12.17    |   0.11.15    |
|    15.5.0    |   14.15.2    |   0.12.16    |   0.11.14    |
|    15.4.0    |   14.15.1    |   0.12.15    |   0.11.13    |
|    15.3.0    |   14.15.0    |   0.12.14    |   0.11.12    |
|    15.2.1    |   12.20.1    |   0.12.13    |   0.11.11    |
|    15.2.0    |   12.20.0    |   0.12.12    |   0.11.10    |
|    15.1.0    |   12.19.1    |   0.12.11    |    0.11.9    |
|    15.0.1    |   12.19.0    |   0.12.10    |    0.11.8    |
|    15.0.0    |   12.18.4    |    0.12.9    |    0.11.7    |
|   14.14.0    |   12.18.3    |    0.12.8    |    0.11.6    |
|   14.13.1    |   12.18.2    |    0.12.7    |    0.11.5    |
|   14.13.0    |   12.18.1    |    0.12.6    |    0.11.4    |
|   14.12.0    |   12.18.0    |    0.12.5    |    0.11.3    |
|   14.11.0    |   12.17.0    |    0.12.4    |    0.11.2    |
|   14.10.1    |   12.16.3    |    0.12.3    |    0.11.1    |
|   14.10.0    |   12.16.2    |    0.12.2    |    0.11.0    |
|    14.9.0    |   12.16.1    |    0.12.1    |    0.9.12    |
|    14.8.0    |   12.16.0    |    0.12.0    |    0.9.11    |
|    14.7.0    |   12.15.0    |   0.10.48    |    0.9.10    |

This is a partial list. For a complete list, visit https://nodejs.org/download/release
You can proceed with the installation of a specific version using the following command, in our case, we will install the LTS release:
nvm install 14.15.4This will download Node.js v14.15.4 and will generate the following output in the terminal:
Downloading node.js version 14.15.4 (64-bit)...
Complete
Creating C:\Users\sdkca\AppData\Roaming\nvm\temp

Downloading npm version 6.14.10... Complete
Installing npm v6.14.10...

Installation complete. If you want to use this version, type

nvm use 14.15.4
Finally, after installing a specific version, you can switch nvm to use that one with:
nvm use 14.15.4Which should output now:
Now using node v14.15.4 (64-bit)You can finally check the version of the current version of Node.js in the command prompt with:
REM Outputs: v14.15.4
node --version
And for NPM:
REM outputs: 6.14.10
npm --version
You can repeat the same steps for a new version, just change the specific version on the commands and that's it. If you need the entire list of all the available versions of Node.js, visit this page.
Happy coding ❤️!

