

HTTP/2 is pretty fast in comparison to HTTP/1.1 that is the protocol that a lot of people still use in 2021. For example, in our development environment of XAMPP in Windows, you will see that the protocol that it uses is HTTP/1.1 e.g PHPMyAdmin:
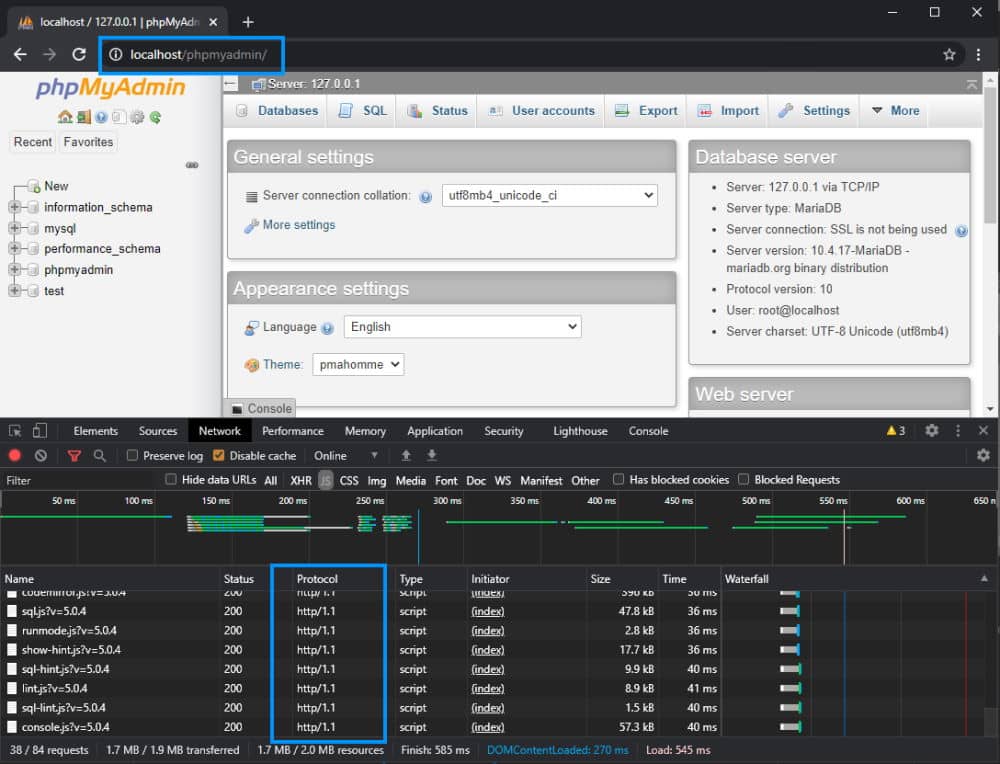
You can easily see the protocol on the Chrome Devtools by doing a right-click on the table headers and checking the Protocol option. Although we are working locally with XAMPP, if you want even better performance, you may switch to version 2 of the protocol.
In this article, I will explain to you how to easily enable support HTTP/2 locally on your XAMPP installation.
1. Create a Virtualhost for your project with HTTPS support
HTTP/2 won't work without HTTPS (secure protocol), keep that in mind. So in order to provide support for HTTP/2, you need to have a VirtualHost that listens on port 443. For example, using the default HTTPS certificate of XAMPP (which is invalid, you will get a warning in the browser, however, you can skip it and it works), you can build a VirtualHost that points to a simple HTML page like this:
# 1. Support for HTTP on http://127.0.0.40/
<VirtualHost 127.0.0.40:80>
    DocumentRoot "C:/xampp/htdocs/mywebsite"
    DirectoryIndex index.html

    <Directory "C:/xampp/htdocs/mywebsite">
        AllowOverride None
        Order Allow,Deny
        Allow from All
    </Directory>
</VirtualHost>
# 2. Support for HTTPS on https://127.0.0.40/
<VirtualHost 127.0.0.40:443>
    DocumentRoot "C:/xampp/htdocs/mywebsite"
    ServerName mywebsite
    SSLEngine on
    SSLCertificateFile "conf/ssl.crt/server.crt"
    SSLCertificateKeyFile "conf/ssl.key/server.key"
    <Directory "C:/xampp/htdocs/mywebsite">
        Options All
    	AllowOverride All
    	Require all granted
    </Directory>
</VirtualHost>
Theoretically, with a index.html file in the specified directory, the website should be accessible at https://127.0.0.40/ (for HTTPS, required for using HTTP/2) and http://127.0.0.40/ (for HTTP, which forces to HTTP/1.1). We won't cover too much the support for HTTPS as you may implement this with a different certificate, maybe a trusted one and so, the important thing here is that the host needs to run over HTTPS to work with the HTTP/2 version.
2. Enable mod_http2.so
Now, the most important part of this tutorial is to enable HTTP/2 in apache. This version of HTTP is a module that you can enable easily modifying the C:\xampp\apache\conf\httpd.conf file and search for the mod_http2.so line and uncomment it (remove the # at the beginning of the line):
# Uncomment the line that loads the http2 module to apache
LoadModule http2_module modules/mod_http2.so
This will enable the support for HTTP/2 in Apache. Now, by default, apache will still use HTTP/1.1 for VirtualHosts that run in port 80 (HTTP) and for those VirtualHosts that run on port 443 without the directive that indicates that it should use HTTP/2 instead.
3. Enable HTTP/2
There are 2 options to enable HTTP/2 for your projects, you may apply the one that fits better with your needs:
A. Enable HTTP/2 Globally
If you want to enable this protocol globally, so it will work with any VirtualHost you have with HTTPS and PHPMyAdmin in XAMPP, you only need to add the following directive at the end of the file C:\xampp\apache\conf\httpd.conf file:
Protocols h2 h2c http/1.1And that's it, however, if you need to enable it for a specific virtual host, you can do it as well.
B. Enable HTTP/2 for a specific VirtualHost only
If you only need to use HTTP/2 on a specific VirtualHost, it's feasible as well. The only thing you gotta do is add the directive:
Protocols h2 h2c http/1.1At the beginning of the VirtualHost that listens in port 443:
# Somewhere at your virtualhost
# C:\xampp\apache\conf\extra\httpd-vhosts.conf
<VirtualHost 127.0.0.40:80>
    DocumentRoot "C:/xampp7413/htdocs/mywebsite"
    DirectoryIndex index.html

    <Directory "C:/xampp7413/htdocs/mywebsite">
        AllowOverride None
        Order Allow,Deny
        Allow from All
    </Directory>
</VirtualHost>
<VirtualHost 127.0.0.40:443>
    # Enable HTTP/2 on this Vhost
    Protocols h2 h2c http/1.1
    # Rest of the configuration ...
    DocumentRoot "C:/xampp7413/htdocs/mywebsite"
    ServerName myproject
    SSLEngine on
    SSLCertificateFile "conf/ssl.crt/server.crt"
    SSLCertificateKeyFile "conf/ssl.key/server.key"
    <Directory "C:/xampp7413/htdocs/mywebsite">
        Options All
    	AllowOverride All
    	Require all granted
    </Directory>
</VirtualHost>
I will make emphasis once again, that this VirtualHost is just an example that uses the self-signed certificate of XAMPP. You may create your own certificate that is trusted by the browser and the operative system.
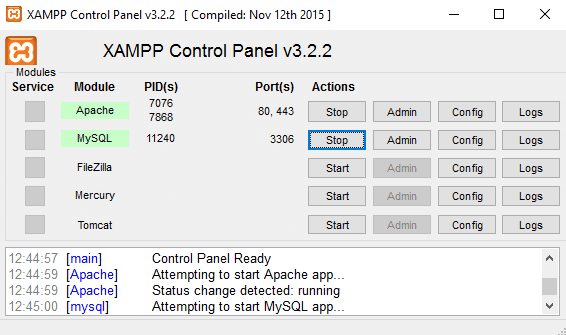
4. Restart Apache
Finally, just restart apache and MySQL (just in case) with the control panel of XAMPP:
And then try to access your website in the browser and check its protocol! For example, if you enabled the protocol globally, you should be able to access it at https://localhost/phpmyadmin/ (note the HTTPS):
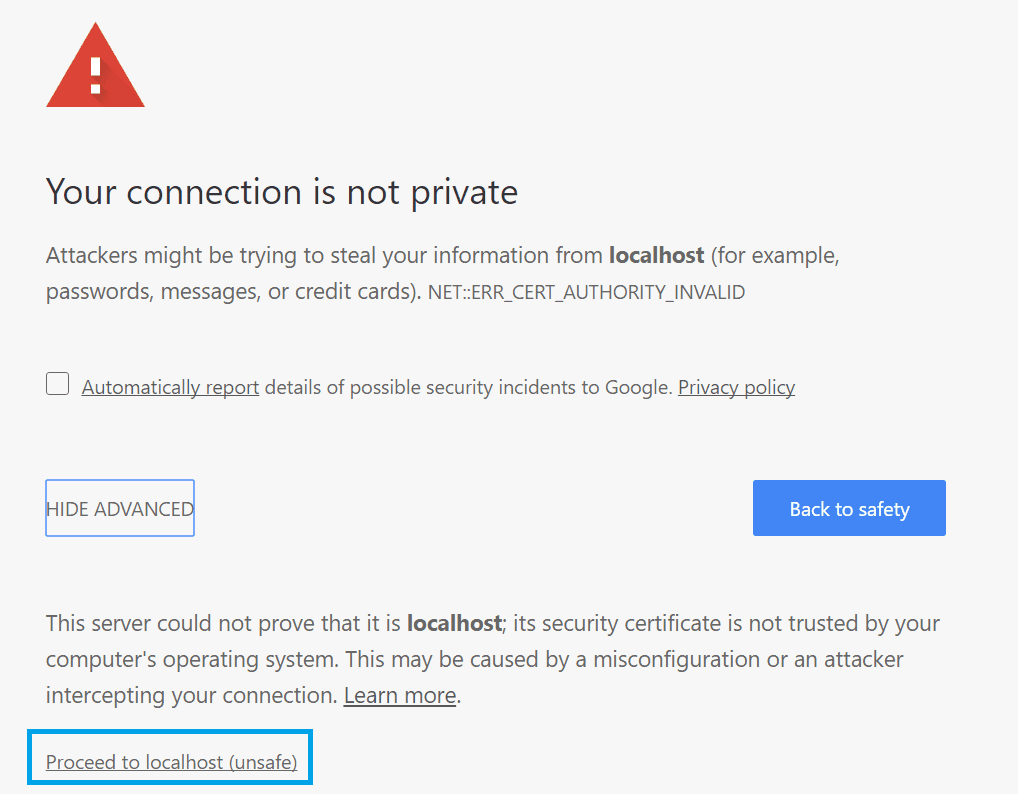
In our case, we will receive a warning as the SSL certificate of XAMPP is self-signed, but you can skip the warning and access PHPMyAdmin locally anyway. In the Google Chrome dev tools you will be able to check the protocol of any request so we can verify now that our XAMPP is using HTTP/2:

Happy coding ❤️!

