Recently I started working with new data types that are only available in the newest versions of MySQL. I use Windows daily and therefore, I use XAMPP as a really quick solution for web development. By default, the latest versions of XAMPP include MariaDB instead of MySQL, so in case that you really need the latest version of MySQL up and running in your local development stack, I will show you how to easily do it in this article.
Requirements
Before following these tutorials, be sure to:
- Stop the MariaDB service if it's running.
- Create a backup of your current databases in case that there's any in your current MariaDB installation in XAMPP.
Having said that, let's get started!
1. Download MySQL Community Server 8.x binaries
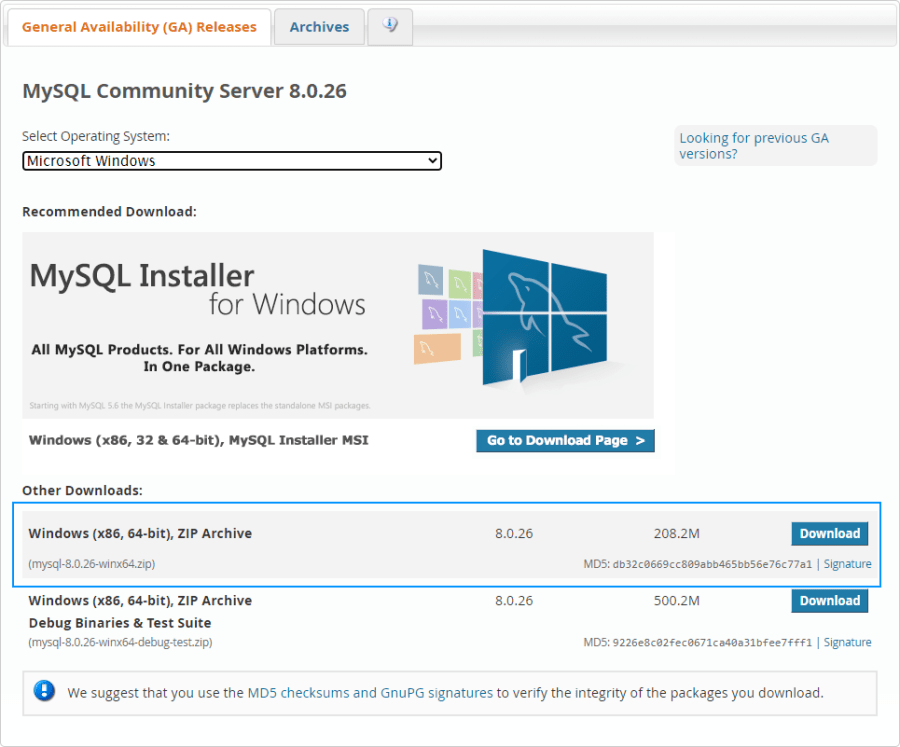
The first thing you have to do is to download the binary of MySQL 8.x. You can obtain the distribution from the official MySQL website here:

In my case, till the date the latest available version for 64 bits (as I'm using XAMPP 8.0.10) is MySQL 8.0.26. The ZIP file will contain all that you need to implement the new version of MySQL in xampp.
2. Extract MySQL 8.x binary in the new directory
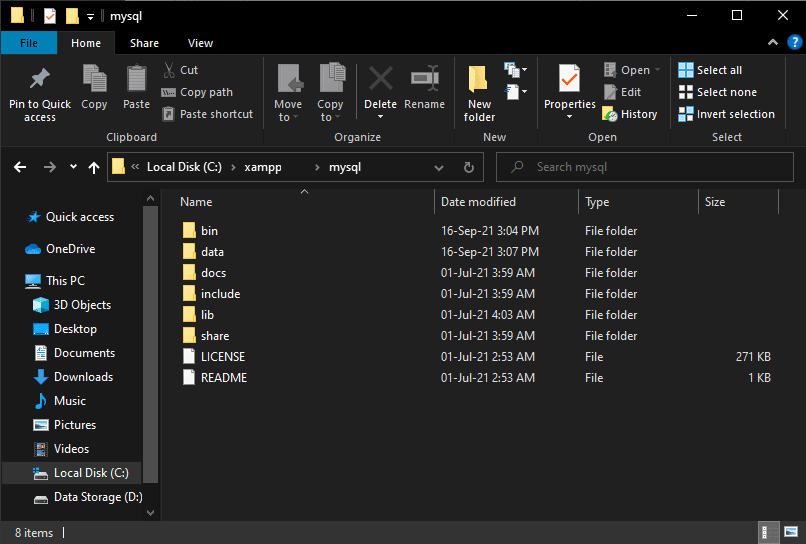
Rename the c:/xampp/mysql folder to c:/xampp/mariadb. Then create a new empty folder namely c:/xampp/mysql. In this new empty folder, extract the content of the ZIP file downloaded in the first step, the directory content will look like this:

3. Initialize MySQL
As final step, launch a new command prompt window and switch to the bin directory of MySQL using the following command:
cd c:\xampp\mysql\binAnd finally initialize an insecure instance (password unprotected) of MySQL with the following command just as required in XAMPP for local development:
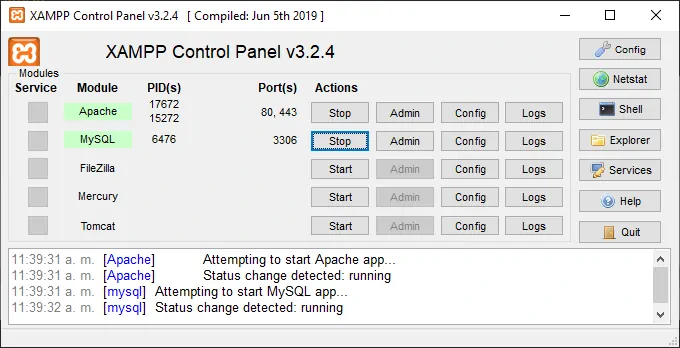
mysqld.exe --default-authentication-plugin=mysql_native_password --initialize-insecure --basedir=c:\xampp\mysql --datadir=c:\xampp\mysql\dataNote that if your basedir and data-dir are different, you can change it in the commands. The command shouldn't generate any output, after running it you should be able to start the xampp control panel and start the Apache and MySQL services:

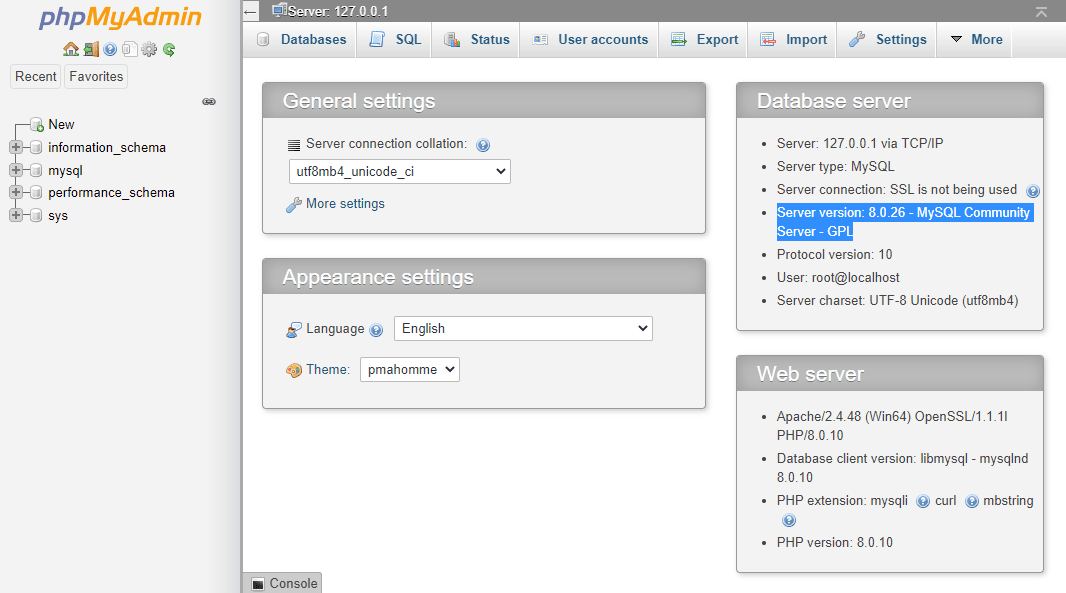
And that's it, you should be able to open http://localhost/phpmyadmin to import the backup that you made before starting the procedure.
Happy coding ❤️!


