Just like the Uniform Resource Identifier (URI) scheme for email addresses (the widely known mailto), you can use a custom scheme to interact with the Skype client in HTML. In this article you will learn how to start a Chat, Call, VoiceMail and other common actions using simply a link element with HTML (following the URI Scheme).
Requirements
The Uniformed Resource Identifier of Skype depends obviously on an installed, updated and running Skype client. The receiving client must obviously concern itself with options related to accepting calls and chats, particularly if your application or webpage is using Skype URIs to connect customers and other interested parties with businesses and organizations.
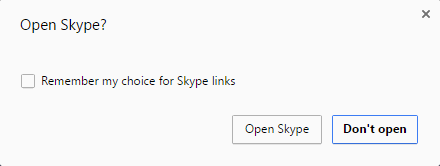
The process that runs once the user clicks on the link is simple, as first an alert dialog of the browser will appear asking for confirmation about the interaction from the browser with an installed app on the system:

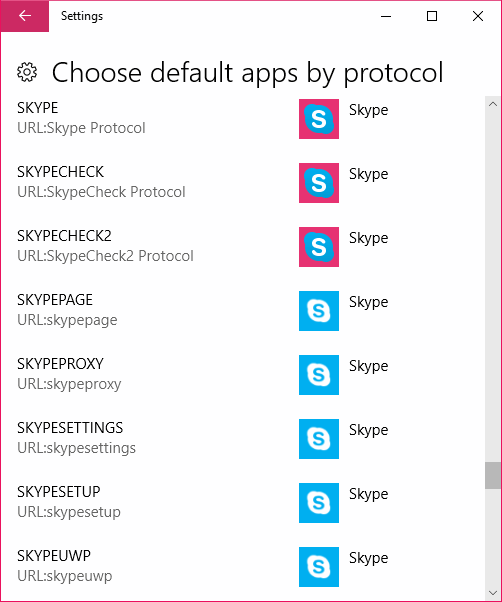
According to the operative system installed on the client, a system dialog should appear for the user to confirm which application should be used to open that kind of links (obviously skype). By default it's easy to choose which app should be used. In case that the user selects the wrong app, it can be changed in the Default Apps for custom protocols for example in Windows 10:

Once the user chooses the Skype app to open this kind of URI, the request action will be executed. Remember that if Skype is not running, then the action won't work.
How does the URI scheme of skype works
The format for skype has the following pattern: [protocol]:[username]?[action]. So converted to a real URL in the href attribute of a link it would look like:
<a href="skype:<username>?<action>"> Link Text</a>Where <username> should be replaced with the skype username that will be used to execute the action and <action> replaced by the desired action as call, see profile information, start chat etc. For example with the given user example123, to start a chat you would use:
<a href="skype:example123?chat">Start Chat</a>Simple isn't? In the following section you will get all possible actions that you can achieve through the URI schema.
Examples
In our examples, the username will be the test user of skype namely echo123, so don't forget to change it in your own markup:
1. Calling
To start a call with an username using the URI, the action that you need to use is call:
<a href="skype:echo123?call">
 Call Demo Skype
</a>
Note that actions where the destination user can be bothered, you will get a confirmation message to check if you really want to continue or not:

2. Starting a chat
To open the chat with an user, the action that you need to use is chat:
<a href="skype:echo123?chat">
 Start Chat
</a>
Note that in this case with the demo user echo123 chat isn't allowed, so be sure to use a real username.
3. Show user profile
To see the information of an user, the action that you need to use is userinfo:
<a href="skype:echo123?userinfo">
 See user profile
</a>
Accessing to the mentioned URI, will show a dialog similar to:

4. Select a file to share
You can send a file to the user by using the sendfile action:
<a href="skype:echo123?sendfile">
  Send File
</a>
Note that you can't share files with the echo123 demo username, so be sure to change it with a real one.
5. Add user to contacts
To add the given user to your contacts, the action that you need to use is add:
<a href="skype:echo123?add">
  Add to contacts
</a>
6. Send voice mail
To send a voice email to the contact, the action that you need to use is voicemail:
<a href="skype:echo123?voicemail">
  Send voicemail
</a>
Live example
The following fiddle allows you to test all of the mentioned actions online, so you only need to change the username and do the required action (and obviously Skype installed):
Happy coding ❤️!


