

Last winter, I dug up a folder of old screen recordings and family clips I'd been meaning to archive for years. I opened the first file, and my stomach sank — everything was soft, pixelated, and washed out. Footage I remembered looking crisp on the day I shot it now looked like it had been recorded through a foggy window.
I'd been putting off fixing this stack of files for months because I assumed "restoring" old video meant expensive software, a steep learning curve, or hiring someone else to do it. That assumption turned out to be completely wrong.
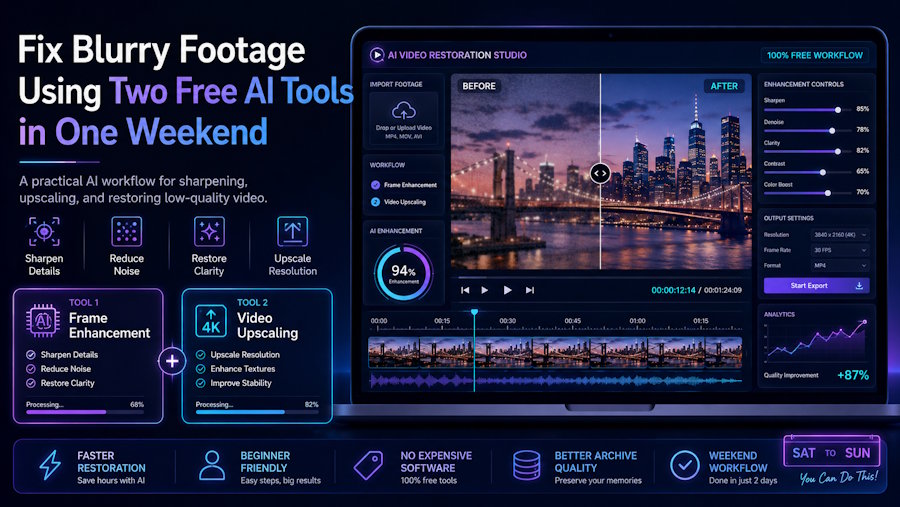
Over one weekend, I rebuilt my entire low-quality media library using two free-to-start web tools: Quality Enhancer for photos and single frames, and Video2X for full video files. Here's exactly how I used them, and how you can do the same thing today.
1. Start With the Problem, Not the Tool
Before opening anything, I sorted my files into two buckets: still images (thumbnails, old photos, screenshots) and moving video (clips, screen recordings). This mattered more than I expected — trying to run a video through a photo enhancer, or vice versa, wastes time and gives worse results.
Takeaway: Sort your files first. It tells you which tool to open.
2. Upscale Photos With QualityEnhancer
For the image bucket, I used QualityEnhancer, a browser-based AI upscaler that sharpens low-resolution images without the blotchy, over-smoothed look older upscaling tools produce.
Here's the step-by-step:
- Open QualityEnhancer in your browser — no install required.
- Upload the blurry image directly from your file browser.
- Let the AI model process it — this took under 30 seconds per photo in my test.
- Download the upscaled result and compare it side by side with the original.
The before-and-after was the part that actually stopped me cold: text that had been an unreadable smear in the original screenshot came back sharp enough to read clearly. That's a game-changer if, like me, you've got years of low-res reference images you assumed were lost causes.
3. Restore Video With Video2X
Photos were the easy half. Video is where most free tools fall apart, because upscaling a single frame is simple math — upscaling 30 frames a second while keeping motion smooth is a much harder problem.
This is where Video2X earned its place in my workflow. It's built specifically for video, using frame-by-frame AI super-resolution instead of a basic resize filter.
Here's what you need to know about the process:
- Upload your source clip directly through the browser.
- Choose your target resolution — I pushed 480p screen recordings up to 1080p.
- Let it process frame-by-frame; longer clips naturally take more time than a single photo.
- Preview the result before exporting the final file.
The difference on my old screen recordings was massive. Text and UI elements that used to be an indistinct blur were suddenly legible, and motion stayed smooth instead of turning choppy — which is the exact failure point I'd hit with cheaper upscaling apps in the past.
4. Build a Repeatable Workflow, Not a One-Time Fix
I'm here to tell you that the real win wasn't fixing one folder of old files — it was realizing I now had a repeatable two-step process:
- Anything static (photos, thumbnails, screenshots) goes through QualityEnhancer.
- Anything moving (clips, recordings, footage) goes through Video2X.
Now, whenever I find another batch of low-res files, I don't dread opening them. I know exactly where they go and roughly how long each one will take.
5. Know the Limits
Neither tool works magic on footage that's fundamentally corrupted or shot at extremely low bitrate — AI upscaling sharpens and reconstructs detail, it doesn't invent information that was never captured. Set expectations accordingly, and you won't be disappointed by the edge cases.
The Bottom Line
A weekend and two purpose-built AI tools turned three years of unusable, blurry media into footage I'm actually proud to keep and share.
If you've got a folder of old photos or video gathering digital dust because they look too rough to use, start with QualityEnhancer for your images and Video2X for your clips — you'll have a clear before-and-after within the hour.

