
A developer building a listing page for a rental or real estate client often receives the same assets: a dozen photos of bare rooms, shot on a phone, with uneven light. The layout code works, yet the page still looks unfinished, because visitors cannot judge scale or purpose from empty floors and blank walls.
Hiring a photographer with props for every unit is rarely realistic, and generic stock furniture overlays tend to break perspective. Teams now test AI interior design tools that start from the original photo and add furnishings digitally. That only helps if the source images are prepared well and the output is checked before it reaches production, so this guide walks through both steps.
Capture Source Photos That Survive Editing
Staging quality depends heavily on the input. Shoot from a corner at roughly chest height, keep the camera level, and include at least two walls plus the floor. Vertical lines should stay vertical; a tilted camera makes any added sofa look as though it slides downhill.
Use even daylight where possible and switch off mixed artificial lights that cast orange and blue patches. Close doors you do not want in frame, and remove cables, bins and cleaning supplies first. Retouching can hide clutter, but every extra fix gives the editing model one more chance to drift from reality.
Name the files by room and angle, such as unit4-living-corner-a.jpg, and keep untouched originals in a separate folder. You will need them later for comparison and for the disclosure step.
Define the Brief Before You Generate
Write a short brief for each room before opening any tool. It should list the room's purpose, the furniture categories that fit, the colour range and the lighting mood. A 14 square metre bedroom needs a bed, one nightstand and perhaps a chair; asking for a full living set will produce a crowded scene.
Decide on two or three style directions per listing, for instance warm neutral, light Scandinavian and darker contemporary. Fewer options make review easier, and they let you test which direction suits the property's finishes. Match the style to the existing floor and window frames, since those stay unchanged.
Stage the Room and Review the Output
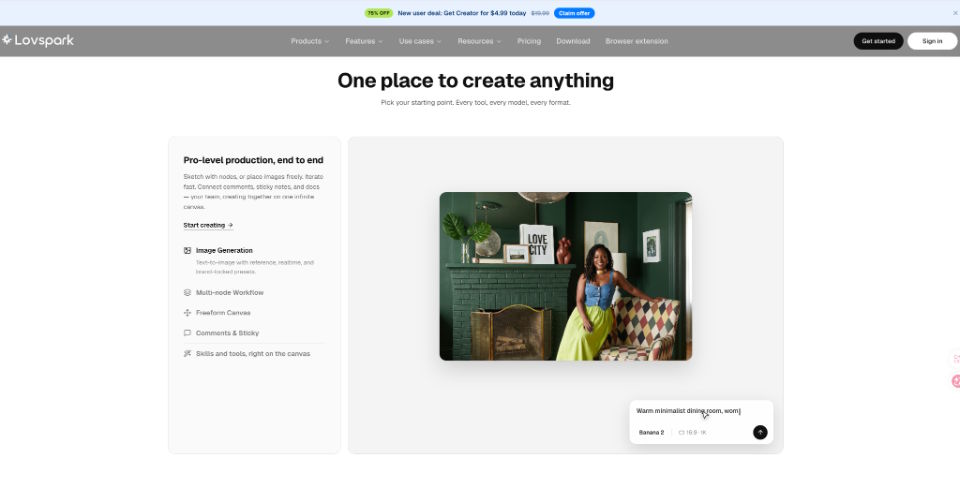
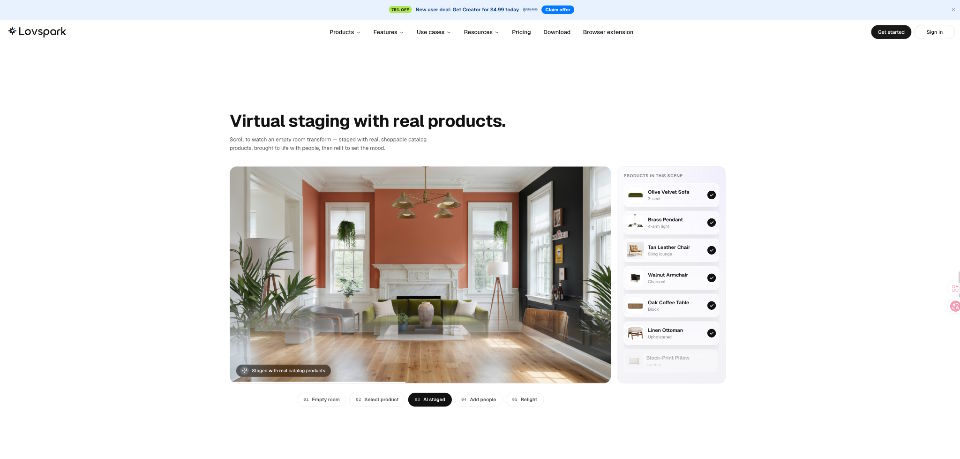
The staging pass is where AI room design fits into the workflow. According to the platform's current description, you upload the room photo, describe what should change or supply a style reference image, and the system furnishes the space while keeping the walls, openings and proportions in place. It also lets you replace individual pieces afterwards, so you can adjust a rug or sofa without regenerating the whole scene. Treat each output as a draft that you compare against your brief and the original photo.
Check Structure Fidelity
Overlay the staged image on the original, for example by toggling layers in an image editor, and confirm that windows, doors, radiators, sockets and ceiling height have not moved. Any change to fixed elements means the image misrepresents the property and should be rejected, however attractive it looks.
Check Furniture Scale
Compare furniture against reference points you can measure: a standard door is usually around 2 metres tall, and a double bed about 1.4 metres wide. If the sofa blocks a doorway or the bed fills most of a small room, regenerate with a smaller piece. Generated furniture is a visual suggestion, not a measured plan, so confirm real dimensions before anyone orders items.
Lighting deserves its own look. If the real window sits on the left, shadows under the new furniture should fall to the right, and the colour temperature should resemble the original photo. A mismatch is often the first thing visitors sense, even when they cannot explain why the room feels artificial.
Pick a Review Checklist
A simple pass or fail list keeps decisions consistent across units:
- Walls, windows and doors match the original photo.
- Furniture sits on the floor with plausible shadows.
- Walkways stay clear of at least roughly 80 cm.
- Lighting direction agrees with the real window.
- No distorted edges, duplicated legs or melted textures.
Run the checklist on every image, not just a sample, because errors rarely appear evenly. Keep a short log noting the unit, the style direction, the issue found and the action taken, which helps when a client asks why a version was dropped.
Plan for some rounds. Early results often contain small artefacts, and the ability to step back to an earlier version saves a fresh photo shoot.
Optimize and Label Images for the Web
Export at the size your layout needs rather than the largest file available. Paid plans on the platform list image exports up to 2K or 4K depending on tier, while trial output is watermarked and meant for personal use, so check the licence status of anything destined for a client site. Check the current terms before publishing.
Convert the final images to WebP or AVIF, with JPEG fallbacks, and generate several widths through srcset so mobile visitors do not download desktop-sized files. Set explicit width and height attributes to prevent layout shift, and lazy-load every gallery image below the fold.
Write alt text that describes what the image shows, such as "Living room with sofa and wall-mounted shelves, digitally staged". Add a visible caption or badge on the listing stating that furniture has been added digitally. Showing the original empty photo beside the staged one is a good habit, because buyers and tenants should not mistake added furniture for what they will find on arrival. Local advertising or real estate rules may require disclosure, so confirm them with the client.
Keep Staging Honest and Useful
Staged images work best as aids for imagination, not as proof of condition. Prepare clean source photos, write a short brief, reject any output that alters the structure, test furniture scale against known measurements, and ship optimized files with clear labelling. Anything that influences a purchase, such as room dimensions, should still come from measured plans and professional checks.
For the next project, run the process in one room first. Time each step, record which review checks failed, and refine your photo guidelines before repeating the workflow across a full building.