

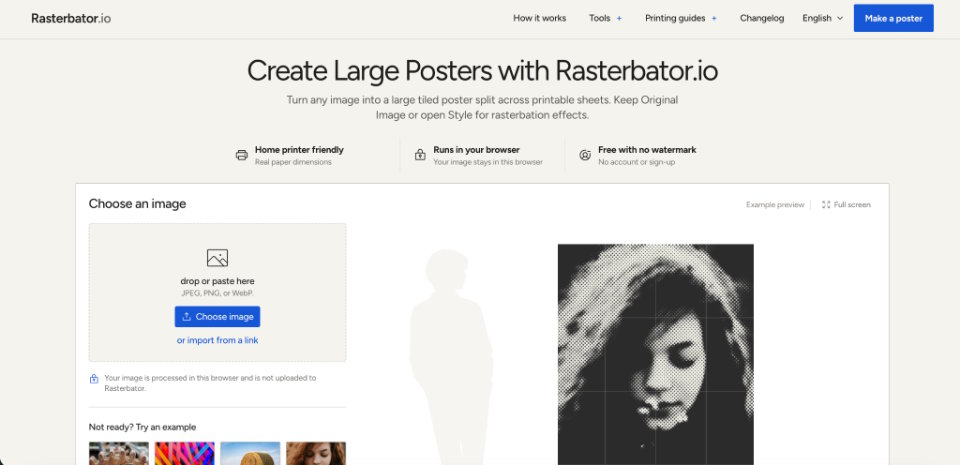
A tiled wall graphic usually dies in the print dialog, not in the image editor. The preview looks large, the PDF looks complete, and then Fit or Shrink quietly resizes every sheet. A rasterbator workflow is useful here because it treats paper size, finished dimensions, and assembly marks as one physical job instead of a screenshot you hope the driver will honor.
Makerspace instructors see the same failure on maps, club signs, and classroom diagrams. The first export looked fine until the assembled wall came up short of the taped outline. That miss wastes an afternoon of paper and ink, and it teaches the room the wrong lesson: that home printers cannot make large graphics. The printer can. The scale setting cannot be left on autopilot.
Poster Jobs Fail At The Printer Dialog
Splitting an image across sheets is the easy half. The hard half is keeping every tile at the same physical size so seams meet and the finished width matches the wall you measured. Word, Preview, and many printer drivers offer Fit, Shrink oversized pages, or Scale to page. Those options help a letter that is slightly too tall. They ruin a poster PDF that already contains real paper dimensions.
The failure is easy to miss on a single page. On a 12-sheet grid it repeats. A 3 percent shrink on every A4 tile becomes a gap you can see from the doorway. Instructors then spend the session arguing about tape instead of hanging the map.
Prepare Paper Size Before The First Export
Rasterbator keeps the work in the browser: choose a JPEG, PNG, or WebP, set the paper and layout, then download a tiled PDF plus a Print and assembly guide. Device files stay in that browser. There is no account and no watermark on the export. The useful discipline is to lock the physical choices before anyone hits print.
Paper size controls each sheet. Finished size controls the assembled result. Mixing those two is how a “big enough” poster becomes a stack of pages that no longer match the wall marks.
Lock Paper Size And Orientation First
Pick the sheet the printer actually holds. A4 and US Letter cover most club machines; switch to A3 only when that tray exists. If the printer is loaded with Letter, do not generate an A4 PDF and hope the driver will crop politely. Match the paper, then match the orientation shown in the summary.
Default page margin is 10 mm. That is a conservative buffer, not a claim that every printer needs 10 mm of hard margin. Many home inkjets specify about 3–5 mm. A tiled job still benefits from the extra space, because a clipped cut guide on every sheet is worse than a little unused paper.
Download The Tiled PDF And Guide
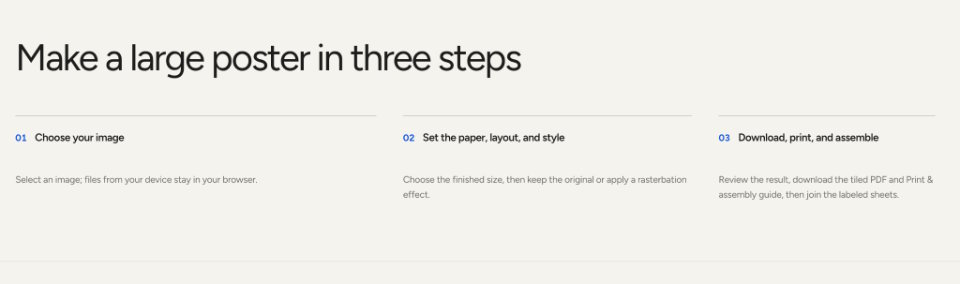
After the preview looks right, open Review and download and take both files: the poster PDF and the unified Print and assembly guide. The guide records paper, scale, margin, overlap, page order, and finished size. Leave the guide out and you are guessing later, when the room is already waiting. That is the point of the rasterbator export: the PDF is already sized for real paper, so the next job is measurement, not another layout pass.
Print one-sided. Duplex puts image on the back of a tile you will tape or glue. Keep Original Image when map labels or diagram text must stay readable. Style and halftone marks are a separate choice for graphic walls, not a requirement for a tiled print.
Measure The Assembly Guide Corner Ruler
The guide is the cheap test. Print it with the same viewer, printer, paper, orientation, and scale you plan to use for the poster. Measure the ruler in its upper-right corner in the unit you selected. If that ruler is short, the poster PDF will be short too. Fix paper or scaling before you print the stack. Do not “correct” a bad scale by changing the poster dimensions after the fact.
Print The Guide At Actual Size
In the print dialog, choose Actual Size or 100%. Turn off Fit, Shrink, Scale to fit, and borderless expansion unless you have already tested that path on this printer. If the PDF viewer and the printer driver both expose a scale control, leave each at 100%. Two 97 percent settings do not cancel; they compound.
Use the same physical paper shown in the poster summary. A Letter PDF sent to an A4 tray will shift marks even when the percentage looks honest.
Check One Labeled Sheet Before The Stack
After the ruler passes, print one poster page and look at its margin, overlap, cut guides, and page label. If marks are clipped, increase the margin and export again. Do not switch to Fit just to reveal clipped marks. Fit changes the finished poster size, which is the original problem.
Only then print the remaining pages. A discarded first sheet is cheap. A discarded 20-sheet run is the session.
Trim Sheets By The Printed Label Order
Columns use letters and rows use numbers: A1, B1, C1 across the top, then A2, B2, C2. Lay every sheet out before cutting. Work left to right across a row, then attach rows from top to bottom. People who trim as they print lose the map and start matching colors by eye.
The preview colors retained overlap strips yellow. Those strips are the alignment surface, not decoration.
| Print setting | What it does to a tiled PDF | Use it? |
|---|---|---|
| Actual Size / 100% | Keeps the planned paper and finished size | Yes, this is the default |
| Fit / Shrink / Scale to page | Resizes every tile; seams and wall marks drift | No, unless you want a different poster |
| Borderless expansion | Can enlarge and crop edges | Only after a measured test |
| Two-sided printing | Puts image on the back of a join surface | No for assembly |
Read the table as a door check, not as extra software. The generator already tiled the image. The driver should not tile it a second time.
Scale Errors That Waste A Full Reprint
If the finished poster is too small or too large, the PDF was probably printed with automatic scaling. Reprint at Actual Size and measure the guide ruler again. If parts of the image are missing, check whether a fill or crop was left on, and confirm every labeled page was printed. If lines do not meet, check row-major order and whether the viewer scaled individual pages.
When a seam jumps, the first question is page order, not “is the tool broken.” The second question is whether the incoming top or left margin was trimmed. For overlapping edges, trim that incoming margin and place the edge over the previous sheet’s repeated strip. For an edge-to-edge join, trim to the unique image boundaries and align those edges directly.
Exact finished-size jobs can end on a partial last row or column. Follow the outer trim marks rather than the paper edge, or the last tiles will hang past the planned wall box.
Stop After One Correct Test Sheet
Rasterbator is a browser-based poster maker, not a print shop. It gives you a labeled PDF and a guide you can measure. The instructor’s job is to refuse the run until the corner ruler and one labeled sheet agree with the wall marks.
This path fits maps, signs, and diagrams that must hit a taped outline on an ordinary printer. A single photographic sheet from a shop is the better buy when nobody has time to trim. The cheap win is one measured page before the stack, not another layout app.
Once the guide ruler matches the selected unit, print the rest one-sided and assemble by label. That is the whole protocol. The wall either matches the marks, or you stop and fix scale before anyone else wastes paper.

