

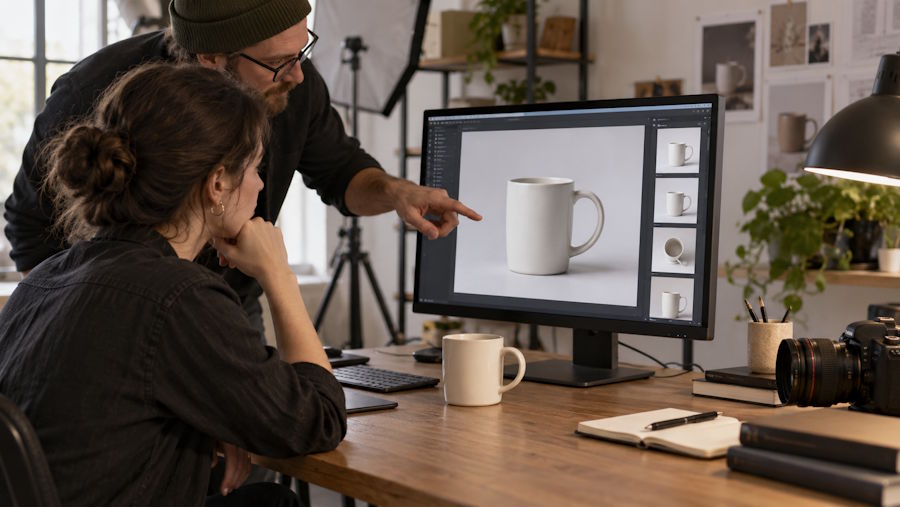
AI product images can look finished before they are accurate. A polished background may conceal a changed handle, a missing seam, or packaging that no longer matches what a customer receives. For small businesses, the useful question is therefore not simply how to generate an attractive picture. It is how to decide which pictures are ready to publish.
Nano Banana 2.1 provides a browser-based workspace for text-to-image creation and reference-image editing. Its visible controls include generation mode, aspect ratio, resolution, and a credit estimate. Those features support visual exploration; a separate review process must establish whether an output represents the real product faithfully.
Separate Product Truth from Creative Direction
Start by dividing the brief into facts and choices. Facts include the product's shape, material, color, components, and supplied packaging. Choices include the backdrop, surrounding props, framing, and mood. A customer may reasonably interpret any visible product detail as a promise about the item they will receive.
This distinction creates a practical boundary. A cream backdrop can become pale blue without changing the product. A ceramic mug cannot acquire a different handle just because the revised silhouette looks more elegant. If the image is a concept for a product that does not yet exist, keep that status explicit wherever the image will be used.
Reference images guide an edit, but they do not certify its accuracy. Treat preservation instructions as requests that need checking. Keep the original photograph available alongside every candidate so that reviewers compare against evidence rather than their memory of the product.
A Three-Gate Review for AI Product Images
The first gate is identity: is this still the correct product? Compare the outline, proportions, openings, buttons, closures, and number of components. A wrong feature is a rejection reason even when the overall image is convincing.
The second gate is representation: does the scene imply something unsupported? Props can suggest included accessories. Dramatic lighting can hide a finish or make a color appear different. A tabletop scene can imply a scale that the actual product does not have. Review the whole picture, not only the central object.
The third gate is delivery: does the approved image work in its final placement? A website crop may cut off a useful detail, and a small mobile preview may conceal a defect visible at full size. Approval should apply to a particular exported file and placement, not to a vaguely remembered version.
These gates form an editorial checklist, not a measured accuracy score. They are designed to make decisions repeatable without pretending that all defects have equal consequences.
A Product Image Review Workflow in Four Steps
A short production sequence helps the person generating images and the person approving them work from the same evidence.
Step 1: Prepare the Product Evidence
Choose a sharp original photograph with a clear view of the features that matter. Add a second view to the review folder if the main photograph hides a critical edge. Check that the team has permission to use the input material, and keep the approved source file unchanged.
Write a brief with three lines: what must stay, what may change, and where the result will appear. For a mug, that might mean preserving the cream glaze and rounded handle, changing only the setting, and delivering a landscape newsletter image. If the source is too blurry to verify the handle, obtain a better photograph before generating.
Step 2: Request One Useful Variation
Select image-to-image mode and describe the scene change plainly. For example: “Place the referenced mug on a pale blue tabletop with soft window light. Preserve its shape, glaze color, handle, and camera angle. Leave open space on the right.” Check the available format and displayed credit cost before submitting.
This is a sample instruction, not a guarantee of preservation. Begin with a manageable variation so that the reviewer can identify what changed. If the result misses the scene direction, revise that direction before adding more props or asking for another camera angle.
Step 3: Compare Before Choosing
Open the source and candidate at similar sizes. Inspect the handle attachment, rim, surface texture, and contact shadow. Then examine the image at the size customers will actually see. A version can pass the larger inspection and still fail because the composition becomes unreadable in a small card.
Record a decision using one of three labels: accept for this placement, revise a named issue, or reject because product identity changed. Avoid feedback such as “make it better.” A note like “the handle opening is narrower than the source” gives the next edit a specific target.
Step 4: Export and Preserve the Decision
Save the approved file with a version number and intended placement. Keep the source, generation instructions, selected settings, and review note together. If someone later changes the crop or adds a graphic overlay, check that derivative before publishing it.
Stop regenerating once the image meets the brief. If successive attempts keep altering the same product feature, use the original photograph or a controlled manual composite. A background improvement is not worth making the item harder to recognize accurately.
Worked Example: A Mug with Three Deliverables
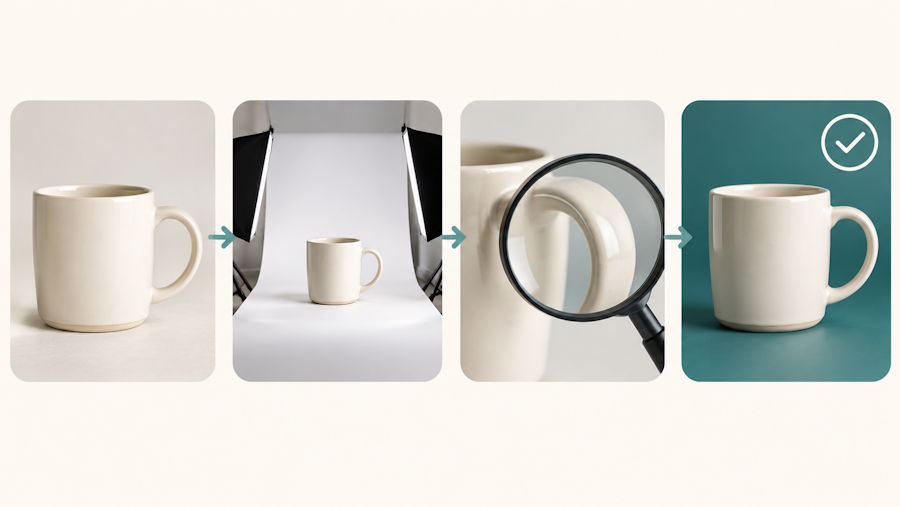
Consider a hypothetical independent ceramics shop preparing a catalog image, a newsletter banner, and a seasonal social post. This is a planning example, not a report of tested results. The shop starts with one approved photograph of a cream mug and a short list of visible features that must remain unchanged.
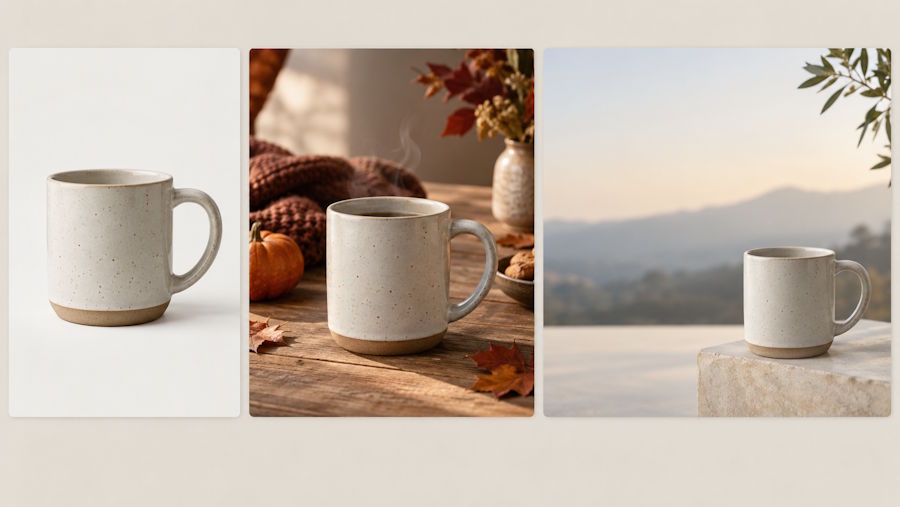
For the catalog, the team keeps the original product photograph because the purpose is identification. For the newsletter, it explores a wider setting with empty space for separately placed copy. For the social post, it tries a seasonal tabletop scene while avoiding props that could be mistaken for items included in the purchase.
Suppose one candidate has beautiful lighting but changes the handle. The identity gate rejects it. Another preserves the mug but surrounds it with two matching plates. The representation gate asks whether those plates create an inaccurate bundle impression. A third passes both checks but loses the handle in the mobile crop; the delivery gate sends that version back for reframing.
The point is not to maximize accepted generations. It is to keep the reason for acceptance understandable. Someone who joins the project later should be able to tell why the final image was selected.
Generated Scenes vs Original Photography and Manual Compositing
The table compares three production approaches across practical decisions, including where each method offers control and where review remains necessary.
| Criteria | Nano Banana 2.1 scene exploration | Original product photography | Manual compositing workflow |
|---|---|---|---|
| Starting Point | Photo and written scene brief | Physical product and camera | Approved cutout and background |
| Main Strength | Exploring several visual directions | Recording the actual item | Controlling specific image regions |
| Product Identity | Requires source comparison | Depends on faithful capture | Can preserve original product pixels |
| Best Use Case | Early campaign scene options | Core catalog product views | Detailed final scene assembly |
| Review Focus | Geometry and implied claims | Lighting and color fidelity | Edges and realistic lighting |
| Main Limitation | May reinterpret important details | Requires a suitable photo setup | Requires editing skill and time |
Three Places to Apply the Checklist
A small online shop can use it when creating seasonal scenes from existing photography. The value is a wider range of presentation ideas; the caution is that the product itself still needs direct comparison with the source.
A freelance designer can attach the three gates to a client review. This separates “I prefer the warmer background” from “the packaging is wrong.” Preference feedback can be negotiated, while a factual mismatch needs correction before approval.
A marketing team can use it when adapting an approved campaign image for newsletters and landing pages. Each crop gets a placement check, and text is added in a layout tool when exact typography matters. Approval of the master image does not automatically approve every derivative.
Know When to Use Another Method
Highly reflective objects, fine textures, precise labels, and unusual silhouettes can make verification more demanding. Do not assume that a larger output resolution resolves a geometry problem. More pixels may simply show the wrong detail more clearly.
Likewise, a platform's available settings do not establish a result's suitability for every commercial use. Check the relevant plan terms and permissions for uploaded material. Keep sensitive or unreleased product information out of an online workflow unless its handling fits the business's requirements.
This process is most useful for teams exploring product scenes while retaining an accountable reviewer. It does not replace a photographer, retoucher, or product specialist when exact representation is essential. The deliverable is an approved image with a clear reason for approval—not merely an attractive generation.
For developers maintaining a storefront, image approval should be tied to the asset used by the page. Keep a versioned filename in the content record, preview the responsive crop, and confirm that the mobile layout uses the approved variant. Replacing a file at an unchanged URL can make a previous review misleading when caches or content records still refer to an older image. Record the export dimensions and intended component alongside the approval note.

