
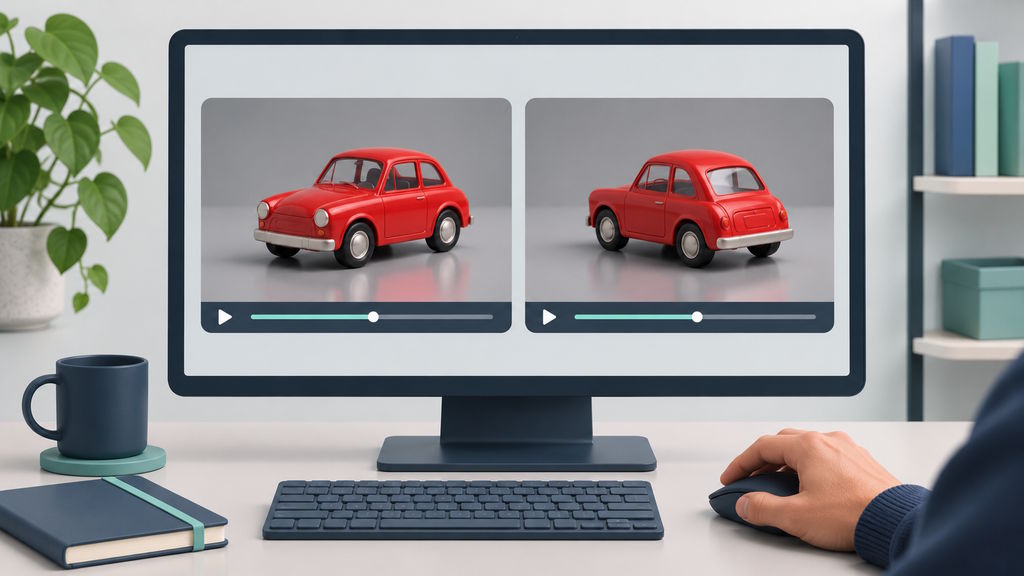
An AI video demo can look impressive and still tell you little about whether the tool will suit your project. A cinematic landscape is not much help if you need a clear product close-up. A convincing talking character answers a different question from whether a tool can animate your own images without changing them.
For developers, designers and small content teams, a useful starting point is the video you actually need to make. Try that task, review the result and see how much work remains before you could use it. You can learn a lot from a few relevant examples without building a formal testing system.
Start With One Video You Need
Choose a small, specific job: a short product preview for a website, a vertical clip for a social post, or an opening scene for a tutorial. Decide what the viewer needs to see and where the video will appear.
A product preview might need the object to stay recognizable while the camera moves around it. A tutorial opening might only need a simple background with room for a title. These jobs call for different things, even if both clips are the same length.
Write a short brief before opening the generator. Include the subject, the action and the intended format. If you have a reference image, use one you would realistically use in the finished project. Starting with your own material makes the result easier to judge than copying an elaborate demo prompt.
Check the Options You Can Actually Use
Before spending credits, look at the controls available in the tool you plan to use. Check the clip length, screen shape, download resolution and whether it accepts the kind of input you have. A feature mentioned in a model announcement may not be available in every hosted version.
For example, the MiniMax H3 video generator page describes text, keyframe and reference-based workflows. If you already have a product photo, those input options are more relevant to your first attempt than a long list of model specifications. Confirm the available settings and credit cost in the generator before submitting it.
Treat published specifications as a way to narrow your choices. They can tell you whether a tool offers the format you need, but they cannot show whether it will preserve the details of your particular product or follow your camera direction. That is what your own trial is for.
Give Each Tool the Same Simple Task
If you are comparing two tools, begin with the same prompt and reference image. Keep the duration and aspect ratio similar where possible. Otherwise, you may end up comparing a short, straightforward shot with a longer and more demanding one.
A useful starting prompt could be: “A blue ceramic mug on a wooden desk beside a window. The camera moves slowly closer. Soft daylight, one continuous shot.” It gives you a clear subject and one movement to inspect without asking the tool to solve several scenes at once.
You can then adjust the prompt to match your real project. For a product shot, use your product image and describe a modest camera move. For a background clip, describe the setting and leave space where text will sit.
Wizstar also lets you try Seedance 2.5 online, which provides another browser-based option for trying the same brief. Download the clips and compare them at a similar size. This is a practical way to explore the tools, rather than evidence that either model is better at every task.
If one result is unusually good or clearly misses the brief, try again before deciding. A couple of attempts can reveal whether the tool is easy to direct, though they will not establish how reliably it handles every situation.
Watch the Whole Clip, Not Just the Opening
The first frame may look right while details change later. Play the video through at normal speed, then pause where something looks odd. For a product image, pay attention to its shape, color, label and any small parts that should remain unchanged.
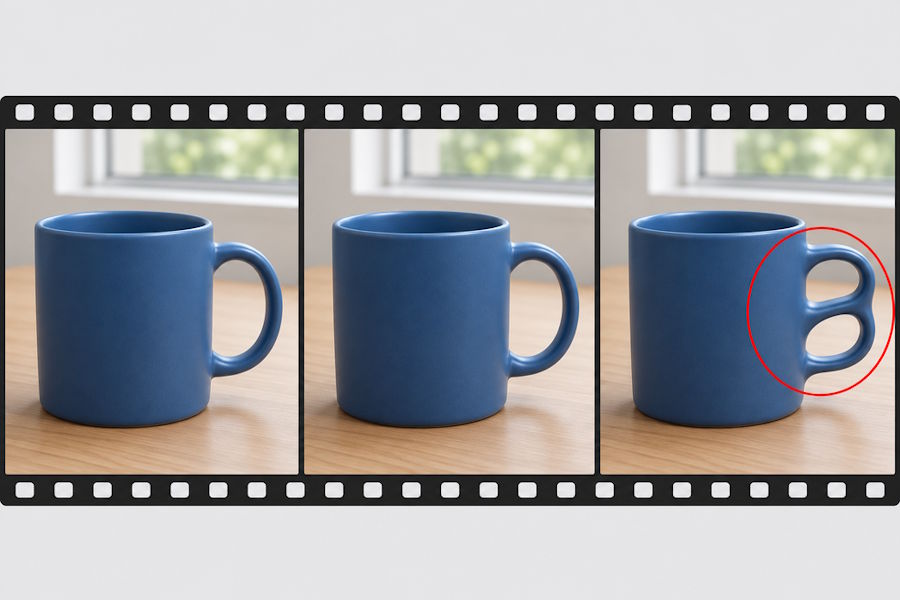
A mug handle that changes shape halfway through a shot is an example of the kind of inconsistency to look for. The same check applies to a bag strap, a bottle cap or the edge of a device. A background clip may tolerate a small visual oddity that would make a close-up product video unusable.
Movement deserves a separate look. Did the camera move as requested? Did the subject remain in view? Does the action feel smooth enough for the intended use? If your clip includes speech or sound, listen as well as watch. Check whether the audio fits the action and whether spoken words are clear.
You do not need to assign numerical scores. A short note such as “product stays accurate, but the camera moves too quickly” is enough to guide your next attempt. It also gives you a specific reason to prefer one result over another.
Consider the Work Left After Generation
A good-looking clip is only part of the job. You may still need to trim it, add captions, replace the sound or combine it with other footage. Open a promising result in your usual editor and see how easily it fits into the video you are making.
Check the crop in its intended setting. A product that looks well placed in a wide preview may sit too close to the edge in a vertical layout. Leave room for titles or captions if the finished video needs them.
Also consider the attempts it took to get there. A low price for one generation is less useful if you need repeated retries and extensive editing. For a small project, simply note what you spent and how much cleanup the usable clip needed. That is more helpful than choosing on the advertised price alone.
Choose for the Current Project
You may prefer one tool for product shots and another for atmospheric scenes. That does not mean you need a complicated setup. Choose the option that gives you a usable result for the work in front of you, with settings and costs you understand.
If you later want to add generation directly to an app, check API availability separately. Being able to create a clip in a browser does not confirm that the same model and controls are available through an API. That is a follow-up decision once the output looks suitable.
For now, keep the process small: one real brief, comparable attempts and a careful look at the finished clips. The useful question is whether you can use the result and how much effort it takes to get there.