
A one-image job sounds almost too easy: upload a picture, generate a model, and move on. In practice, the useful work happens around that button. Someone has to choose the reference, decide which details matter, inspect what the image could not show, and determine whether the result fits its intended setting.
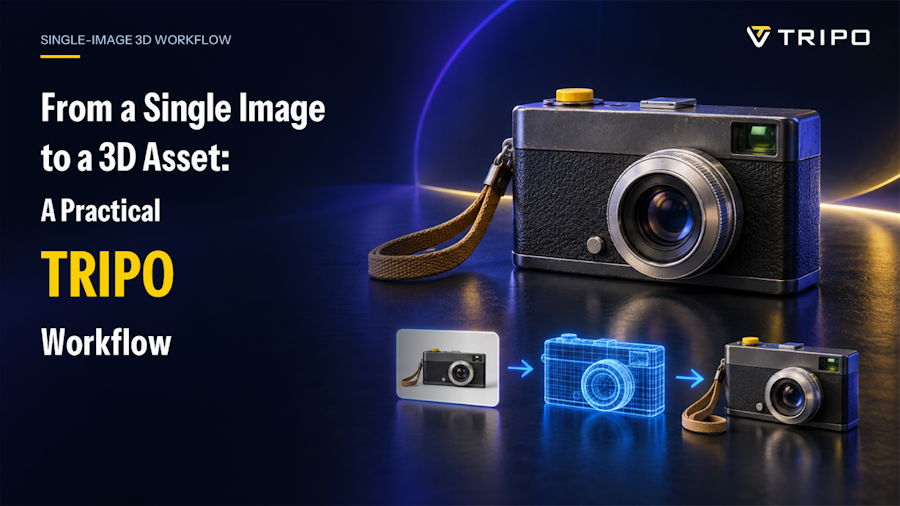
Consider a small museum team preparing an interactive web feature about consumer photography. The team has one licensed three-quarter photograph of an unbranded 1970s-style compact camera. Its charcoal body, silver lens ring, yellow shutter button, green viewfinder, and tan wrist strap are all clear. The back panel and underside are not. The goal is a convincing rotatable prop for a short online story, not a measured archival reconstruction.
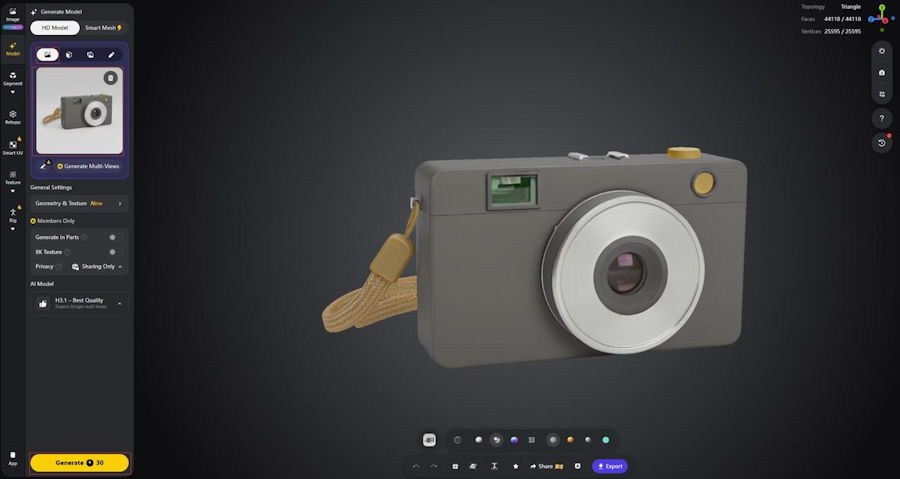
That narrow goal makes the workflow manageable. It also gives the team a practical reason to test Tripo's Image to 3D Model route without treating one generated result as finished work.
Define the asset's acceptance criteria before opening the tool
Write a five-line acceptance note before preparing the image. For this camera, the front silhouette should remain rectangular, the lens must sit slightly right of center, the viewfinder must stay visible, the yellow button should not merge into the top plate, and the strap needs to read as a separate loop. The unseen back can remain generic as long as it does not introduce a distracting shape.
This note prevents a common review problem: one person studies surface color while another expects exact construction. It also gives a distributed team something concrete to annotate. The editor can care about the story angle, the visual designer can check the recognisable details, and the 3D artist can flag forms that collapse when the model rotates.
Prepare a clean crop with only the camera in frame. Remove captions, hands, display stands, and nearby objects. Keep the camera large enough to read, but leave a small border around the strap. Do not paint an invented back panel into the reference just to make it feel complete. That would hide the uncertainty rather than solve it.
Generate a first pass, then rotate slowly
Tripo’s Model Generation feature supports text, single-image, and multi-view inputs. Because results can vary, retrying may produce a different result.
For this case, start with the single prepared image and generate one model. Resist the urge to judge it from the same three-quarter angle as the photo. Rotate to the front, both sides, back, top, and underside. Pause at each view and compare it with the acceptance note.
The first pass is useful even when it misses something. If the lens ring is round, the viewfinder remains separate, and the body proportions hold together, the basic asset may already suit the web story. A fused strap or a strange back panel matters more because viewers will notice it as soon as they turn the object.
Make the second attempt answer one question
Do not change every variable at once. Suppose the body and lens look good, but the strap attaches as a thick block. The next attempt should address that single issue. A cleaner crop around the strap, or a revised source photo in which the loop does not overlap the camera body, makes the comparison easier to read.
If the unseen rear becomes important to the story, prepare additional consistent views rather than guessing in prose. Tripo's Multi-view to 3D feature uses 2–4 reference images of the same object to provide additional structural and depth information.
Capture the second result at the same angle and scale as the first. The point is not to create a dramatic before-and-after. It is to see whether the specific defect improved without losing the camera's identity. Keep the better version and record why the team chose it.
Decide what “usable” means for this asset
The museum example has a modest finish line. The camera needs to support rotation, hold its recognisable front details, and avoid obvious surprises on hidden surfaces. An ecommerce team would set a different bar because labels, ports, and exact proportions could affect a purchase decision. A game team might care more about how the prop fits its scene and technical budget. The same generated camera could pass one review and fail another.
Generated models can be previewed, edited, or exported. Use the available preview modes to ask specific questions: Does the silhouette stay clean without relying on surface appearance? Does material detail obscure a misshapen part? Is the object still recognisable from the back? These checks do not imply that every output is ready for every destination.
An ai 3d model generator free to try can shorten the distance between a reference and a reviewable object. It does not replace the brief, the rights check, or the final human decision. For a single-image project, the practical workflow is therefore simple but disciplined: define the visible identity, test one reference, inspect the whole object, and spend the next attempt on the defect that matters most.