

Recently, i moved from an Intel Core i7 7700k to an AMD Ryzen 9 3950x which forced me to change my motherboard as well. I decided (had to) buy the Aorus X570 Elite, because there were no other options on the market in my country, at least for a reasonable price.
As usual, on any piece by piece configuration of your PC, the virtualization of your system will be disabled by default both on AMD and Intel. You can follow the next instructions to enable the virtualization.
Enable virtualization for your AMD processor on the Aorus BIOS
Boot your computer and press DEL or F9 to start the Bios. Once it starts, switch to the advanced mode of the Bios pressing F2. In the advanced mode, go to the Tweaker tab and search for the Advanced CPU Settings option:

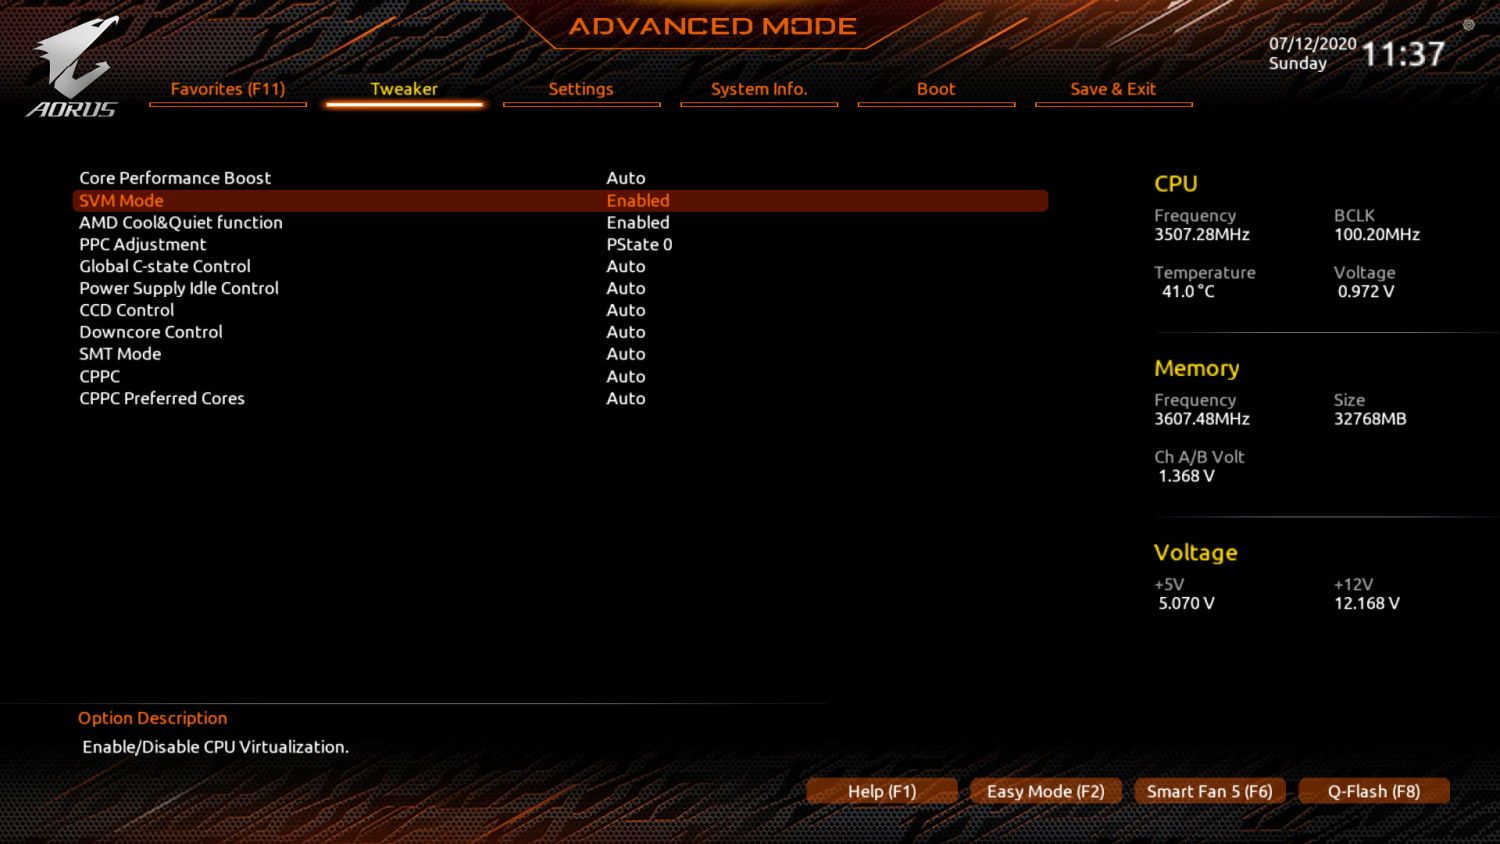
After selecting this option, you should now see new options. In this list, select the SVM Mode option and change its value to Enabled. AMD-V is the renamed trademark for Secure Virtual Machine Mode (SVM):

The selected option basically enabled the CPU virtualization on your system. The option should look like this now:
Exit the bios and save changes, start your computer and you should now be able to use the virtualization.
Happy coding ❤️!

