

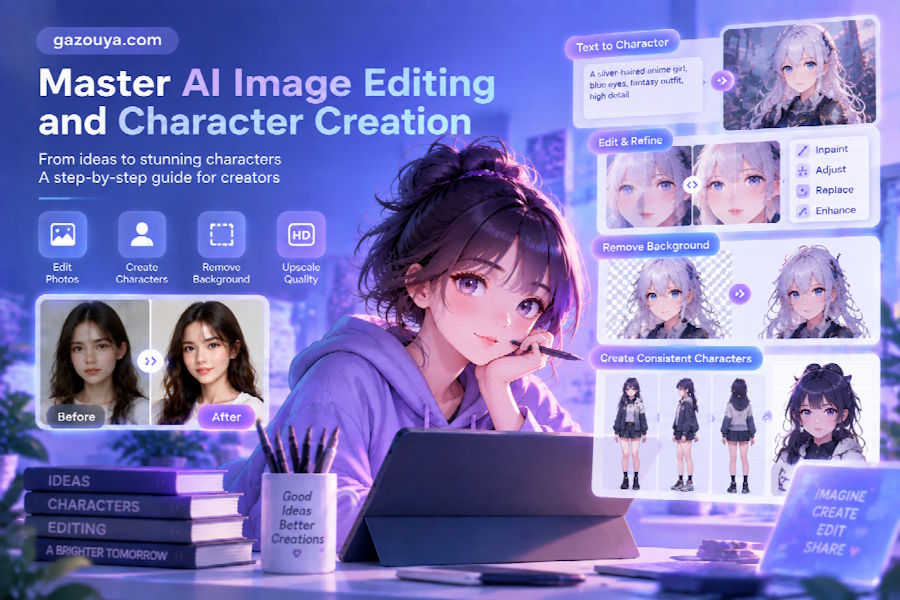
Creating custom characters used to require expensive software and professional skills. You had to spend hours learning complex tools just to change a background or fix a small detail. Now, you can use artificial intelligence to handle the heavy lifting. This guide will show you how to use these tools to build unique characters and polish your images like a pro.
You can now use tools for AI画像編集 to clean up your photos without manual masking. These systems look at the pixels in your image and understand what is a person and what is a tree. This makes it easy to swap out elements or improve the lighting in seconds. It saves you from the tedious work that used to take up all your creative time.
If you are making a visual novel or a game, a 立ち絵メーカー helps you generate consistent character sprites quickly. You can define the hair color, outfit, and pose of your character through simple text prompts. This allows you to create a full cast of characters that look like they belong in the same world. You don't need to be a master illustrator to get high-quality results.
Step 1: Define Your Character Concept
The first step in any creative project is having a clear plan. You should decide on the personality and role of your character before you touch any software. Think about their age, their style, and the setting they live in. A knight in a fantasy world will need different visual cues than a hacker in a futuristic city.
Write down a list of physical traits. Focus on things like hair style, eye color, and specific clothing items. You should also think about the mood of the character. Are they happy, brooding, or mysterious? These details will help you write better prompts when you start using AI generators. Having a solid concept prevents you from wasting time on random designs that don't fit your needs.
Step 2: Generate the Base Image
Once you have your concept, it is time to create the base image. You will use a prompt to tell the AI what you want to see. Start with the most important features first. For example, you might start with a young woman with blue hair wearing a red jacket. The AI will give you several options based on this description.
Don't worry if the first result isn't perfect. You can refine your prompt by adding more descriptive words. Mention the art style, such as anime, realistic, or oil painting. You can also specify the lighting, like soft morning sun or harsh neon lights. This stage is all about experimentation. Keep tweaking the words until the character on the screen matches the one in your head.
Step 3: Refine and Edit the Details
No AI generation is perfect on the first try. You might see a strange shadow or a small mistake in the clothing. This is where editing tools become essential. You can use specialized software to fix these small errors without starting over from scratch. This process is often called inpainting.
You simply brush over the area you want to change and tell the AI what should be there instead. If the character has an extra finger or a weird button on their shirt, you can fix it in seconds. You can also use this step to change the colors of specific items. If you decide the red jacket should actually be green, you can make that change without affecting the rest of the image.
Step 4: Background Removal and Composition
Most character creators generate a background along with the person. If you want to use your character in a game or a website, you usually need a transparent background. Modern AI tools can identify the subject and remove the background with one click. This leaves you with a clean character sprite that you can place anywhere.
After removing the background, you can place your character into new scenes. You might put your fantasy knight in front of a castle or a dark forest. This is the stage where you build the world around your character. Make sure the lighting on the character matches the new background so they look like they truly belong there.
Step 5: Final Polishing and Upscaling
The final step is to make sure your image looks sharp and professional. AI generators sometimes produce images at a low resolution. You can use an upscaler to increase the size of the image without losing detail. This makes the lines smoother and the colors more vibrant.
You should also do a final check for any visual noise. Sometimes AI leaves behind small artifacts or blurry spots. Use a sharpening tool to bring out the details in the eyes and hair. Once you are happy with the look, save your image in a high-quality format like PNG. Now your character is ready for your project.
Tips and Best Practices
To get the best results, you need to understand how to talk to the AI. Use simple and direct language. Instead of saying a character who looks like they are very sad, just say a sad expression. The AI responds better to nouns and adjectives than to complex sentences.
Consistency is also important if you are making multiple images of the same character. Use the same seed number if your tool allows it. This helps the AI remember the specific face and body type you created. You can also save your favorite prompts in a text file so you can reuse the parts that worked well.
Refer to this table for a quick look at common AI editing features:
| Feature | Primary Use | Benefit |
|---|---|---|
| Inpainting | Fixing small errors | Saves time on redraws |
| Outpainting | Expanding the canvas | Adds more background |
| Upscaling | Increasing resolution | Makes images print-ready |
| Background Removal | Isolating subjects | Great for game assets |
| Style Transfer | Changing the art style | Matches different projects |
Common Mistakes to Avoid
One big mistake is over-complicating your prompts. If you put too many instructions into one sentence, the AI might get confused. It might ignore some of your requests or mix them together in a strange way. It is better to start simple and add more detail slowly.
Another mistake is ignoring the hands and eyes. AI often struggles with these parts of the body. Always zoom in and check these areas carefully. If the hands look wrong, use an editing tool to fix them specifically. Don't settle for a character with six fingers just because the rest of the image looks good.
Finally, don't forget about copyright and ethics. Make sure you are using tools that are allowed for your specific type of project. Some AI models have different rules for commercial use. Always check the terms of service before you use an AI-generated image in a product you plan to sell.
Summary of the Workflow
Using AI for character creation is a powerful way to bring your ideas to life. You start with a strong concept and use prompts to generate a base. Then you use editing tools to fix mistakes and remove backgrounds. Finally, you upscale the image to ensure it looks great at any size.
This technology is a tool to help your creativity, not a replacement for it. You still provide the vision and the final decisions. By mastering these steps, you can produce professional-level art in a fraction of the time it used to take. Whether you are building a game or just having fun, AI makes the process of creation accessible to everyone.
Conclusion
The world of image editing is changing fast. You no longer need to be a professional artist to create beautiful characters and polished photos. By following this tutorial, you can take control of AI tools to build exactly what you imagine. Start with a simple idea and keep refining it until you have a masterpiece.
The more you practice with these tools, the better your results will become. You'll learn how to phrase your prompts and which editing features work best for your style. Don't be afraid to experiment and try new things. The goal is to have fun and create something you are proud to share with others. AI is here to help you turn your imagination into reality.

