

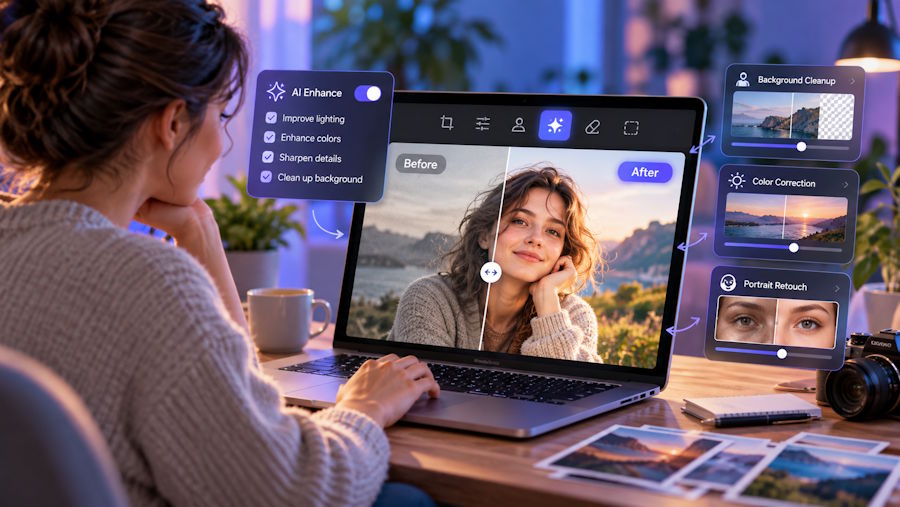
A good photo can still have one problem: a distracting object, a dull background, or lighting that hides the subject. You may know exactly what you want to change without knowing how to use layers, masks, and adjustment panels.
An AI picture editor offers a simpler starting point. You upload an existing image, describe the change in everyday language, and review the result. The skill that matters most is learning to give clear instructions. This guide shows you how to do that for product photos, social posts, portraits, and older family pictures.
Why Use an AI Picture Editor?
Traditional editing gives you precise control, but even a small change can involve several tools. Removing a person from a busy background, for example, means selecting the person and rebuilding whatever was behind them. An AI picture editor lets you describe the intended result instead: “Remove the person near the doorway and keep the room unchanged.”
That does not mean every first result will be perfect. It means you can begin with the image you have and refine a specific request. For many everyday projects, that is a more approachable workflow than learning a full editing suite before making your first change.
The best results come from treating AI editing as a conversation with a visual goal. Tell the editor what to change, what to preserve, and what the finished image is for.
How to Edit a Picture in Five Steps
- Start with a suitable source image
Choose a picture where the main subject is reasonably clear. AI can help with blur, scratches, or poor lighting, but a clearer source gives it more information about faces, edges, textures, and product details.
For a browser-based workflow, open an ai picture editor and upload the image you want to change. AI Picture Editor accepts JPG, PNG, and WEBP uploads. Its free trial credits let you try an edit without signing up; check the displayed credit cost before generating each result.
- Describe one clear change
Begin with the main request. Suppose you have a photo of a ceramic mug on a cluttered desk and need a cleaner product image. “Make this better” leaves too much open to interpretation. A more useful instruction is:
Replace the cluttered desk background with a softly lit kitchen counter. Keep the mug’s shape, color, handle, and printed label unchanged.
The second sentence matters as much as the first. It tells the AI which details define the product and should survive the edit. For a portrait, those details might be the person’s facial features and expression. For a travel photo, they might be the people in the foreground and the original camera angle.
- Generate and inspect the result
Run the edit, then compare the new image with the original. Look beyond the most obvious improvement. Has the mug label changed? Are its edges clean? Do the shadows make sense in the new setting?
Small errors are easier to catch when you know what to inspect. If the image will appear in a product listing, check colors and branding closely. If it is a portrait, pay attention to facial identity and natural skin texture. A pleasing image is only useful if its important details are still accurate.
- Refine one issue at a time
If the kitchen looks right but the mug appears different, do not rewrite the entire prompt. Address that issue directly: “Keep the new kitchen background, but restore the mug’s original handle and label exactly as shown in the source image.”
This approach also works for object removal. Name the unwanted object and its location, then ask the editor to reconstruct the area naturally while preserving nearby people, text, lighting, and framing. Each new generation uses credits, so focused revisions help you decide whether another attempt is worthwhile.
- Download the version you have checked
Before saving, view the result at a size close to its intended use. A thumbnail can hide rough edges or altered text. AI Picture Editor offers downloads without a watermark, while the available download format depends on the selected model and result.
Keep your original file as well. It gives you a reliable reference if you later want a different background, a lighter touch, or a new crop for another platform.
Four Everyday Uses for an AI Picture Editor
Product listings
A consistent background helps shoppers focus on the item. Try: “Place this candle against a clean, warm white background with a soft natural shadow; preserve the jar shape, label, and wax color.” Review the label before publishing. AI editing can improve presentation, but a listing still needs to represent the product accurately.
Social posts and thumbnails
A busy scene can make a subject hard to notice at small sizes. You might ask the editor to remove a trash bin from a street photo or brighten a person standing in shade. State which elements must remain so the edit supports the original moment instead of replacing it.
Portraits and profile photos
For a profile image, subtle instructions usually work better than a broad request to “make me look professional.” Try: “Balance the lighting, reduce the shadow across the face, and keep the person’s expression and natural skin texture.” Check the eyes, hairline, and facial features after each version.
Family photo restoration
An older photograph may have fading, scratches, or stains. Ask for repairs while identifying what must stay faithful to the original: “Repair the scratches and improve contrast, but preserve each person’s face, clothing, pose, and the original composition.” Restoration involves interpretation, so keep the unedited scan alongside the result.
Prompt Tips That Improve Results
- Name the subject. “The blue mug in the center” is clearer than “the object.” If there are several similar items, describe their positions.
- Separate changes from constraints. First say what you want changed. Then say what must stay the same. This makes a prompt easier to revise when only one part of the result needs work.
- Describe the intended use. A clean catalog image, a warm social post, and a faithful family restoration call for different choices. Give the AI that context without burying the main instruction.
- Check small details. Printed words, fingers, glasses, fine hair, and repeated patterns deserve a closer look. If one matters to the image, mention it explicitly in your prompt.
- Keep revisions focused. Changing the background, lighting, style, and facial expression in one attempt makes it harder to judge what worked. Start with the most important edit and build from there.
Common Mistakes to Avoid
A vague prompt is the most common obstacle. “Fix this photo” gives the AI little direction; “Remove the person behind the couple and rebuild the wall naturally” defines a visible task.
Another mistake is assuming that a polished result is automatically a faithful one. AI may make a product label look cleaner while changing its lettering, or smooth a portrait while altering a distinctive feature. Compare the result with your source whenever accuracy matters.
Finally, avoid judging an edit only on a small preview. Inspect the downloaded image before using it in a listing, post, or keepsake. A quick review is part of the editing process, not an extra step.
Make the Picture Serve Your Purpose
An AI picture editor is most useful when you bring a specific goal to it. Upload a suitable image, describe one change, protect the details that matter, and inspect the output before you use it. With that simple routine, you can turn an imperfect photo into a more useful one while staying in control of the final choice.

