

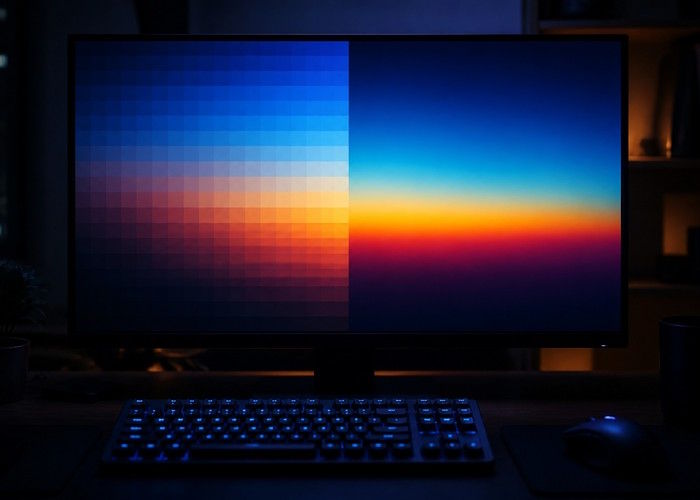
A client sends over a logo that is 300 pixels wide. A documentation screenshot needs to fill a retina display at twice its captured size. An old scan has to go into a printed handbook. You can stretch all of these in any editor — and all of them will come out soft, blocky or both, because scaling up adds pixels the file never contained.
The fix is to add pixels intelligently, and you can do that with Wondershare Repairit AI Image Upscaler, which reconstructs real detail as it enlarges, instead of just stretching what is there. Its convenient online version covers quick fixes in your browser with no installation. This guide explains why enlargement usually fails and how you upscale properly in three steps.
Part 1. Why Small Images Fall Apart When Enlarged
Interpolation vs AI Reconstruction
Each traditional scaling method fails in its own characteristic way:
- Pixel Replication: nearest-neighbor scaling copies each pixel into a block, which is why old logos turn into staircases.
- Blurring Interpolation: bilinear and bicubic methods average neighboring pixels — edges go soft and text becomes unreadable.
- Compression Artifacts: JPEG noise and ringing get magnified along with the content, so enlarged screenshots look dirtier, not bigger.
- AI Reconstruction: a trained model predicts the detail that should exist — straightening edges, redrawing text and cleaning surfaces as it scales.
What Is an AI Image Upscaler?
Wondershare Repairit is an advanced, AI-powered data repair tool that fixes corrupted videos, photos and files, and rebuilds the quality of damaged media. Its AI Image Upscaler is the feature for enlargement jobs: choose a 2X to 8X factor, and the model synthesizes plausible fine structure — edge contrast, texture, straight lines — while suppressing the noise and artifacts that scaling would normally exaggerate.
Key Features
- Up to 8X Enlargement: turn a thumbnail into a poster-usable asset in one pass.
- Detail Reconstruction: edges, textures and text regain definition instead of going mushy.
- Artifact Suppression: compression noise is cleaned during the upscale rather than magnified.
- Batch Processing: convert an entire asset folder to high resolution in one run.
- Cross-Platform Availability: Windows and Mac desktop tools, plus an online edition for quick browser fixes.
Part 2. How to Upscale an Image in Three Steps
You can take a small file to high resolution in three steps.
Step 1. Open AI Image Upscaler and Upload Your Image
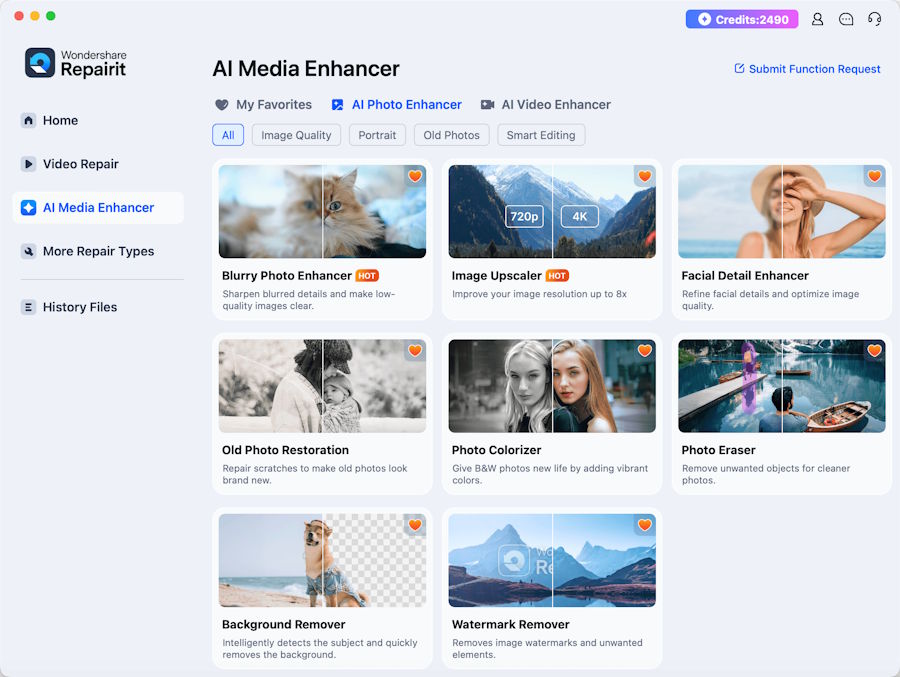
Launch Wondershare Repairit on your Windows or Mac, click the “AI Image Upscaler” section, then press “+ Add” or drag the file in. On Windows, the launch screen looks like this:
Step 2. Choose the Upscale Factor and Run
Select the enlargement you need — 2X for display doubling, 4X to 8X for print — and start the enhancement. The AI rebuilds detail as it scales, with no settings for you to tune.

Step 3. Preview and Download in High Resolution
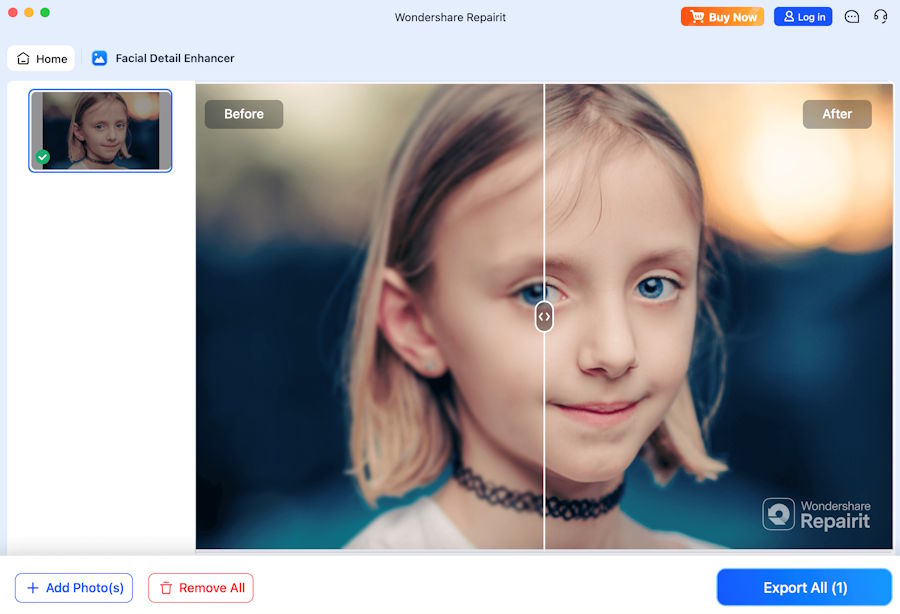
Inspect edges and text in the before-and-after preview, then download the high-resolution file.
Key Technical Advantages
For developer and designer workflows, the practical wins are:
- Text That Stays Readable: UI screenshots and diagrams keep legible labels after enlargement — the failure mode of every interpolator.
- Clean Edges for Logos and Icons: straight lines come out straight, without the staircase effect.
- Batch Asset Pipelines: a folder of legacy images becomes one job rather than a week of drag-and-drop.
- Online Convenience: for a one-off asset between builds, open Repairit Online in your browser — upload, upscale, download — without installing anything.
Part 3. Where Upscaling Earns Its Place
The highest-value uses you are likely to have queued already:
- Legacy Logo Revival: a small client-supplied mark becomes print-ready without a redesign.
- Documentation and Screenshots: crisp UI images for retina displays, handbooks and slide decks.
- Archive and Scan Rehabilitation: old scans gain the resolution modern layouts demand.
- Mind the Source Material: upscaling recovers structure but works best on images with usable detail — for genuinely degraded photographs, run them through the AI photo enhancer first, then enlarge the improved version.
Conclusion
Enlargement is no longer synonymous with quality loss. With the AI Image Upscaler in Wondershare Repairit you choose a factor, let the model rebuild the detail, and download a file that holds up on retina screens and in print — three steps, with the online version ready in your browser. The next time someone hands you a 300-pixel logo, you can say yes.

