

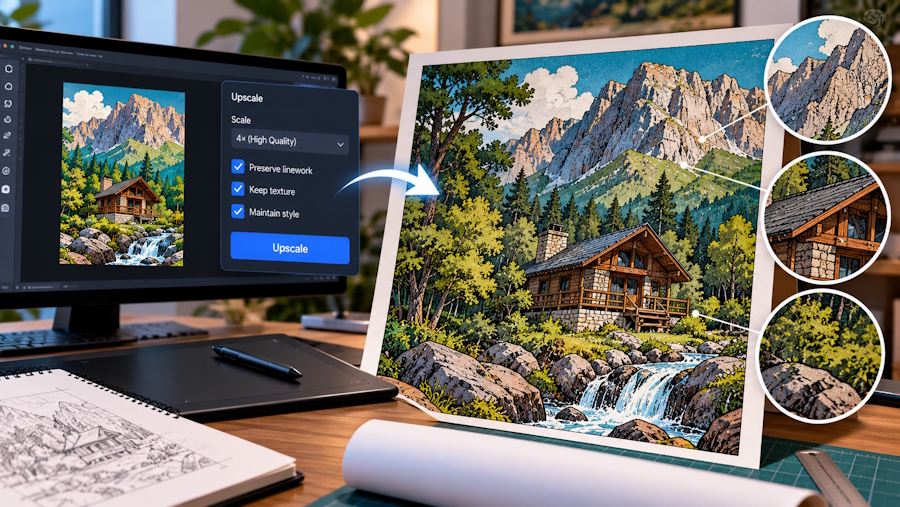
Digital artwork that appears clean on a phone or portfolio page can reveal soft contours, compression blocks, and uneven texture when enlarged for a poster, canvas, or exhibition print. Increasing pixel dimensions is easy. Deciding which details should be strengthened—and which characteristics belong to the original—is the real production challenge.
A print workflow should separate enlargement from creative editing. Upscaling prepares the existing artwork for a larger output. Editing changes the artwork itself. Keeping those stages distinct protects the artist's intent and makes proofing easier.
Start with the Final Print Requirement
Confirm the physical dimensions, printing method, bleed, color profile, and preferred file format before processing the artwork. A small art print, fabric transfer, and wall-size poster place different demands on the source.
Use the best available export rather than a screenshot, social-media download, or compressed preview. Examine the file at an equivalent print scale. Look for fragile line work, subtle gradients, signatures, lettering, repeated patterns, and intentional grain.
Write a preservation note before making changes. Paper texture, brush marks, soft edges, or imperfect lines may be part of the visual language. An automated process should not “correct” those qualities simply because they differ from a photograph.
Upscale Image Resolution for the Material Type
Photographs, anime art, pencil drawings, and digital paintings do not respond identically to reconstruction. A workflow to upscale image files should use an approach suited to the source rather than one universal setting.
Run a moderate enlargement first. Compare contours, color transitions, and texture with the original. Inspect line intersections, eyes, fingers, patterned clothing, and areas where dark strokes meet pale backgrounds. These details reveal whether the process is clarifying the source or inventing a new interpretation.
More resolution is not automatically better. An aggressive result may replace delicate pencil grain with smooth surfaces or make digital brushwork look artificially sharp. Select the version that supports the intended print distance and material.
Make Creative Changes with an AI Photo Editor
If the artwork also needs a removed object, extended background, revised color, or alternate composition, treat that as a separate edit. An ai photo editor can create a new variation when the instruction explains what may change and what must remain consistent.
For example, an artist might extend a background for a wider poster while protecting the central character, pose, palette, line style, and original lighting. Another version could remove an accidental object without changing nearby texture. Focused instructions are easier to review than a general request to improve the artwork.
Save each accepted edit as a new source version before enlargement. If creative editing and upscaling happen inside one untracked step, it becomes difficult to identify why a face, signature, or decorative element changed.
Prepare Editions and Supporting Assets with an Image Upscaler
One project may require a main print, detail crops, portfolio images, marketplace previews, and promotional graphics. An image upscaler can help process related files and keep approved enlargement choices organized in a batch.
Group assets according to visual behavior. A line drawing, painted background, and photographic texture may require different treatment even when they belong to the same artwork. Batch processing is useful only when the files can share settings without sacrificing their individual character.
Protect Lettering, Borders and Signatures
Text and geometry expose reconstruction errors immediately. Inspect lettering for altered characters, uneven strokes, and halos. Borders should remain straight, repeated patterns should keep their rhythm, and signatures should never be regenerated into a cleaner but inauthentic mark.
When possible, supply typography as vector or live text rather than asking an image enhancer to infer letterforms from pixels. This keeps small text crisp and makes later corrections possible without reprocessing the full artwork.
Margins and bleed need similar care. Important line work should not sit directly on a trim boundary, while backgrounds intended to reach the edge must extend far enough to accommodate normal cutting variation.
Proof Color and Texture on the Real Material
A bright monitor does not predict how matte paper, glossy stock, canvas, or fabric will reproduce the image. Ask the printer for a profile and prepare a soft proof, but use a physical test for important work.
Evaluate the proof under ordinary viewing light and from the expected distance. Dark areas may close up, subtle gradients may band, and saturated colors may move outside the printable range. Correct specific problems instead of applying a global increase in brightness or saturation.
Texture deserves a physical check. Enhancement that looks natural on screen can create an artificial grain pattern on paper or exaggerate canvas texture when printed. The proof should answer whether added detail supports the artwork or competes with it.
Archive the Production Master
Keep the original source, edited variation, enlarged master, printer-ready export, and proof notes as separate files. Record the scale factor, processing mode, color profile, intended dimensions, printing material, and approval date.
Successful print preparation is not a contest to create the sharpest possible file. It is a controlled translation from screen to physical material. By separating upscaling, creative editing, batch preparation, and proofing, artists can gain the resolution they need while preserving the linework, texture, and visual decisions that made the original worth printing.

