

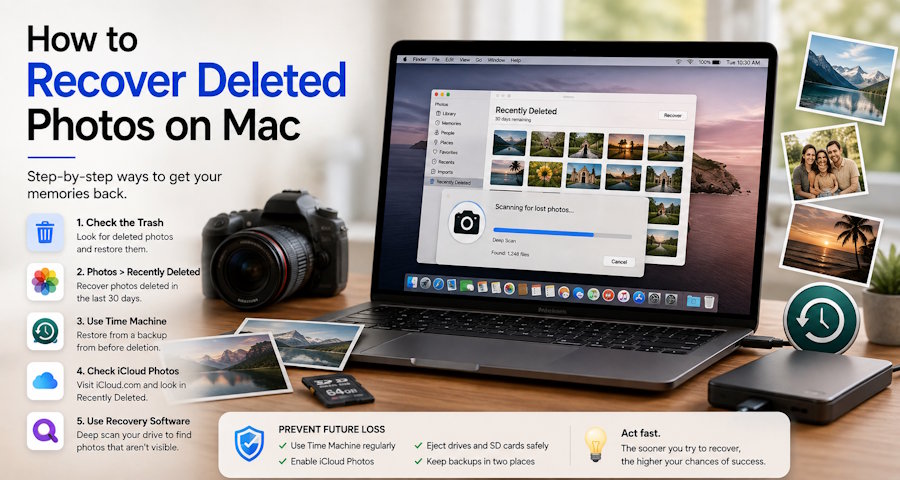
That sinking feeling when you realize a photo (or a whole folder of them) is missing from your Mac is rough. Maybe you emptied the Trash without thinking, maybe an SD card got formatted by mistake, or maybe the Photos app just decided to act up. Whatever happened, don't panic just yet — deleted doesn't always mean gone. There's a decent chance your photos are still sitting on the drive somewhere, waiting to be pulled back.
Here's the thing most people don't realize: when a file is deleted, your Mac usually just stops "seeing" it. The actual data often stays put until something else gets written over that same spot on the disk. So the clock is ticking, but you usually have some room to work with — especially if you act before doing a bunch of other stuff on that drive.
Let's go through this in the order you should actually try it.
First, just check the Trash
I know, I know — obvious. But you'd be surprised how often people skip straight to downloading recovery software when the photo was sitting in Trash the whole time.
Open Finder, click Trash in the sidebar, and look around. If it's there, right-click it and hit "Put Back," or just drag it wherever you want it.
Look in "Recently Deleted" inside Photos
If the photo disappeared from the Photos app specifically, Apple's got a built-in safety net for that. Open Photos, find "Recently Deleted" in the sidebar under Albums, and you'll see anything deleted in the last 30 days. Select what you need and hit Recover.
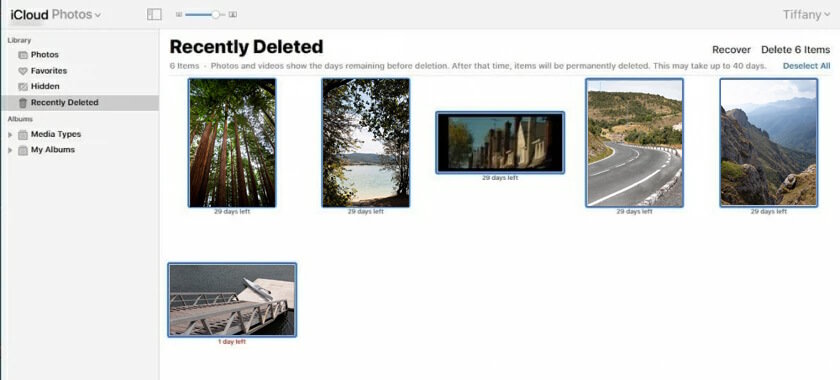
That 30-day window is generous, but it's not infinite — so this isn't something to sit on for months.
Got a Time Machine backup? Use it
This is honestly the most reliable option if you've been backing up your Mac. Plug in the backup drive, open Time Machine from the menu bar, and scroll back to a date before you lost the photos. Find the folder, click Restore, and you're basically back where you started.
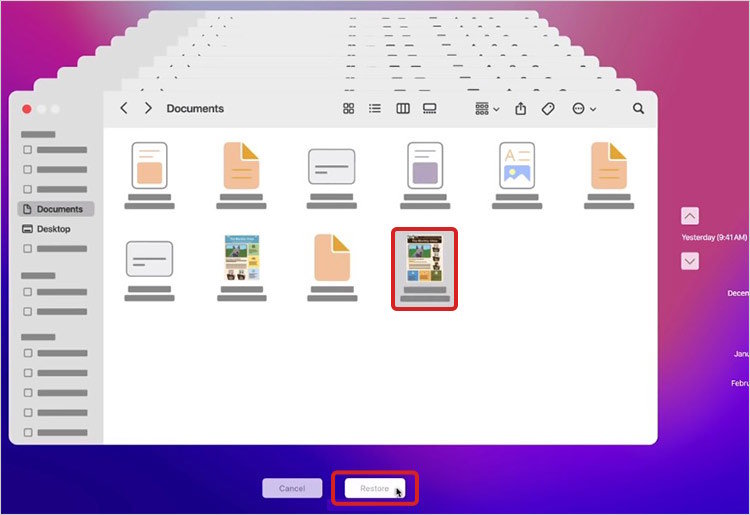
The only catch is you need a backup from before the deletion happened — which is a good argument for setting Time Machine up now if you haven't already, even if it doesn't help with this particular batch of photos.
Check iCloud Photos too
If iCloud Photo Library is switched on, there's a good chance your deleted photos are hanging out on Apple's servers, not just your Mac. Head to icloud.com, sign in, open Photos, and click Recently Deleted. Same 30-day rule applies here as it does in the Photos app.
When none of that works: recovery software
Sometimes you've emptied the Trash, the 30 days are long gone, and there's no backup. This is where dedicated recovery tools come in — something like Stellar Photo Recovery, which is built to dig through storage at a much deeper level than what Finder or the Photos app can do.
This mac photo recovery tool can help recover lost photos, videos and audio files lost due to deletion, formatting, corruption, or drive failure. It scans internal Mac drives as well as external storage devices such as SD cards, USB drives, and SSDs.
The general process looks like this:
- Install the software on your Mac.
- Point it at the drive or card where the photos used to live — could be your Mac's internal storage, an external drive, or an SD card plugged in through a reader.
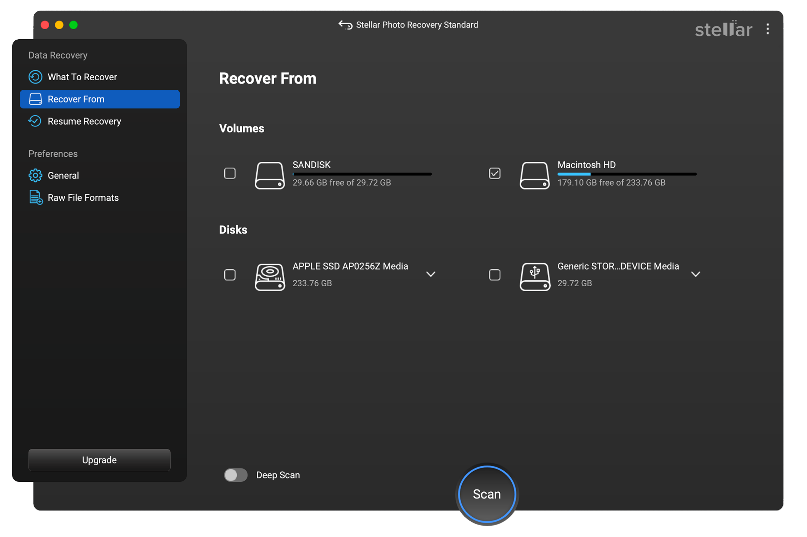
- Run a deep scan rather than a quick one. It takes longer, but it goes sector by sector, which matters a lot if the card was formatted or the file system got corrupted.
- Preview what it finds before you restore anything, just to make sure the images actually look intact.
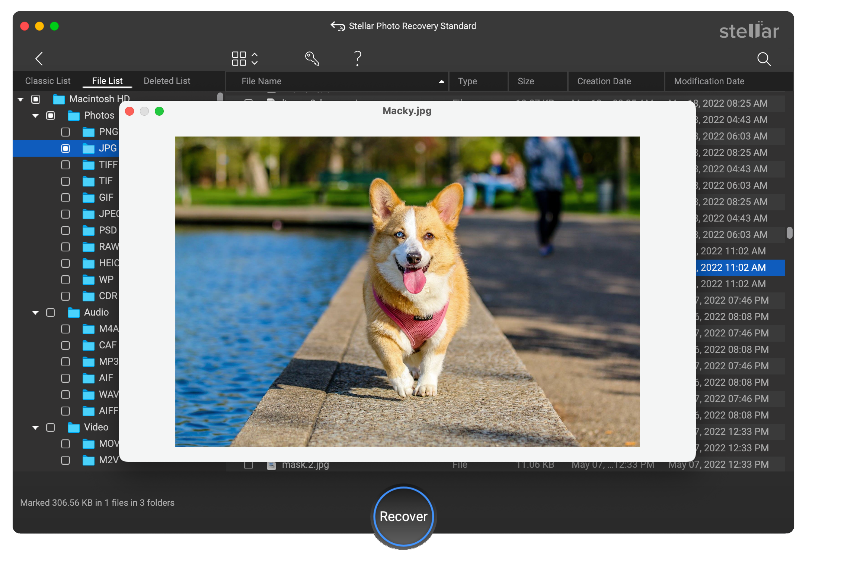
- Save recovered files somewhere else entirely — not back onto the same drive you're scanning. Writing new data to that drive while you're still trying to recover from it is a good way to lose the rest of what's recoverable.
One thing worth mentioning: if you shoot in RAW (CR2, NEF, ARW, that sort of thing), a lot of basic tools and phone apps struggle to properly rebuild those files. It's worth checking that whatever software you use actually supports your camera's RAW format before you rely on it.
A few things that'll save you next time
- Turn on Time Machine and actually let it back up regularly — not just when you remember.
- Enable iCloud Photos so there's a cloud copy sitting alongside your local one.
- If you notice photos are missing, stop using that drive right away. Every file you save afterward is a chance to overwrite something you could've recovered.
- Always eject SD cards and external drives properly instead of just yanking them out — that alone prevents a lot of corruption headaches.
- For anything irreplaceable, keep it backed up in two places. One local copy and one cloud copy is a reasonable minimum.
At the end of the day, losing photos on a Mac feels worse than it usually is. Start with the easy stuff — Trash, Photos, iCloud — move on to Time Machine if you've got it, and if all else fails, a proper recovery tool can usually pull through even when things look pretty hopeless. Just don't wait too long to try.

