

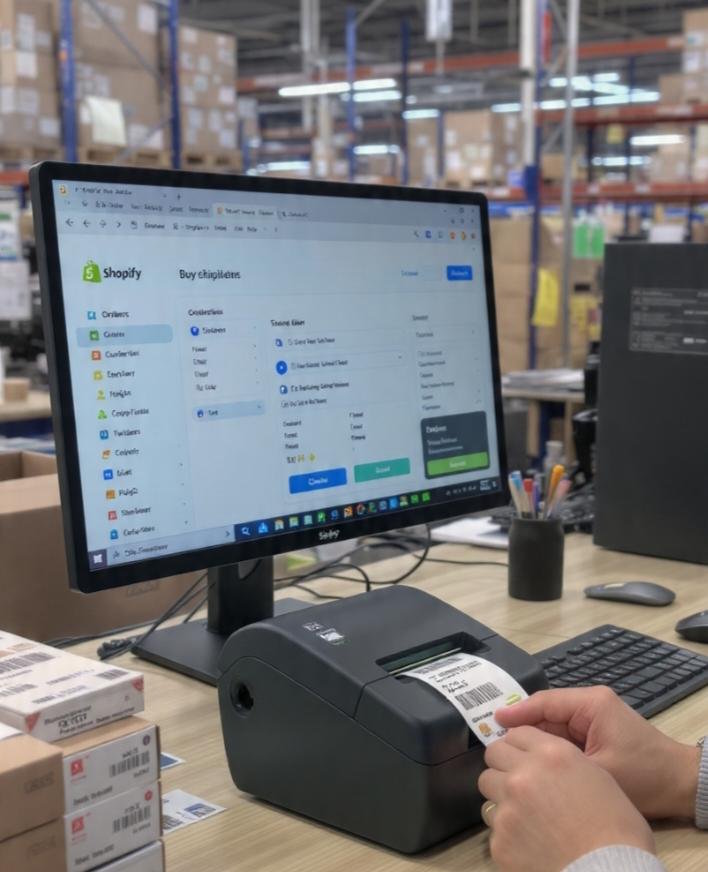
To print Shopify shipping labels with a thermal printer, set the shipping-label format to 4 × 6 inches where that option is available, download or open the generated label, choose the thermal printer, select the matching 4 × 6 stock, and print at 100% scale. Check the preview before printing and scan the first label before processing the full batch.
The important point is consistency across Shopify, the downloaded file, the operating-system driver, and the printer. If one layer uses Letter or A4 while another uses 4 × 6, the label may be reduced, rotated, split, or cropped. Menu names can vary by Shopify workflow, app, carrier, browser, and device.
Which Shopify Label Format Should You Choose?
For a four-inch thermal shipping printer, select a 4 × 6 format in the relevant Shopify shipping-label settings or print workflow. If the platform produces a 4 × 6 PDF, keep that page size through downloading and printing. Do not convert it to a screenshot unless no proper file option is available.
Shopify can also support standard office-printer layouts. That does not mean a Letter-size PDF should be fitted onto one 4 × 6 label. Choose the format before printing, and inspect the PDF page properties if the preview does not fill the label correctly.
How Do You Prepare the Printer?
Load direct thermal media with the heat-sensitive face toward the printhead. Adjust the guides so the web moves straight without being pinched. Confirm the roll or fanfold stack feeds in the direction expected by the printer, then run media identification or calibration.
Create or select a driver stock that exactly matches the label. Use shipping labels compatible with the printer's width, sensing method, core, roll diameter, and feed path. A generic claim such as “works with thermal printers” is not enough when the printer requires a particular gap, mark, or cartridge.
How Do You Buy and Generate the Label?
Open the order, verify the destination address, package weight, dimensions, shipping date, service, and any required customs information. Purchase the label through the available Shopify shipping workflow. Incorrect shipment data cannot be repaired by changing printer settings.
Download the label and give the file a recognizable order or batch name. For multiple orders, keep the output sequence aligned with the physical packages. Sorting cartons before printing reduces the risk of applying a valid label to the wrong order.
Which Print Dialog Settings Are Correct?
Select the thermal printer and its exact 4 × 6 paper definition. Use Actual Size or 100% scale. Turn off Fit to Printable Area, Shrink, multiple pages per sheet, headers, footers, and browser margins. Choose portrait or landscape according to the preview, not according to how the printer sits on the desk.
If the label is centered with large blank borders, confirm whether the source PDF is actually 4 × 6. If the preview shows several labels on one page, return to the label-format setting rather than forcing the sheet onto one thermal label.
Why Does the Label Print Too Small?
The most common cause is a mismatch between the source page and the driver page. A Letter-size source fitted to 4 × 6 becomes a small label. Browser printing can also add margins or scale content automatically. Download the PDF and print it from a reliable PDF viewer when browser results are inconsistent.
Check for two scaling controls: one in the application and one in the printer properties. Both should preserve the intended size. Delete duplicate custom paper definitions with slightly different dimensions, because the operating system may select the wrong one after an update.
Why Is the Label Cropped or Rotated?
Cropped output usually means the driver thinks the media is smaller than it is, the source orientation is wrong, or the print origin has been shifted. Measure the physical label, correct the stock definition, recalibrate, and reset horizontal and vertical offsets before editing the artwork.
Rotation problems can occur when Auto Portrait/Landscape conflicts with the driver. Disable automatic rotation and choose the orientation that fills the preview. Never reduce the label just to hide clipping; a smaller barcode may be harder for carrier scanners to read.
How Do You Check Print Quality?
Print one test label. The address, tracking number, service information, and barcode must be complete. Look for white vertical lines, gray bars, fuzzy edges, or dark background marks. Scan the tracking barcode and confirm that the returned number matches the order.
If the image is pale, clean the printhead and platen using the printer manufacturer's procedure, reduce speed, or increase darkness gradually. If bars look swollen or spaces close up, reduce darkness. Test after the label is applied because carton texture and wrinkles can affect scanning.
How Should the Label Be Applied?
Place it on the largest flat panel, away from seams, corners, closure tape, and old barcodes. Smooth the label from the center outward using firm pressure. On poly mailers, avoid folds and trapped air. On reused cartons, completely remove or cover obsolete shipping labels.
The adhesive must match corrugated board, recycled cartons, coated packaging, plastic mailers, and the application temperature. Ask your label supplier for samples when surfaces vary. A print-perfect label still fails if it lifts or wrinkles before carrier induction.
How Do You Print Multiple Shopify Labels Safely?
- Arrange packages in a fixed order before creating the batch.
- Verify addresses, weights, services, and package types.
- Generate labels and keep the printed sequence unchanged.
- Match each label to its packing slip or order number.
- Scan and audit a sample before releasing the batch.
Do not leave a stack of loose labels without order references. If a label jams or is reprinted, mark the damaged copy as void and keep the sequence controlled. Separate packing slips from shipping labels so operators do not attach the wrong document.
What Settings Should Be Saved?
Record the Shopify label format, PDF application, driver stock name, orientation, scale, speed, darkness, and printer model. Save a known-good test PDF that can be used after operating-system, browser, app, or driver updates. This makes troubleshooting faster than changing several settings at once.
Recalibrate when changing label size, supply type, or sensing method. Review the preview for every new carrier or international workflow because document layouts can differ. A reliable Shopify process is based on matching formats, controlled batches, verified scans, and label materials tested on real packages.

