

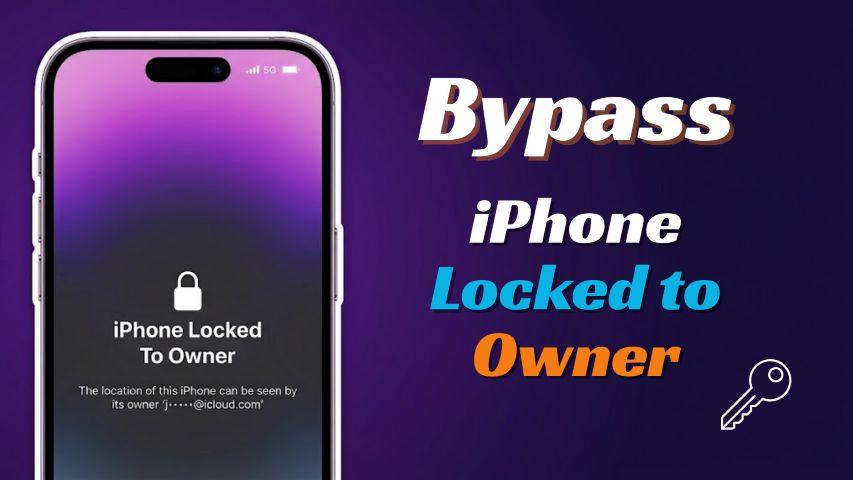
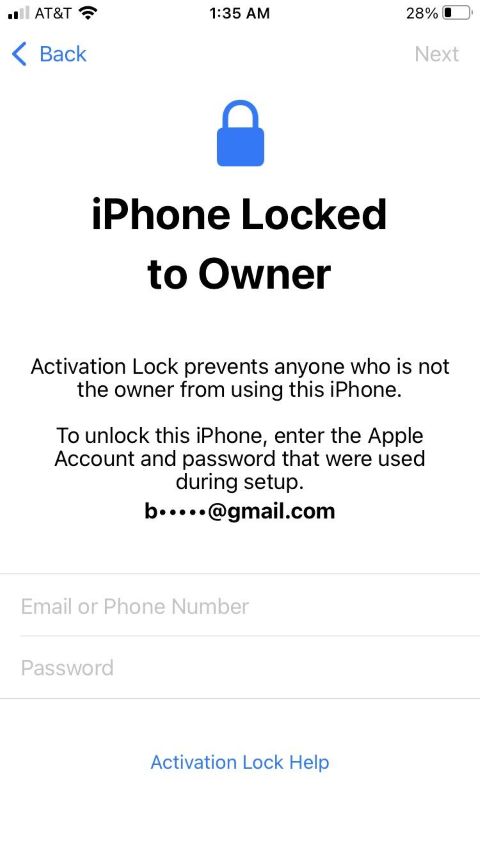
Your iPhone is ready to set up until the iPhone Locked to Owner message suddenly appears. This means Activation Lock is still active, preventing you from accessing the device. Whether you bought a used iPhone, reset your own device, or can’t remember your Apple Account details, there may be a way forward.
In this guide, you’ll discover 5 methods to deal with iPhone Locked to Owner. These include official solutions, account recovery, DNS Bypass, and other options for supported devices.
Part 1: Why Does My iPhone Say “iPhone Locked to Owner”?
The iPhone Locked to Owner message appears when the iPhone is still protected by Activation Lock. This feature is linked to Find My and helps prevent others from using the device without the owner's permission.
You may see this message because:
- The iPhone is still linked to the previous owner's Apple Account.
- The iPhone was reset, but the previous owner did not remove it from their account.
- You reset your own iPhone and cannot sign in with the linked Apple Account.
- You forgot your Apple Account password.
- Find My was turned on before the iPhone was erased.
Part 2: Can You Bypass iPhone Locked to Owner?
Yes, iCloud Activation Lock removal may be possible in certain situations, depending on why your iPhone is locked. You can ask the previous owner to remove the device from their Apple Account, recover your Apple Account password, or contact Apple Support with valid proof of ownership. You can also use an unlocking tool, such as Tenorshare 4uKey, to remove iCloud Activation Lock on supported devices.
Part 3: 5 Methods to Fix iPhone Locked to Owner and Remove Activation Lock
There is no single solution for every iPhone Locked to Owner situation. The right method depends on whether you know the previous owner, still have access to your Apple Account, or need another solution. Below are five methods how to bypass iphone:
Method 1. Remove Activation Lock Through the Previous Owner
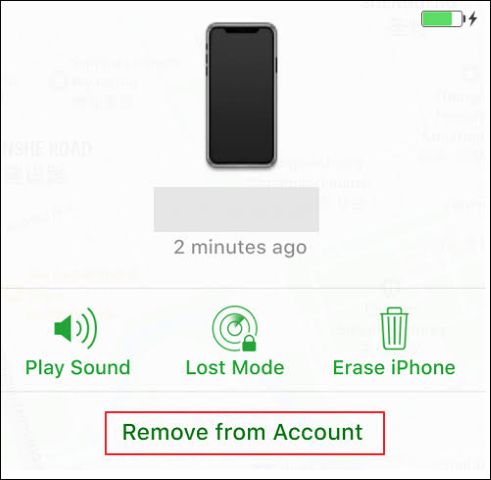
An iPhone Locked to Owner message often appears on a second-hand device that is still linked to the previous owner's Apple Account. The previous owner needs access to their account to remove the device remotely. Once the iPhone is removed from their account, Activation Lock is lifted, and you can continue with the setup.
Here is how to bypass iphone:
1. Ask the previous owner to sign in to iCloud.com with the Apple Account linked to the iPhone.
2. Open Find My and select the locked iPhone from the device list.
3. Choose Erase This Device to erase the iPhone, when required.
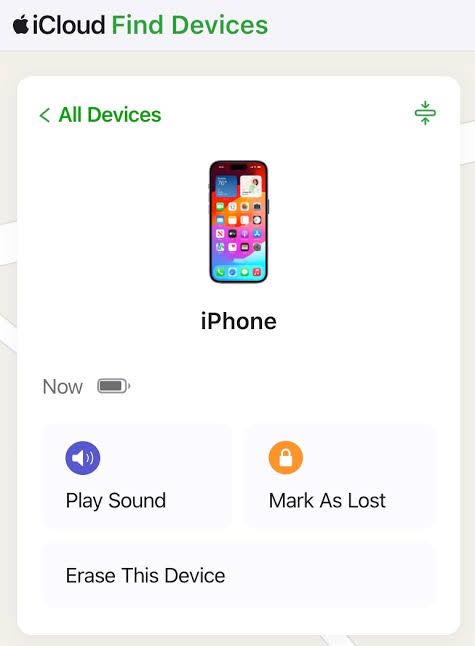
4. After the device is erased, select Remove from Account. Restart the iPhone and begin the setup process again.
Method 2. Recover Your Apple Account Password
An iPhone Locked to Owner after update may appear when you cannot remember your Apple Account password. Recover your Apple Account, sign in again, and remove iCloud Activation Lock with your correct credentials.
Steps to recover your password:
1. Go to Apple's Apple Account recovery page.
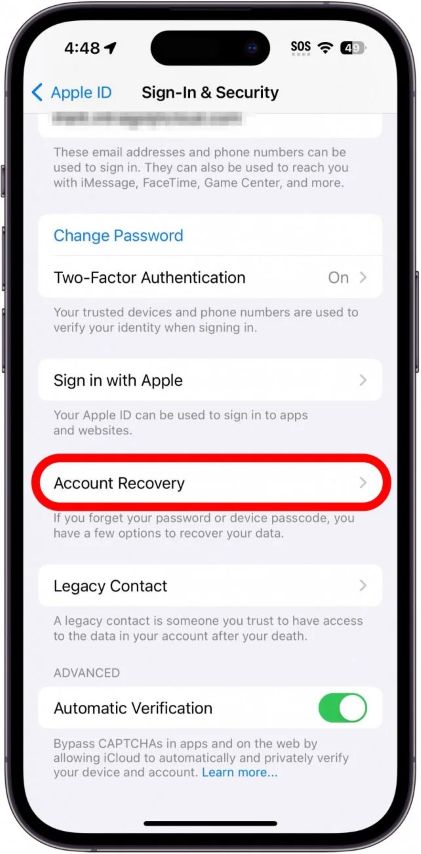
2. Enter the email address or phone number connected to your Apple Account.
3. Select the available verification method.
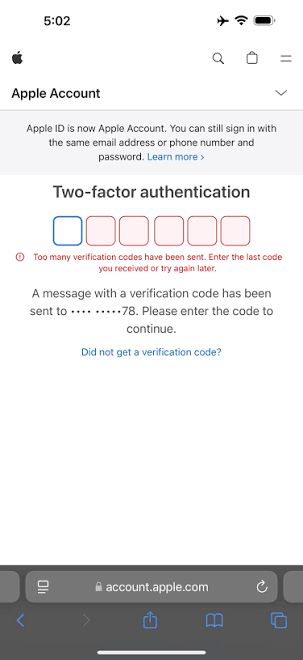
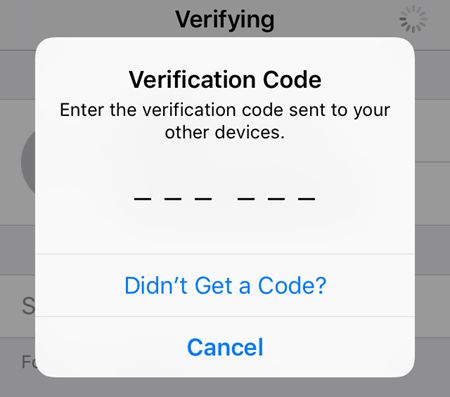
4. Complete the identity verification steps.
5. Create a new password for your Apple Account.
6. Return to the iPhone Locked to Owner screen.
7. Sign in using your Apple Account and new password.
8. Continue the setup process to activate your iPhone.
Method 3. Contact Apple Support for Activation Lock Removal
Apple Support may help with iCloud Activation Lock removal when you own the iPhone but cannot unlock it. You will need valid proof of ownership, such as the original proof of purchase.
Here’s how to bypass iphone:
1. Gather your proof of purchase.
2. Make sure it includes your iPhone details.
3. Contact Apple Support about the iPhone Locked to Owner screen.
4. Submit your proof of ownership and device details. Follow Apple's instructions and wait for the review.
Method 4. Use DNS Bypass for Activation Lock
DNS Bypass is another option for dealing with the iPhone Locked to Owner screen during setup. It uses custom DNS settings to provide limited access to some iPhone features, but it does not offer a complete iCloud Activation Lock removal.
Before you start, make sure you have a stable Wi-Fi connection and the DNS server details needed for the method.
Follow these steps to use DNS Bypass:
1. Turn on your iPhone and start the setup process.
2. Select your preferred language and country or region.
3. Continue until the Choose a Wi-Fi Network screen appears.
4. Connect to your Wi-Fi network and tap the ⓘ icon next to it.
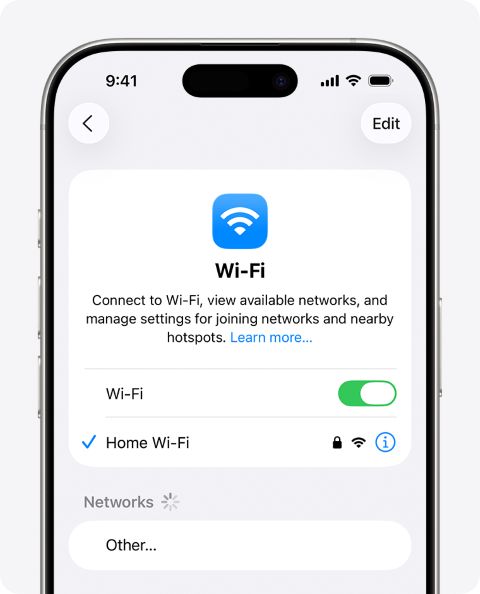
5. Scroll down, tap Configure DNS, and select Manual.
6. Remove any existing DNS servers, then tap Add Server.
7. Enter the DNS server address required for your region and tap Save.
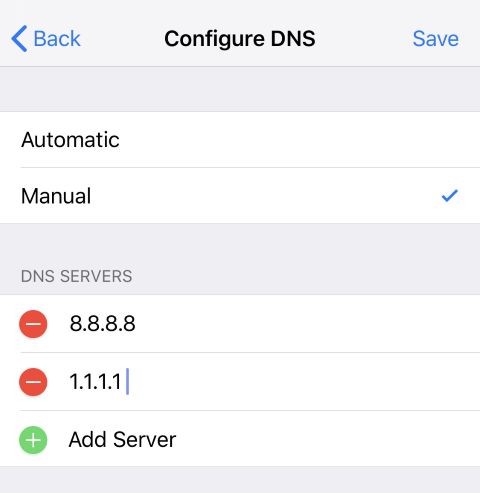
8. Go back to the Wi-Fi screen and reconnect to the network with the new DNS settings.
9. Continue the setup process and follow the available options on the DNS Bypass page.
Method 5. A Quick Way to Remove iCloud Activation Lock With 4uKey
For supported devices, Tenorshare 4uKey offers another option for dealing with the iPhone Locked to Owner screen when the previous methods are not suitable. It also handles screen passcodes, Apple ID locks, MDM, and Screen Time passcodes.
It also includes an iCloud Activation Lock removal feature for iOS 27, iPadOS 27, iPhone 17, and earlier versions. The tool has a simple interface with clear on-screen instructions, making the process easy to follow. The process is guided step by step, so no advanced technical skills are needed.
Key Features of Tenorshare 4uKey
- Unlock iPhone passcodes without the password.
- Remove iCloud Activation Lock on supported devices.
- Remove Apple ID without a password in supported scenarios.
- Bypass MDM restrictions and remove Remote Management.
- Turn off Find My iPhone in supported situations.
- Remove Screen Time passcodes without losing data in supported scenarios.
- View stored passwords, including Apple ID and Wi-Fi passwords.
Here's how to bypass iCloud Activation Lock with 4ukey:
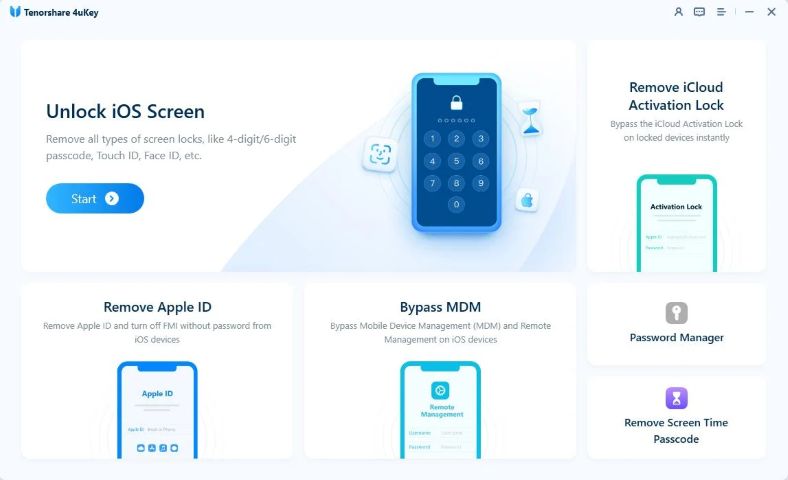
1. Download and install Tenorshare 4uKey on your computer. Open the program and select Remove iCloud Activation Lock from the available options.
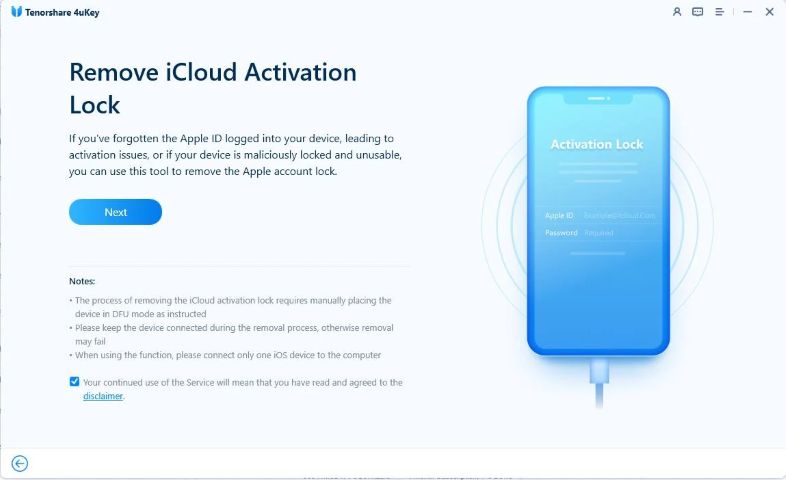
2. Connect the iPhone Locked to Owner to your computer using a USB cable. Once 4uKey detects your device, click Next to continue.
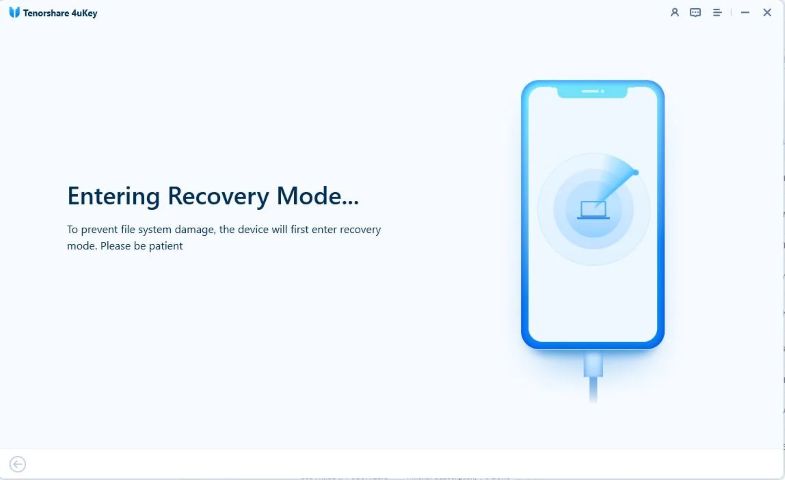
3. Follow the on-screen instructions to put your iPhone into Recovery Mode. The program will guide you through the process, and you can retry or use the manual instructions if needed.
4. Follow the instructions shown by 4uKey to prepare your supported device for the Activation Lock removal process.
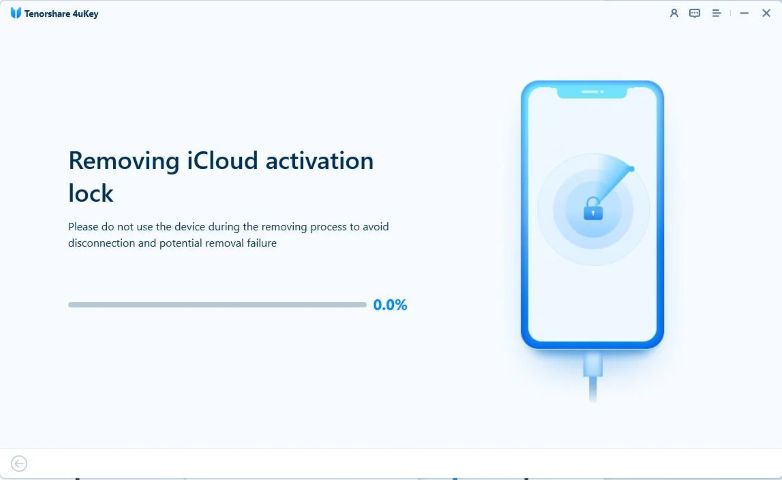
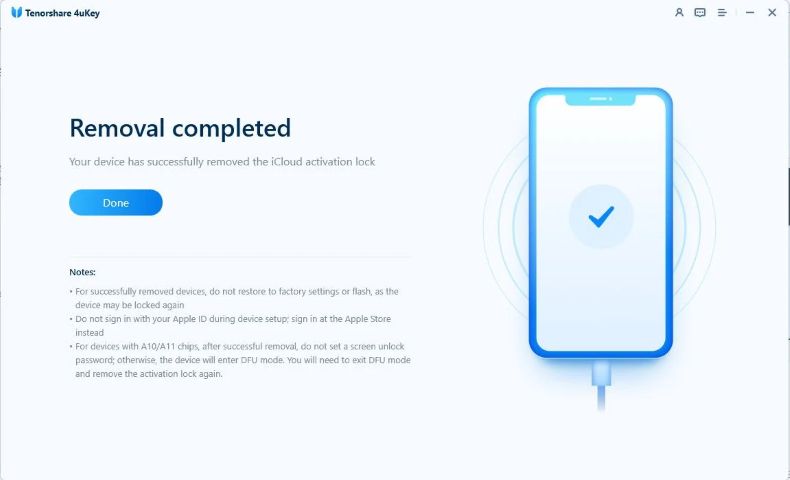
5. Once the required preparation is complete, click the on-screen option to start the iCloud Activation Lock removal process. Wait for 4uKey to complete the process and follow any remaining instructions displayed on your computer.
Part 4: Which Method Is Best for Fixing iPhone Locked to Owner?
The best method depends on why your iPhone is locked and what information you still have access to. The table below compares the five methods based on password requirements, data loss, success potential, and limitations.
|
Method |
Password Required |
Data Loss |
Success Potential |
Best For |
|
Previous Owner Removal |
Previous owner's Apple Account |
No |
Very High |
Second-hand iPhones with a reachable previous owner |
|
Apple Account Recovery |
No, but account verification is required |
No |
High |
Users who forgot their Apple Account password |
|
Apple Support |
No, but proof of ownership is required |
No |
Depends on verification |
Legitimate owners with valid proof of purchase |
|
DNS Bypass |
No |
No |
Limited |
Temporary access to limited features |
|
Tenorshare 4uKey |
No |
No |
Very High |
Supported devices with Activation Lock |
Part 5: How to Avoid Buying an iPhone Locked to Owner
Buying a used iPhone without checking it first can leave you stuck on the iPhone Locked to Owner screen. A few simple checks before paying can help you avoid the need for iCloud Activation Lock removal later.
1. Check the iPhone Before Paying
Turn on the iPhone and start the setup process. Make sure it does not ask for the previous owner's Apple Account or password.
2. Ask the Seller to Remove Their Apple Account
Ask the seller to sign out of their Apple Account and turn off Find My before giving you the iPhone. This removes the device from their account.
3. Complete the Setup Before Paying
Connect the iPhone to Wi-Fi and complete the setup while the seller is still there. Make sure the iPhone Locked to Owner message does not appear.
4. Keep the Proof of Purchase
Keep the invoice or proof of purchase after buying the iPhone. It may help prove ownership if you ever need support with Activation Lock.
FAQs About iPhone Locked to Owner
1. Can I unlock an iPhone that is locked to the owner?
Yes. Ask the previous owner to remove the iPhone from their Apple Account. You can also recover your account, contact Apple Support, or use a tool for supported devices.
2. How do I remove the Apple owner lock?
Ask the previous owner to remove the iPhone from their Apple Account through Find My. After that, you can set up the iPhone normally.
3. Can you override an iPhone lockout?
It depends on the type of lock. A screen passcode and Activation Lock require different solutions, such as account recovery, Apple Support, or a supported unlocking tool.
Conclusion:
The iPhone Locked to Owner screen can be handled in several ways, depending on your situation. Start with the previous owner, Apple Account recovery, or Apple Support for official solutions. For supported devices, Tenorshare 4uKey is another option worth considering for a simple, guided Activation Lock removal process.

