
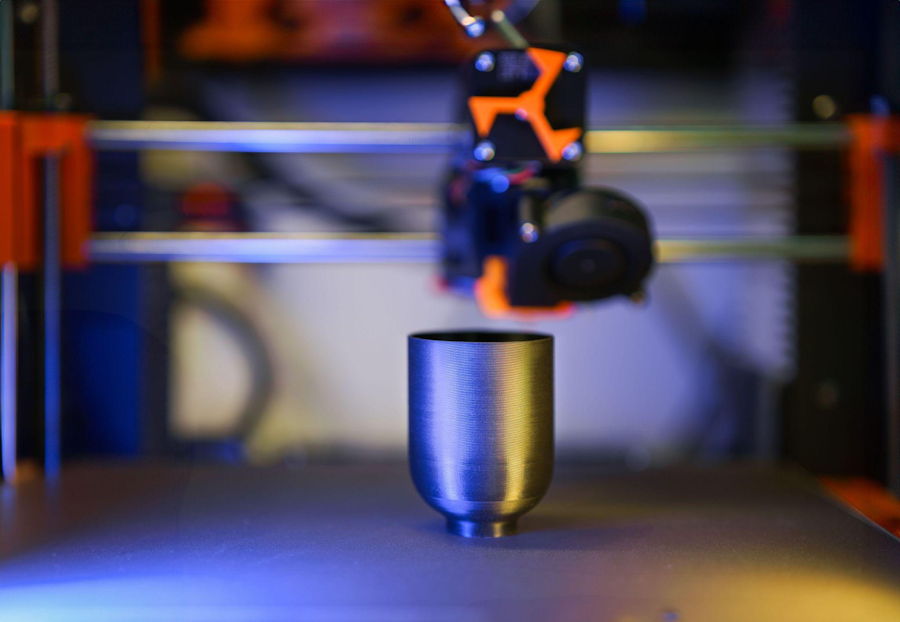
Even if a part appears perfect digitally, it can fail to fit its mating part by just a millimetre. This can cause issues once the tooling has been paid for. New moulds will need to be created, causing delays. With more teams using printed parts, the global additive manufacturing industry was worth $24.2 billion in 2025.
By using digital prototyping with the correct physical verification processes in place, most of these issues can be picked up early on to keep costs down. This guide will show you where this precision comes from, why digital modelling cannot always be trusted, and how to create a process to ensure that your final design is perfect.
How Digital Prototyping Makes Product Designs More Accurate
Digital prototypes reveal mistakes while they still cost almost nothing to fix. Every wrong guess caught in CAD is one that never reaches a mold or a customer. That payoff is why 3D printing for businesses has become a routine design step.
The main accuracy gains include:
- Fit checks: virtual assemblies show whether mating parts line up.
- Clearance checks: tools mark walls that are too thin or gaps that are too tight.
- Simulation: stress, heat, and motion studies test a part before any material is used.
Sacramento shows why this matters. Many of the region's medical device, clean energy, and farm tech firms are small teams that often use professional 3D printing services rather than buying their own printers.
For these groups, distance matters less than it once did. Designers can send a CAD file to a shop that offers 3d printing in Sacramento with shipping across the country, and they often hold parts within days. The physical part then checks the digital model instead of replacing it.
Where a Digital Model Stops and Real-World Variation Begins
A CAD file shows nominal sizes, the exact numbers a designer typed in. Real parts drift from those numbers based on the process, the material, and the shape.
Tolerances, Shrinkage, and Warp
Picture a lid that snaps onto a base. If the lid runs slightly large and the base runs slightly small, the errors stack, and the snap may bind or rattle. On screen, both parts still fit perfectly.
Plastics add another layer, since most shrink as they cool and uneven walls tend to warp. Good 3D printing manufacturing services publish clear specs for each material for this reason.
Ergonomics, Friction, and Other Things Screens Cannot Show
No monitor can show how a handle feels in a gloved hand or how hard a latch is to press. Many teams hire a custom 3D printing company for a few targeted physical tests and pair those results with their digital checks.
Closing the Loop: From CAD File to Measured Physical Part
Accuracy improves fastest when each printed part sends data back into the model, turning that part into a measuring tool.
Print, Measure, and Compare Against CAD
- Mark every critical size and tolerance in the model.
- Run stress or motion studies on the riskiest features.
- Print a working part through a 3D printing service provider.
- Measure it with calipers or a 3D surface scan.
- Compare the results with the CAD file, log each deviation, then update the model and reprint.
A scan comparison shows deviation as a color map, so you can see where a part grew or shrank. Measuring printed parts reliably is still an active research field, and federal labs are working on better ways to judge part quality.
Feed Corrections Back Into the Model
Fix the CAD file itself, not just the next print order, so future parts start from corrected geometry. Turnaround decides how many loops fit in a schedule.
A 3D printing company that ships rush orders in two business days lets a team run several cycles a month. Teams that search for rapid prototyping Sacramento options can work the same way by mail.
Matching the Prototype Process to the Accuracy You Need
A prototype predicts production best when it is made in a similar way, so test results carry over. Pick the process that fits both your accuracy needs and your final production method.
Additive Options for Functional Prototypes
Multi Jet Fusion nylon gives strong, consistent parts, while SLA resin captures the finest detail. FDM in tough plastics suits fixtures, and metal printing handles parts that carry real loads.
| Process | Best For | Accuracy and Detail | Watch-Outs |
|---|---|---|---|
| MJF nylon | Strong functional parts | Good and consistent | Grainy surface |
| SLA resin | Fine features, smooth finish | Very high | Can be brittle |
| FDM tough plastics | Fixtures, housings | Moderate, visible layers | Weaker between layers |
| Metal printing | Load-bearing parts | High after finishing | Longer lead times |
| Thermoforming or vacuum forming | Large thin-walled shells | Varies with draw depth | Needs a mold |
Thermoforming for Larger Shells and Enclosures
At production scale, large housings often come from a plastic thermoforming manufacturer. A printed shell makes the prototype faster because it needs no mold. Once the design settles, plastic vacuum forming services can make custom thermoformed plastic parts that show real wall thinning.
Test real thermoformed plastic parts before you commit to a full run, and match the prototype material to the production material whenever you can.
Buyers comparing a Seattle 3D printing company with distant shops will find many firms that quote online and ship. The same holds for anyone searching 3D printing companies Seattle or 3D printing services Seattle WA, and for teams weighing plastic 3D printing Sacramento options.
How to Choose a Prototyping Partner and Avoid Accuracy Mistakes
A partner can only build what your file describes, so prepare it with care. Before asking for a quote, work through this checklist:
- Export a STEP file for most work and confirm the units.
- Mark critical sizes and tolerances on a drawing or in notes.
- Ask whether the shop runs an ISO 9001:2015 quality system and how it inspects parts.
- Check order minimums and lead times, since metal parts often take four to six weeks.
The usual mistakes look the same whether you hire a Sacramento 3D printing service provider or a shop three states away. Teams skip the fit check, design only to nominal sizes, or test in a material that differs from production. Ask every shop the same questions, whether you pick a 3D printing manufacturer Sacramento buyers already know or a custom 3D printing Seattle shop.
In Summary
Digital prototyping ensures accurate designs by finding errors early and inexpensively. The main downside of digital prototyping is that it’s difficult to match real-life measurements to CAD sizing; you’ll need to create physical prototypes.
Plan out your loops beforehand. Identify key dimensions, what features need to be physically tested, and choose a prototyping method that will closely mirror your production process. Then measure all your parts, amend your design, and re-print until your measurements are consistent. Through this loop, you’ll have a nice-looking screen model that will fit the first time it gets to the factory.
Common Questions About Digital Prototyping Accuracy
What is the Difference Between design and prototyping?
Design refers to the initial plans that are created using sketching, CAD modelling, and specs. This will define what the product should be. A prototype is a physical or interactive model that has been developed based on the design. It is used to ensure that the design works well by testing it. The design will have its intentions tested as well as showing any flaws.
What are the 4 common types of prototyping?
Most sources describe rapid, evolutionary, incremental, and extreme prototyping. Rapid prototyping is when a prototype is made quickly and disposed of after testing. Evolutionary prototyping involves refining the prototype to create the final product. Incremental prototyping uses separate parts which are then put together. Extreme prototyping is mostly used on web products.
What is digital prototyping and how is it different to a Physical Model?
Digital prototyping involves creating a virtual product using CAD and simulation software. This is to test the shape, stress, movement, and tolerances of the product. It can be easily modified at low cost. A Physical Model is still important, as it will show how the part feels and will fit within the actual assembly.