
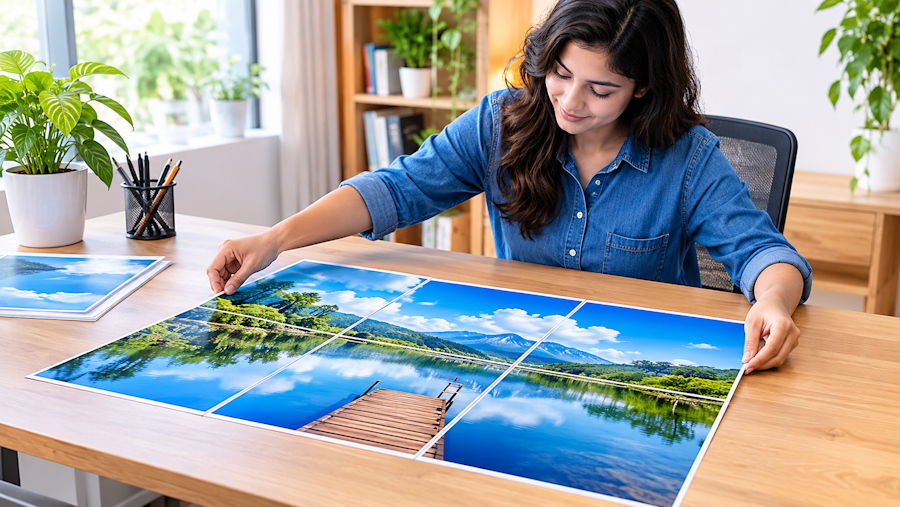
Printing a large image at home does not always require a professional wide-format printer. With the right preparation, you can divide a single photograph, illustration, or design across multiple A4 sheets. Once assembled, these individual pages can form one large poster for a bedroom, classroom, office, or creative project.
However, getting a satisfactory result involves more than dividing an image into equal sections. Image resolution, poster proportions, paper dimensions, printer margins, and scaling settings all influence the final output. Understanding these factors before printing helps prevent blurry details, unwanted cropping, and alignment problems.
Choose Between a Multi-Page PDF and Separate Image Tiles
First, decide how you intend to use the divided image. Although both methods split artwork into smaller sections, they serve different purposes.
A multi-page PDF is generally more suitable for creating a large physical poster. Each PDF page represents a printable section of the complete artwork, keeping the individual sheets in their correct sequence. It also allows you to review the layout and confirm the paper dimensions before printing.
Separate image tiles are more useful for digital projects. For example, you might divide a photograph into nine smaller images to create a social media grid or arrange individual sections within a graphic design. An image splitter can accomplish this by dividing the original pixel dimensions into rows and columns.
However, separate image files do not automatically account for physical paper dimensions, printer margins, or print scaling. If you plan to assemble a large poster using a regular home printer, a tool designed for multi-page poster printing is usually the more practical choice.
Start With a Clear, High-Resolution Image
The original image quality determines how much detail will remain visible after enlargement. Splitting a picture across several sheets increases its physical dimensions, but it doesn't add image information.
Before uploading your artwork, check its pixel dimensions. For instance, an image measuring 3000 × 2000 pixels contains more available detail than a 1000 × 667-pixel version with similar proportions. However, compression, sharpness, and the final viewing distance also influence the printed result.
One useful measurement is effective print resolution, expressed in dots per inch (DPI) or pixels per inch (PPI). It indicates how many image pixels are available for each inch of the printed artwork. You can estimate it by dividing the image's pixel width by its intended printed width in inches.
For example, a 3000-pixel-wide image printed at 20 inches provides approximately 150 pixels per inch. Printing the same image at 10 inches provides approximately 300 pixels per inch. This explains why enlarging an image too much can make fine details appear soft or pixelated.
A resolution around 300 PPI is commonly suitable for detailed prints viewed at close range. Larger posters viewed from a distance can often remain acceptable at lower resolutions. The required resolution therefore depends on the artwork, print dimensions, and viewing conditions.
JPG and WebP files are commonly used for photographs, while PNG can be useful for illustrations, diagrams, and graphics with sharp edges. Regardless of the format, check the actual image quality rather than relying only on its file size.
Select a Page Grid That Matches the Image
Once the source image is ready, decide how many rows and columns are needed. The selected grid determines how the artwork will be distributed across the poster layout.
For example, a 2 × 2 grid divides the artwork into four sections, while a 3 × 2 grid creates six sections. A wide landscape photograph may require more columns than rows, whereas a vertical portrait may need a taller arrangement.
Consider a landscape photograph with a 3:2 aspect ratio. Choosing a poster layout that maintains similar proportions helps preserve the original composition. Selecting a much narrower or taller layout may introduce unwanted cropping or empty areas.
Two common fitting options help manage this issue. Cover fills the available area but may remove some content around the edges. Contain preserves the complete image but can leave unused space within the layout.
The right choice depends on the artwork. A photograph containing important details near its edges may benefit from Contain, while a background illustration designed to fill the entire poster may work better with Cover.
Preview the complete composition before exporting. Check faces, text, important objects, and other details positioned near the edges. Making adjustments at this stage is easier than correcting unwanted cropping after printing.
How to Split an Image Into A4 Pages With a Poster Tool
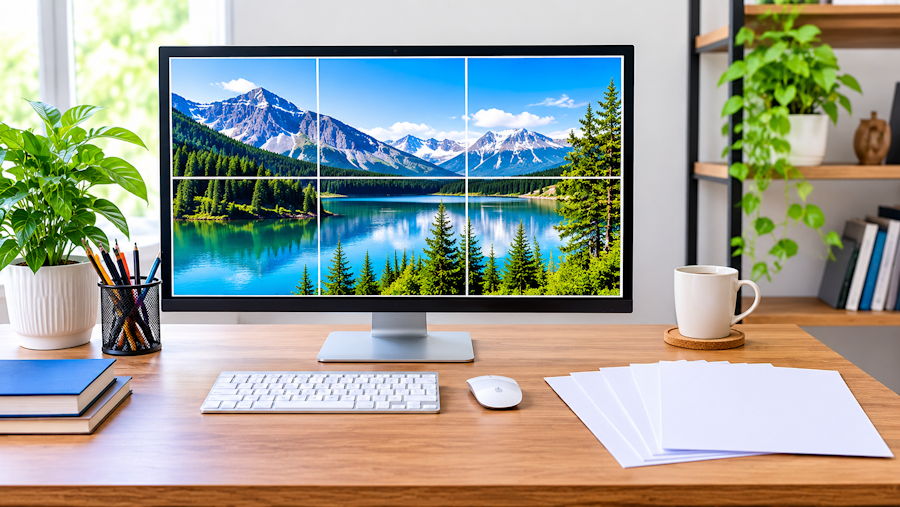
A dedicated poster-printing tool makes it easier to split image into a4 pages without manually cropping each section. Instead of preparing individual image files, you can upload the original artwork and configure its printable layout in one place.
Open TiledPoster and upload your image in a supported format, such as JPG, PNG, or WebP. Select A4 as the output paper size if the available settings allow it. You can then configure the intended poster dimensions or choose a suitable page arrangement.
Next, adjust the number of rows and columns according to the artwork's proportions and the physical size you want to achieve. For example, a poster measuring approximately 420 × 594 mm corresponds to a 2 × 2 arrangement of A4 sheets in portrait orientation before allowing for overlap and printer margins. The actual printable layout may require adjustments depending on the tool's export settings.
Use the preview to examine how the original image is distributed across the individual pages. If a face, heading, or important object falls directly along a page boundary, repositioning the artwork may produce a more natural result.
Before downloading the PDF, review the export summary and individual page previews. Confirm the selected paper size, page orientation, number of PDF pages, and any available overlap or trimming settings.
It is important to distinguish between the image grid and the final PDF page count. A grid may describe the logical sections of a poster, while the export process may divide those sections further to accommodate the selected paper size and printable area. Always use the exported PDF's actual page count when preparing to print.
Understand A4 Dimensions and Printer Margins
An A4 sheet measures 210 × 297 mm, or approximately 8.27 × 11.69 inches. You can use it in portrait or landscape orientation, depending on the artwork and poster layout.
However, the full paper dimensions are not necessarily available for printing. Most standard home printers leave small unprinted margins around the edges because their print heads cannot reach every part of the sheet.
This limitation matters when several pages are joined together. If the artwork extends to the edge of a PDF page but the printer leaves a white border, neighboring sections may not connect perfectly after assembly.
Some poster-printing workflows address this issue through overlap. This creates a shared image area between neighboring pages, allowing you to align the artwork and trim away the excess paper. Cut marks can also indicate where to trim the overlapping edges.
For example, when two printed sections contain part of the same line or background pattern, the repeated area provides a visual reference for matching them accurately. Without overlap, you may need to align the paper edges more carefully, particularly if the printer produces uneven margins.
Before exporting, check whether the selected poster tool provides overlap or trimming options. Also confirm that the PDF layout accounts for your printer's printable area. These small checks can reduce visible gaps and make the finished poster easier to assemble.
Export and Print the PDF Without Changing Its Scale
After preparing the poster layout, download the multi-page PDF and open it in a suitable PDF viewer. Before printing the complete document, confirm that the selected paper size matches the exported layout.
For accurate physical dimensions, select Actual Size or 100% scaling when the document has been prepared for that paper size and printable area. This preserves the dimensions specified in the PDF rather than automatically resizing the content.
Avoid selecting Fit to Page without checking its effect. Depending on the PDF viewer and printer, this option may reduce the content to fit within the available printable area. Even a small scaling difference can affect how neighboring image sections align.
For example, if one page prints at 98% while another is printed at 100%, their physical dimensions will differ slightly. This can create noticeable alignment problems when the sheets are joined together. Keep the scaling setting consistent across the entire document.
Next, confirm the paper orientation, page sequence, and printer settings. If the PDF has been prepared specifically for A4 portrait pages, do not switch individual sheets to landscape during printing.
Printing one test page before producing the complete poster is also worthwhile. Measure a known dimension or compare the printed section with the PDF layout. Check whether the image appears sharp, the content is positioned correctly, and the printer has not introduced unexpected scaling.
Tools such as TiledPoster can simplify preparing large posters for standard paper sizes. Once you've checked the PDF and confirmed the print settings are correct, you can produce the individual sheets with greater confidence.
After confirming that the test page looks correct, print the remaining pages using the same settings.
Assemble the Pages Into One Large Poster
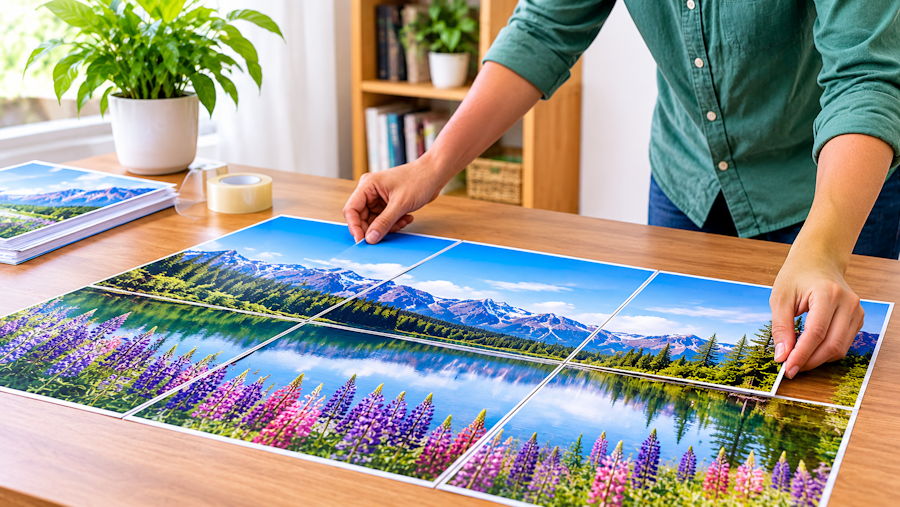
After printing, arrange the sheets on a clean, flat surface in the correct page sequence. Working row by row makes it easier to identify neighboring sections and check whether the image connects properly.
Start by matching recognizable details that continue between pages. Lines, shapes, background patterns, and parts of the same object can help confirm that two adjoining sections are positioned correctly.
If the layout includes overlapping areas, place the repeated image sections together before trimming the excess paper. Matching these shared details helps create a cleaner connection between the pages. Use scissors or a suitable paper cutter to remove the excess along the intended trimming line.
For layouts without overlap, carefully align the paper edges and check that the image continues naturally across each join. Use small pieces of removable tape to hold the sheets temporarily while you check the complete composition.
Avoid permanently attaching every sheet immediately. First, inspect the full poster for uneven joins, missing details, or visible gaps. Once the arrangement looks correct, secure the pages with tape on the reverse side.
Avoid Common Problems With Large-Format Home Printing
Blurry output usually indicates the original image lacks enough detail for the selected poster dimensions. Check the effective print resolution before enlarging the artwork, especially when the finished poster will be viewed up close.
Unexpected cropping often results from an unsuitable aspect ratio or fitting option. Review the full composition before exporting and confirm that important details remain visible across the selected page layout.
Uneven joins can develop when printer margins, page orientation, or scaling settings differ between sheets. Printing every page with consistent settings and using overlap where available can help prevent these problems.
White gaps may also appear when the printer cannot print close enough to the paper edges. Check the printable area and trimming options before producing the complete document.
Finally, do not rely only on the selected image grid when estimating the number of sheets required. Review the exported PDF and confirm its actual page count before starting the print job.
Create a Large Poster Using Standard A4 Paper
Splitting an image into A4 pages provides a practical way to create large printed artwork without specialized wide-format equipment. The most reliable results come from choosing a suitable source image, maintaining its proportions, and understanding how the digital layout translates into physical paper dimensions.
A properly prepared multi-page PDF keeps the sections organized, while accurate scaling and consistent printer settings help maintain their dimensions. By checking image resolution, accounting for printer margins, and carefully aligning overlapping sections, you can turn ordinary A4 sheets into one large poster for home decor, educational displays, and personal creative projects.
FAQs
1. How do I split an image into A4 pages for printing?
Upload your image to a poster-printing tool, select A4 as the paper size, and adjust the poster dimensions or page arrangement. Export the result as a multi-page PDF and print each section separately.
2. Can I print a large image using a regular A4 printer?
Yes. A standard home printer can print a large image across multiple A4 sheets. Divide the artwork into printable sections, then arrange and assemble the sheets after printing.
3. What image resolution is best for printing across multiple A4 pages?
Around 300 PPI is commonly suitable for detailed prints viewed up close. However, larger posters viewed from a distance can often use lower resolutions. The required pixel dimensions depend on the final poster size and viewing conditions.
4. Why are there white gaps between printed poster pages?
White gaps can occur because most home printers cannot print to the very edges of the paper. Printer margins, incorrect scaling, and missing overlap can also prevent neighboring sections from connecting properly.
5. How do I join multiple A4 pages to create one large poster?
Arrange the printed sheets in the correct order on a flat surface. Align neighboring image sections, trim overlapping edges if necessary, and secure the pages together with tape on the reverse side.