

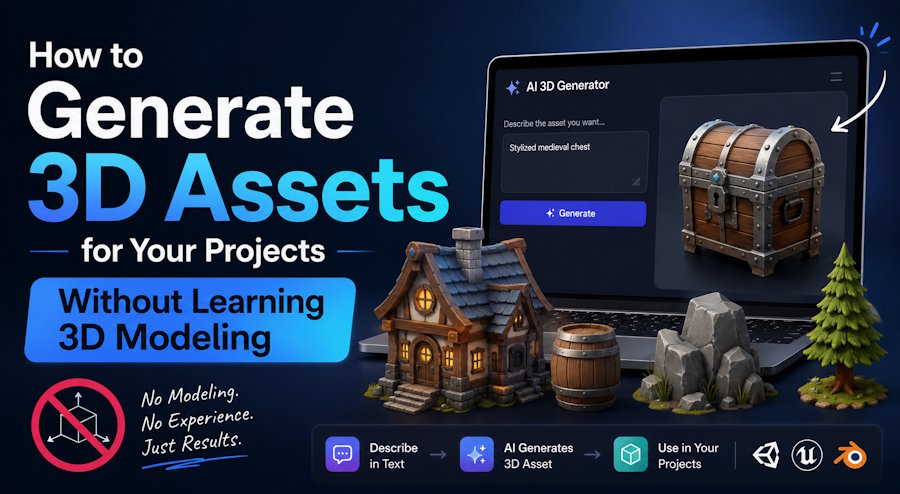
How to Generate 3D Assets for Your Projects Without Learning 3D Modeling
If you've ever built a product landing page, a portfolio site, or a prototype that needed a 3D visual — and you're not a 3D modeler — you already know the problem. The design requires a render, the render requires a model, the model requires software you don't know, and the turnaround from a freelancer is measured in days you don't have.
AI 3D generation has changed this workflow significantly. Two tools in particular cover the full pipeline from raw concept to presentation-ready asset, without requiring any knowledge of Blender, Maya, or CAD software. Here's how the workflow fits together and where each tool does its job.
Step 1: Generate the Base Model With Formy 3D
The starting point is getting a 3D model from whatever you have — a text description, a reference image, or both.
Formy3D handles this generation step. You describe the object you need — its shape, material characteristics, proportions, and any specific details — and the platform returns a fully textured 3D model in minutes. If you have reference images (a sketch, a product photo, a screenshot), you can upload those alongside the text prompt to guide the output more precisely.
The supported output formats are FBX, GLB, OBJ, and STL. For web developers, GLB is the most immediately useful — it's the binary version of GLTF, the format supported by Three.js, Babylon.js, model-viewer, and most WebGL-based 3D rendering pipelines. For developers building apps that need physical prototypes, STL exports directly to 3D printers without any conversion step.
A few practical notes on getting useful outputs:
- Be specific in your prompt: “A chair" produces something generic. "A low-profile lounge chair with a slightly reclined back, matte fabric upholstery, and thin metal legs" produces something you can actually use or iterate from.
- Use reference images when you have them. The image-to-3D pipeline anchors the geometry to a real visual reference, which reduces the number of iterations you need.
- Treat the first output as a starting point, not a final asset. The value of the tool at this stage is externalizing the concept quickly — you can see immediately what needs to change before investing time in refinement.
Step 2: Produce Presentation-Ready Renders With Trellis 2
A base model that accurately represents the geometry is useful for integration and prototyping. A render that communicates what the object actually looks and feels like is what you need for landing pages, pitch decks, client presentations, and portfolio work.
These are different requirements, and they need different treatment.
Trellis2 handles the presentation layer. The platform uses physically-based rendering — PBR textures — meaning the materials applied to your model respond to simulated light the way real materials do. Metal picks up reflections with the micro-variation you'd expect from actual metal. Matte surfaces absorb light rather than bouncing it. Textured finishes carry visual depth that holds up when the render is examined closely.
The result is the difference between a render that reads as "3D model" and one that reads as "product photograph." For anything going in front of an audience — client, investor, user — that distinction matters.
The workflow at this step is straightforward: take the model you generated or refined in the previous step, import it into Trellis 2, and generate renders with the material treatment you need. The platform supports multiple material and colorway variants in a single session, so if you're not sure whether your UI element looks better in dark or light material, you can generate both and compare before committing to the direction.
Trellis 2 also accepts multi-view image input — useful if you've generated the model from a single angle and need a more complete reconstruction before rendering.
When to Use This Workflow
This two-step pipeline — Formy 3D for model generation, Trellis 2 for presentation rendering — is most useful in a few specific situations:
Landing pages and marketing sites. If you're building a site for a physical product (hardware, consumer goods, an industrial tool), high-quality 3D renders perform significantly better than flat product photography in most A/B testing scenarios. The ability to generate them without a photo shoot or a CAD-to-render pipeline removes the main barrier for early-stage products.
Client prototyping and proposals. For developers doing client work that involves physical product development, generating a render from a brief description lets you get visual alignment with the client before any design or engineering work begins. It's faster and cheaper to discover a misalignment at the render stage than at the prototype stage.
Portfolio and case study work. If you're documenting a project that involved a physical component — a hardware device, a piece of industrial design, a connected product — generated renders give you clean, professional visuals without requiring the physical object to be in front of a camera.
Game and XR asset prototyping. For developers prototyping game levels, AR overlays, or VR environments, AI-generated models provide a fast way to populate a scene with placeholder geometry that's visually coherent — faster than sourcing from asset libraries and more specific to the project's aesthetic.
Limitations to Keep in Mind
AI-generated 3D models are not engineering-grade geometry. They will not replace CAD files for manufacturing purposes, and they may require cleanup before they're suitable for use in production game engines where polygon count and topology matter. For visualization and presentation purposes they're highly capable; for precise technical applications, they're a starting point that typically needs refinement.
That said, for the category of use cases most web and app developers actually encounter — getting something to show, something to test, something to ship a page with — the workflow described here gets you from description to usable asset faster than any other route that doesn't involve a dedicated 3D modeling skill set.

