

You upload a room photo, choose a style, and get a polished redesign. The furniture looks good. But the doorway has narrowed, your radiator has disappeared, and you still cannot tell whether the image is available to download.
That is a useful trial result, even if it is not a useful design. It tells you what to check before spending more time or money.
Free AI room design is most helpful when you treat the first attempt as a small software evaluation. Use a photo you know, give the tool a specific job, and inspect the output against that job. You do not need to test every app or produce a gallery of variations.
By Virtual Staging Desk Editorial Team. This guide is brand-contributed content.
Start by checking what “free” includes
A free preview, a limited generation allowance, and a downloadable image are different offers. Before uploading, find out which one you are getting.
Look for the number of attempts included, whether an account is required, and what happens when the allowance runs out. Check whether downloads carry a watermark and whether the available resolution is sufficient for your purpose. If you intend to publish the result commercially, read the applicable usage terms too.
You can keep the comparison simple:
| Question | What to record |
|---|---|
| Can I try my own photo? | Upload available, sample only, or account required |
| What uses the allowance? | Each request, each output, or another stated unit |
| Can I keep the result? | Download availability, resolution, and watermark |
| What happens after the trial? | Stop, buy credits, or choose a subscription |
| How is my upload handled? | The published storage, deletion, and usage terms |
An unanswered item is a reason to check further. It is not evidence that the feature is included.
Give the tool the right kind of job
“Design my room” can mean several different tasks. Adding furniture to an empty bedroom is different from changing an occupied living room's style. Exploring new wall finishes is different again.
For an empty room, choose a furnishing or virtual staging workflow. For an existing room, look for a redesign workflow with a clear description of what it may change. If you only want to compare paint colors, a focused paint preview may be easier to judge than a complete makeover.
This distinction matters when comparing tools. An image generator that invents a beautiful room from a sentence may be useful for inspiration, but it has not demonstrated that it can work with your room photo.
Use one photo and a short test brief
Choose a clear photograph with visible room boundaries, a doorway, and at least one recognizable fixed feature. Remove private documents from view before taking or uploading it. Keep the original image separately.
Write down three things:
- The decision: What do you want this preview to help you choose?
- Allowed changes: Which furniture, colors, or finishes may change?
- Fixed references: Which visible features must remain recognizable?
For example: “Compare a lighter furniture style in this living room. Keep the existing floor, windows, fireplace, and doorway visible.” This is a planning example, not a report of a completed test.
Apply the brief using the controls the tool actually provides. If it has no way to preserve a particular item, record that limitation instead of assuming a prompt will enforce it.
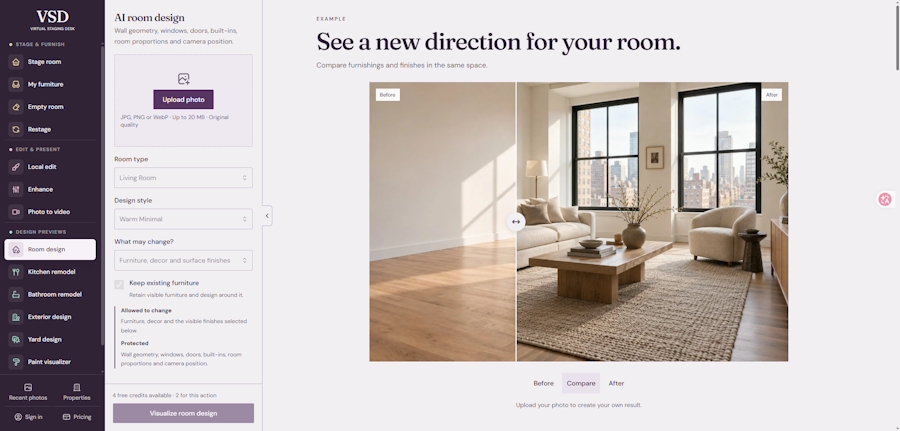
For a browser-based starting point, Virtual Staging Desk provides room design previews alongside virtual staging and furniture-editing tools. Choose the workflow that matches your photo, then use the same review process below. Check the current trial and download terms before committing to a paid option.
Inspect the result in two passes
First, compare the room itself. Look at the number and position of openings, the wall edges, the floor, and visible built-in features. A redesign that depends on removing a real doorway or changing the room's shape should not pass your test.
Then assess the proposed design. Does it answer the question in your brief? Is a chair blocking a route? Are the furniture shapes coherent? Can you identify which change made the room feel better?
Use a simple result log: keep, revise, or reject, followed by one reason. “Keep: the lighter seating works with the existing floor” is actionable. “Revise: the palette works, but the desk blocks the window” gives the next attempt a purpose.
A photo-based preview does not establish dimensions. Verify measurements separately before treating an arrangement as something you can install.
Change one thing on the next attempt
If you change the style, furniture density, wall color, and original photo together, you will struggle to explain why the next output improved.
Keep the same input and vary one available setting. Save the result with a short note describing what changed. If the tool cannot make a sufficiently controlled revision, that is relevant to your choice of software.
Stop when you have an answer to the original design question, or when the tool repeatedly changes features you need to keep. More images are not automatically more information.
Decide whether the trial earned a second use
At the end, you should know more than whether the tool makes attractive pictures. You should know whether it accepts your input, gives you useful control, produces a reviewable result, and lets you use that result on terms you understand.
Start with one room and one decision. A successful trial leaves you with a direction worth investigating, a record of what changed, and a clear next step. That is a better basis for choosing an AI room design tool than its best-looking sample image.

